Bu sürüm, hatalı düzenlemeler içerebilir. En son doğrulanmış bellek kopyası dönün.
Neye ihtiyacın var
-
Bu adım çevrilmemiş. Çevrilmesine yardım edin
-
With the case closed, place the Mini 1000 top-side down on a flat surface.
-
Push both of the battery release latches toward each other.
-
-
Bu adım çevrilmemiş. Çevrilmesine yardım edin
-
Lift the battery out of the Mini 1000 from the edge closest to the release latches.
-
-
-
Bu adım çevrilmemiş. Çevrilmesine yardım edin
-
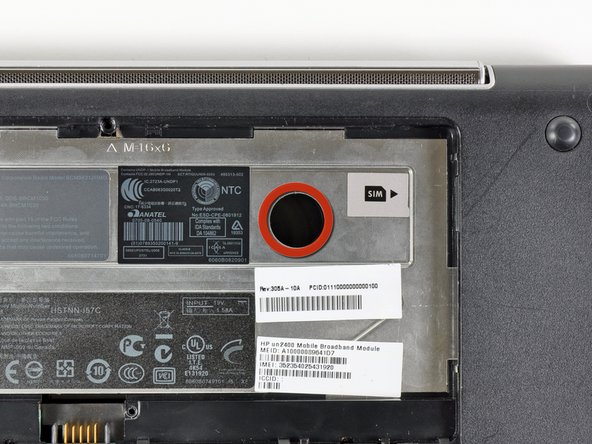
Remove the following two screws:
-
One 6 mm Phillips screw
-
One 4 mm Phillips screw
-
-
Bu adım çevrilmemiş. Çevrilmesine yardım edin
-
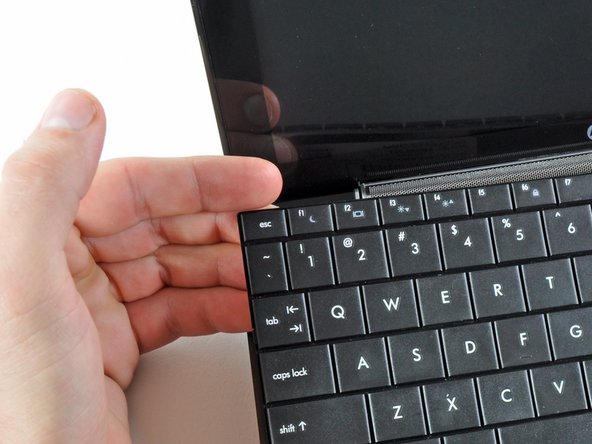
While pushing through the opening with one hand, grasp the left upper edge with the other hand and slightly pull the keyboard towards you.
-
Once an opening has been established, grasp the keyboard and slowly lift it upwards along the upper perimeter of the top edge.
-
-
Bu adım çevrilmemiş. Çevrilmesine yardım edin
-
Lift the keyboard out of the upper case, minding the cable that is still connecting it to the motherboard.
-
-
Bu adım çevrilmemiş. Çevrilmesine yardım edin
-
Use your fingernail or the flat end of a spudger to flip up the retaining flap on the keyboard cable ZIF socket.
-
Pull the cable out of its socket and remove the keyboard.
-


İptal et: Bu kılavuzu tamamlamadım.
5 farklı kişi bu kılavuzu tamamladı.
