Ana içeriğe geç

Bu sürüm, hatalı düzenlemeler içerebilir. En son doğrulanmış bellek kopyası dönün.

Salt Önkoşul
Bu kılavuz yalnızca diğer kılavuzlar için bir ön koşul olarak kullanılmak üzere tasarlanmıştır. Tek başına eksiktir.

Neye ihtiyacın var

  1. Bu adım çevrilmemiş. Çevrilmesine yardım edin

    : adım 1, 1 resimden 1.
    • If present, carefully peel the piece of tape covering the WWAN board.

  2. Bu adım çevrilmemiş. Çevrilmesine yardım edin

    : adım 2, 2 resimden 1. : adım 2, 2 resimden 2.
    • Pry the WWAN antenna connectors (2 total) up off the WWAN board.

    • During reassembly, remember to correctly connect the antenna cables to their respective terminals. The red labeled antenna is connected to the "MAIN" terminal and the blue labeled antenna is connected to the "AUX" terminal.

  3. Bu adım çevrilmemiş. Çevrilmesine yardım edin

    : adım 3, 3 resimden 1. : adım 3, 3 resimden 2. : adım 3, 3 resimden 3.
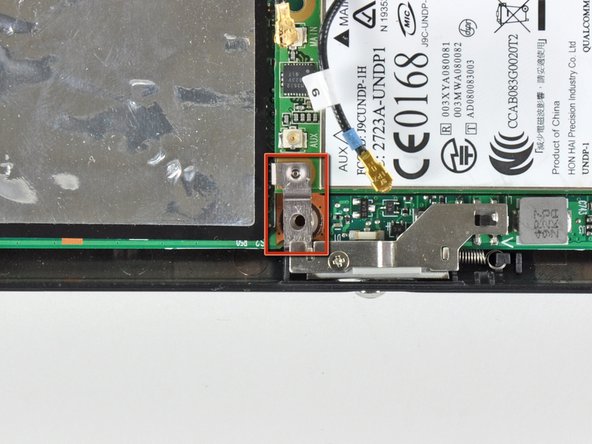
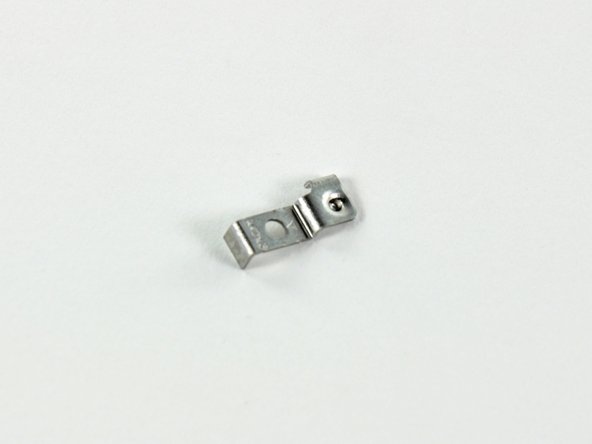
    • Remove the single 3 mm Phillips screw securing the WWAN metal bracket and WWAN board to the motherboard.

    • During reassembly, before securing the WWAN board to the upper case, be sure the metal bracket is correctly placed (as highlighted in the second picture).

    • Be cautious of the metal bracket's displacement. It can easily become lost during disassembly.

  4. Bu adım çevrilmemiş. Çevrilmesine yardım edin

    : adım 4, 2 resimden 1. : adım 4, 2 resimden 2.
    • Upon removing the Phillips screw that secures the WWAN board to the motherboard, the WWAN board should pop up from its left side.

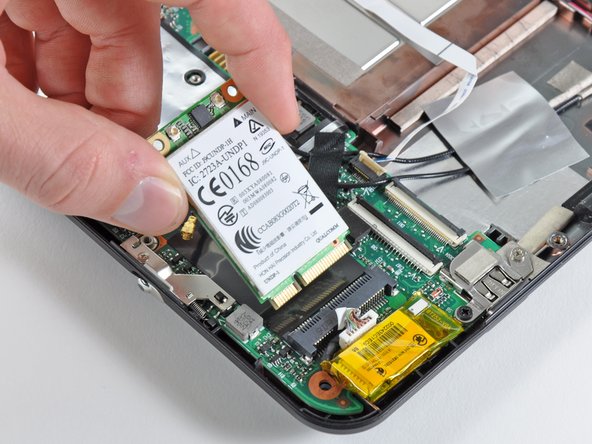
    • Grasp the WWAN board and pull it straight out of its socket on the motherboard.

Bitiş Çizgisi

0 Yorum

Yorum Ekle

İstatistikleri Görüntüle:

Son 24 Saat: 4

Son 7 gün: 4

Son 30 gün: 4

Her zaman: 52