Ana içeriğe geç

HP Pavilion 13-s128nr Back Panel Replacement

Neye ihtiyacın var

  1. HP Pavilion 13-s128nr Back Panel Replacement, Back Panel: adım 1, 2 resimden 1. HP Pavilion 13-s128nr Back Panel Replacement, Back Panel: adım 1, 2 resimden 2.
    • Use the iFixit opening tool to take off the rubber caps.

    • Remove the screws using the Phillips #0 screwdriver.

  2. HP Pavilion 13-s128nr Back Panel Replacement: adım 2, 1 resimden 1.
    • Use the Jimmy to pry around the seam of the laptop.

    • Remove the back panel of the laptop.

    • Don't completely remove the back panel as there are ribbon cables that can be easily damaged if removed quickly.

  3. HP Pavilion 13-s128nr Back Panel Replacement: adım 3, 2 resimden 1. HP Pavilion 13-s128nr Back Panel Replacement: adım 3, 2 resimden 2.
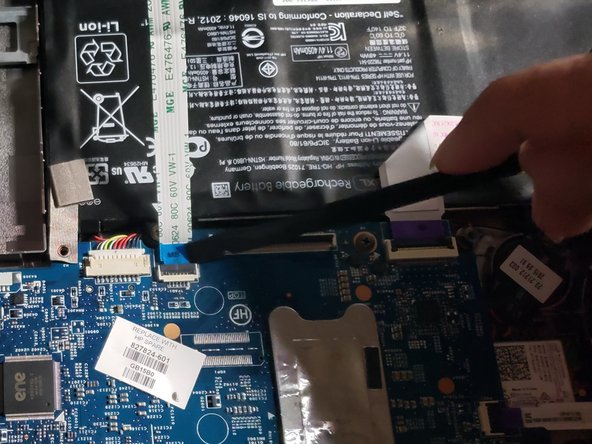
    • Using the iFixit opening tool to lift the tabs holding in the cables connecting the keyboard to the motherboard.

    • Pull the cable from the motherboard.

Sonuç

To reassemble your device, follow these instructions in reverse order.

0 Yorum

Yorum Ekle

İstatistikleri Görüntüle:

Son 24 Saat: 0

Son 7 gün: 0

Son 30 gün: 6

Her zaman: 780