Giriş
A broken fan can cause the device to overheat and run slow. In this guide, you will learn how to replace your HP Pavilion 17-g119dx laptop's fan. To perform the replacement, you will need a Phillips head screwdriver and a plastic opening tool to pop open the keyboard.
Neye ihtiyacın var
-
-
-
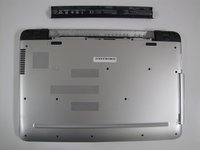
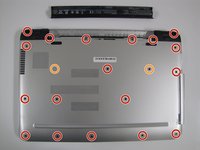
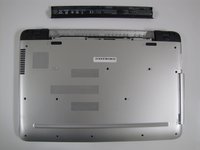
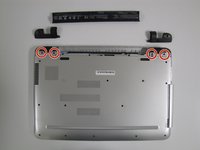
Remove the twenty 6.5mm screws using the Phillips #00 screwdriver.
-
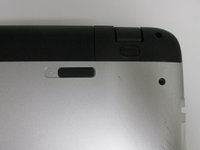
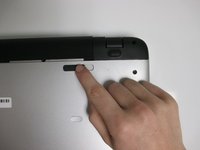
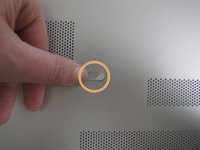
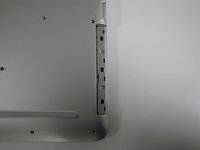
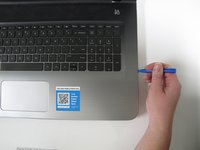
Two of these 6.5 mm screws are covered by a silver sticker. Remove the sticker by gently scraping your finger nail under the sticker and then remove the screws.
-
-
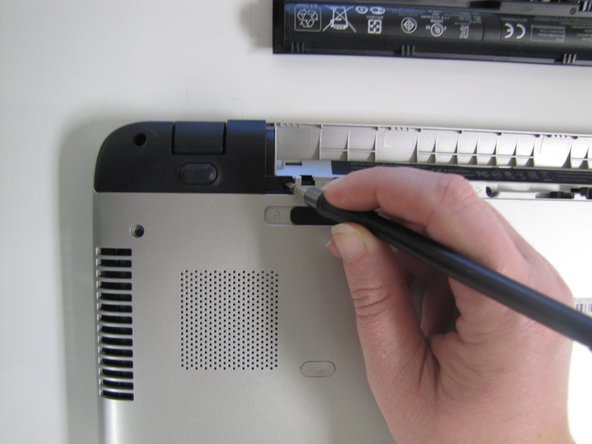
Bu adımda kullanılan alet:iFixit Opening Tool$1.99
-
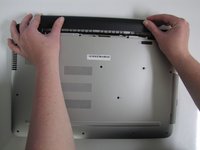
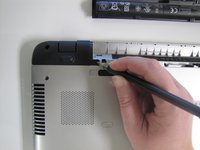
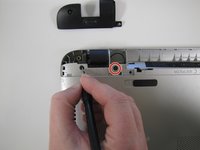
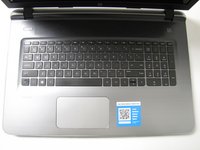
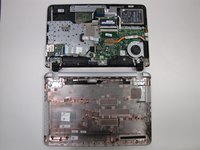
Flip the computer back over with the screen facing up and open the laptop.
-
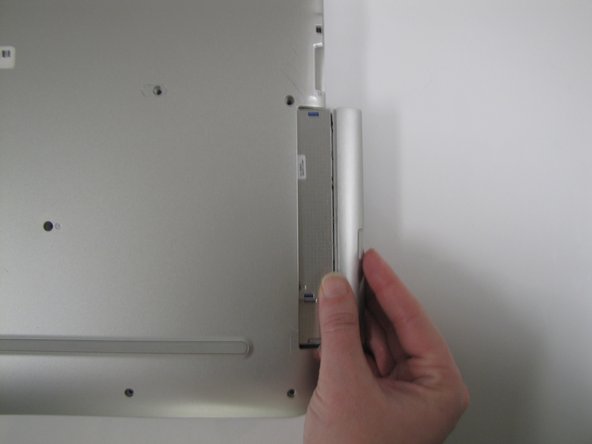
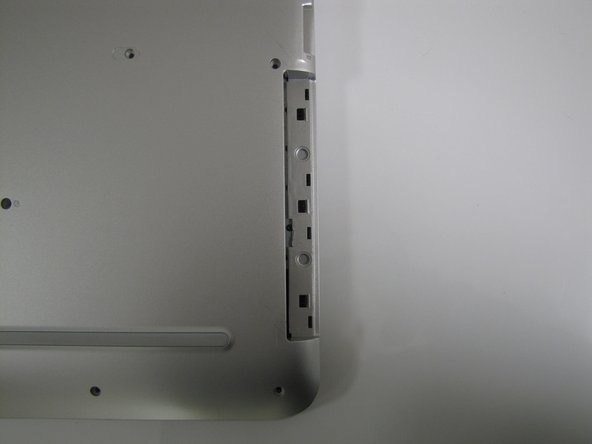
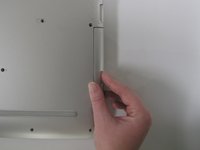
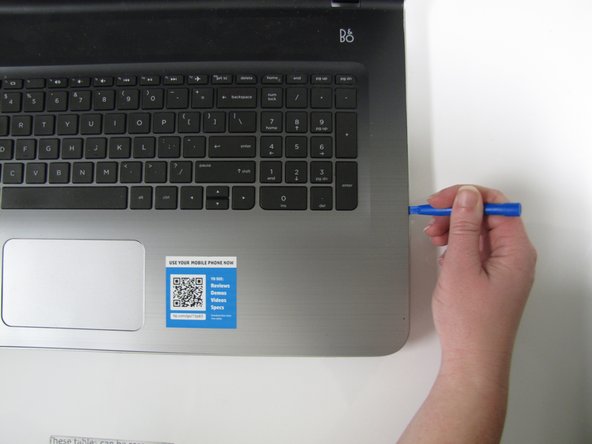
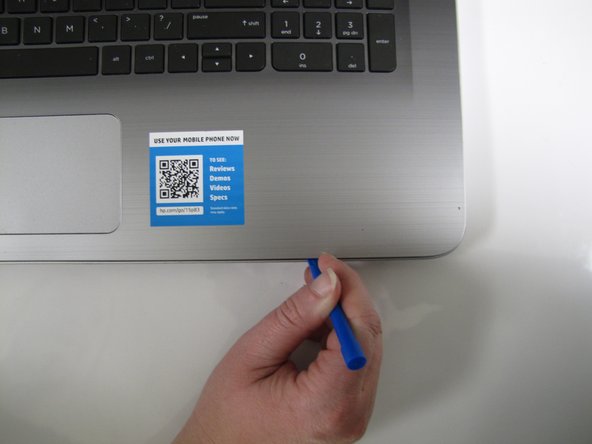
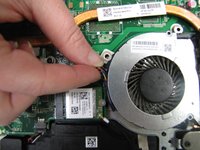
Use the Plastic Opening Tool to separate the face plate from the backing.
-
-
Bu adımda kullanılan alet:Phillips #00 Screwdriver$5.49
-
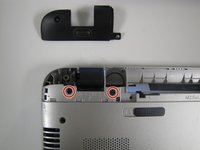
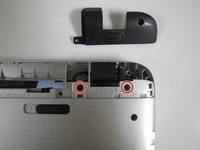
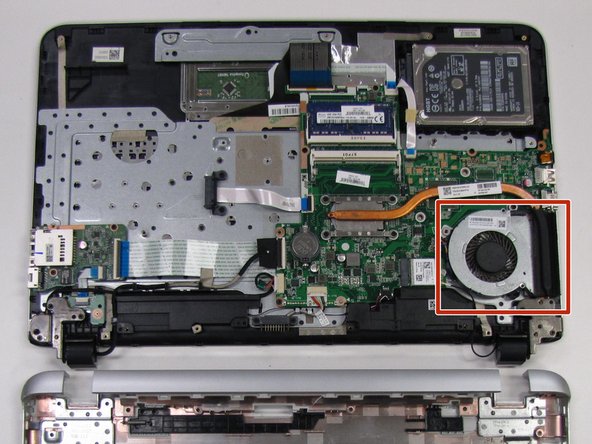
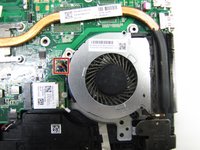
Unscrew the two 0.5 mm screws using a Phillips #00 screwdriver.
-


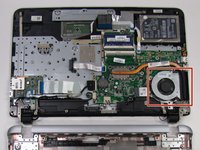


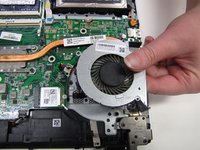
To reassemble your device, follow these instructions in reverse order.
To reassemble your device, follow these instructions in reverse order.
Ekip

University of North Texas, Team S1-G2, Boettger Fall 2017 University of North Texas, Team S1-G2, Boettger Fall 2017 üyesi
UNT-BOETTGER-F17S1G2
2 Üyeler
5 adet Kılavuz yazıldı