Ana içeriğe geç
Onarım Topluluğuna Katılın - Hesap Oluşturun

HP Pavilion G60-247CL Screen Replacement

Neye ihtiyacın var

    1. HP Pavilion G60-247CL Screen Replacement, Battery: adım 1, 3 resimden 1. HP Pavilion G60-247CL Screen Replacement, Battery: adım 1, 3 resimden 2. HP Pavilion G60-247CL Screen Replacement, Battery: adım 1, 3 resimden 3.
      • Press down and to the right on the battery lock slide.

      • Once slid over to the right the battery will pop up and out.

      FixBot'a Sor

      Yorum Ekle

    1. HP Pavilion G60-247CL Screen Replacement, Screen: adım 2, 1 resimden 1.
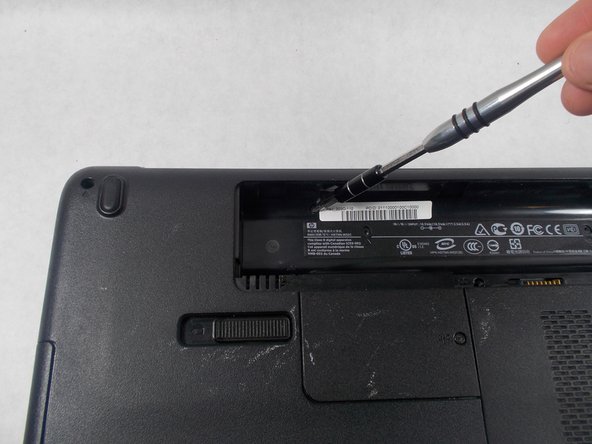
      • Remove the seven Phillips #1 screws from the back side of the laptop.

      FixBot'a Sor

      Yorum Ekle

    2. HP Pavilion G60-247CL Screen Replacement: adım 3, 2 resimden 1. HP Pavilion G60-247CL Screen Replacement: adım 3, 2 resimden 2.
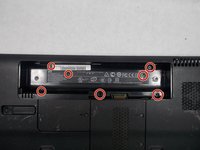
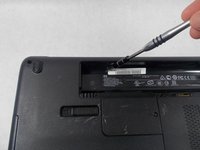
      • Remove the seven Phillips #0 screws from the battery compartment.

      FixBot'a Sor

      Yorum Ekle

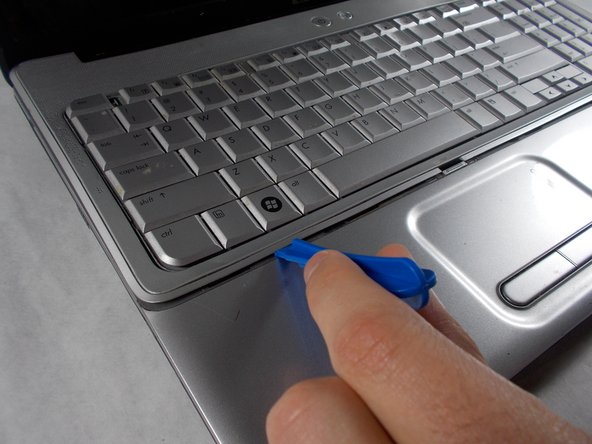
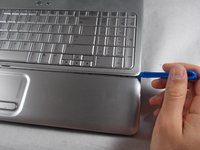
    3. HP Pavilion G60-247CL Screen Replacement: adım 4, 3 resimden 1. HP Pavilion G60-247CL Screen Replacement: adım 4, 3 resimden 2. HP Pavilion G60-247CL Screen Replacement: adım 4, 3 resimden 3.
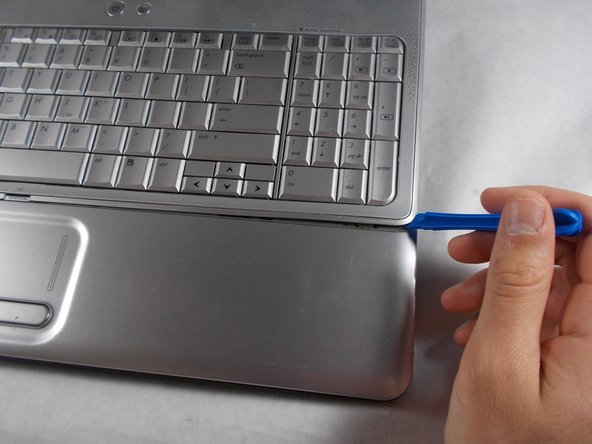
      • Turn the computer around to the front side.

      • Using an opening tool, prop open the keyboard casing.

      FixBot'a Sor

      Yorum Ekle

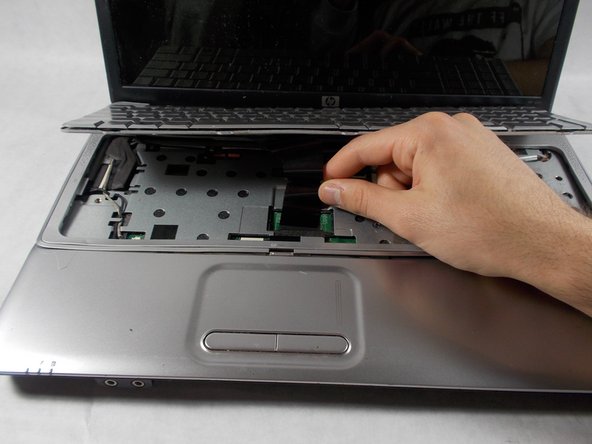
    4. HP Pavilion G60-247CL Screen Replacement: adım 5, 3 resimden 1. HP Pavilion G60-247CL Screen Replacement: adım 5, 3 resimden 2. HP Pavilion G60-247CL Screen Replacement: adım 5, 3 resimden 3.
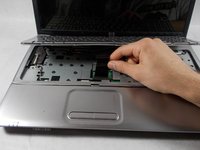
      • Carefully lift up the keyboard.

      • Gently pull up the connecting wire clip (located in the middle) to completely detach the keyboard.

      FixBot'a Sor

      Yorum Ekle

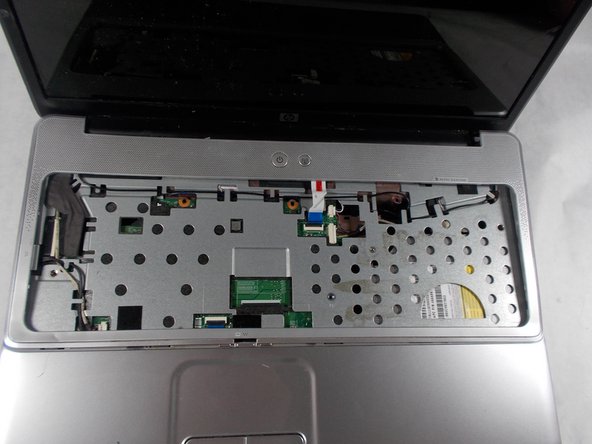
    5. HP Pavilion G60-247CL Screen Replacement: adım 6, 3 resimden 1. HP Pavilion G60-247CL Screen Replacement: adım 6, 3 resimden 2. HP Pavilion G60-247CL Screen Replacement: adım 6, 3 resimden 3.
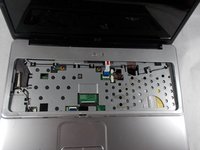
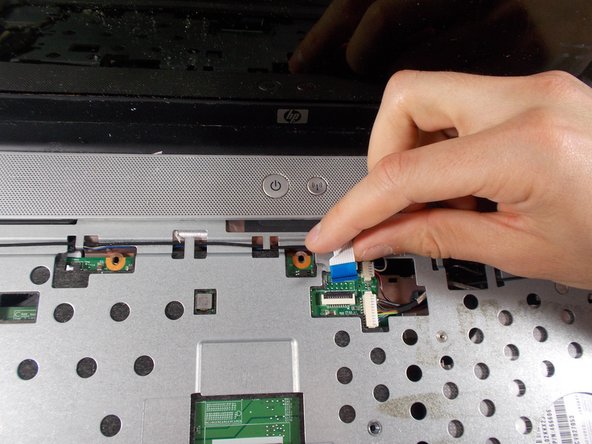
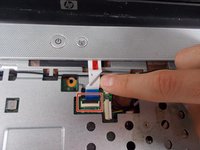
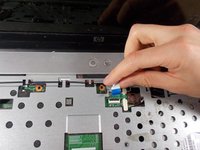
      • At the top right of the laptop there will be another wire clip holding the keyboard casing.

      • Carefully pull out the wire clip to fully detach the covering.

      FixBot'a Sor

      Yorum Ekle

    6. HP Pavilion G60-247CL Screen Replacement: adım 7, 2 resimden 1. HP Pavilion G60-247CL Screen Replacement: adım 7, 2 resimden 2.
      Bu adımda kullanılan alet:
      Tweezers
      $4.99
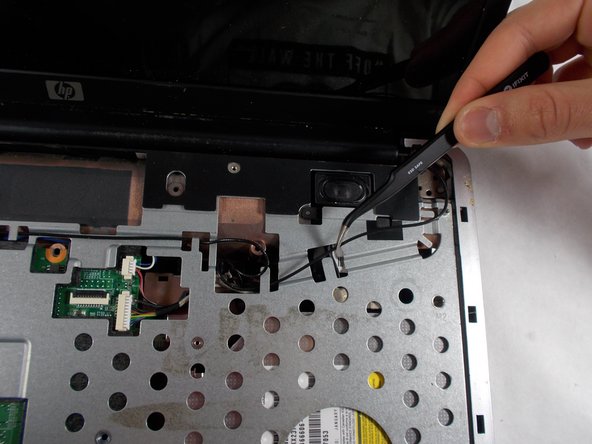
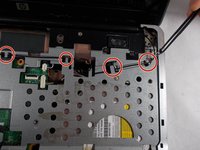
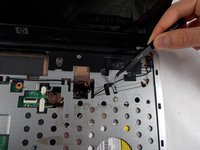
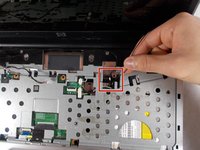
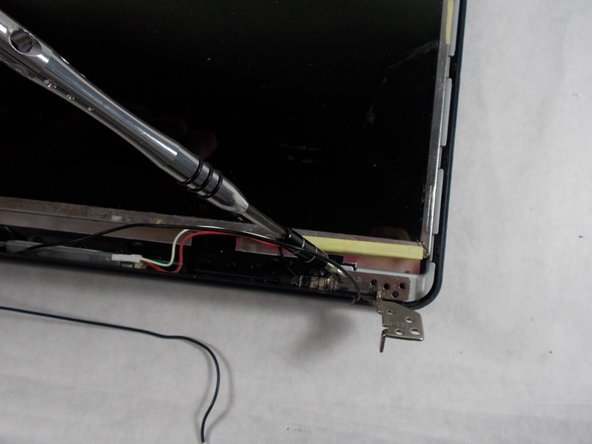
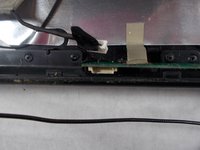
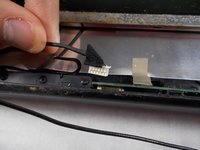
      • At the top right of the laptop remove the black wire from under the metal tabs using the tweezers.

      FixBot'a Sor

      Yorum Ekle

    7. HP Pavilion G60-247CL Screen Replacement: adım 8, 2 resimden 1. HP Pavilion G60-247CL Screen Replacement: adım 8, 2 resimden 2.
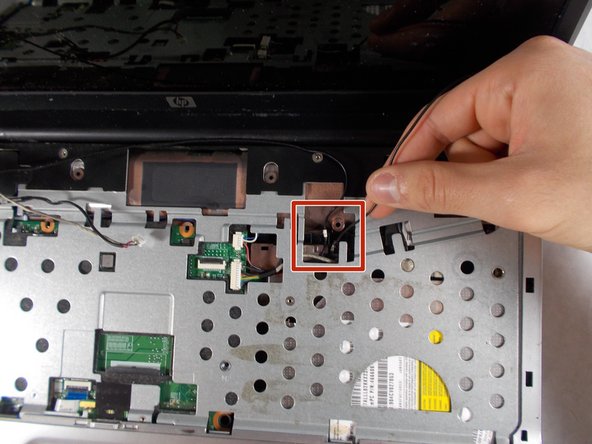
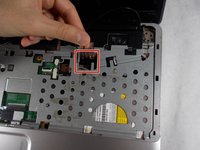
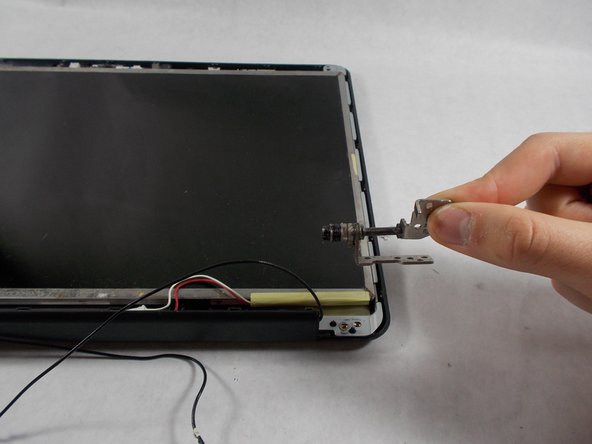
      • Remove the black wire from the top right corner by gently pulling outward.

      FixBot'a Sor

      Yorum Ekle

    8. HP Pavilion G60-247CL Screen Replacement: adım 9, 2 resimden 1. HP Pavilion G60-247CL Screen Replacement: adım 9, 2 resimden 2.
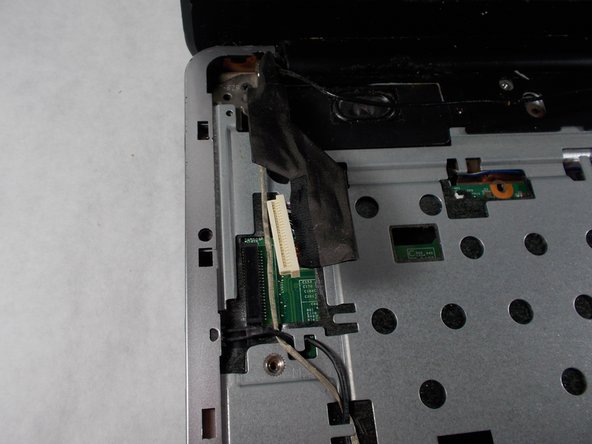
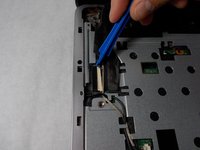
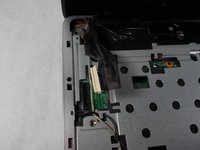
      • At the top left of the computer remove the black clip using the opening tool.

      • Push the opening tool to the right to pop out the clip.

      FixBot'a Sor

      Yorum Ekle

    9. HP Pavilion G60-247CL Screen Replacement: adım 10, 3 resimden 1. HP Pavilion G60-247CL Screen Replacement: adım 10, 3 resimden 2. HP Pavilion G60-247CL Screen Replacement: adım 10, 3 resimden 3.
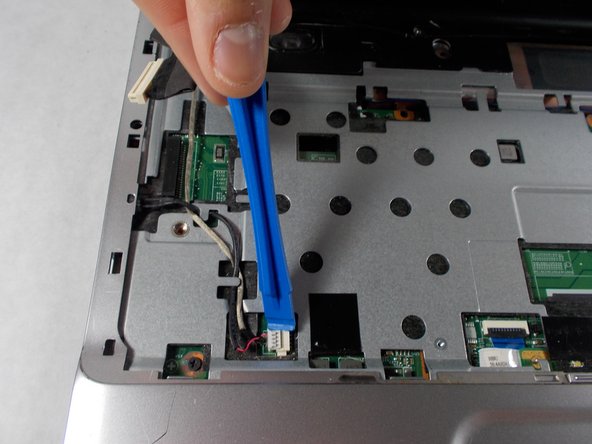
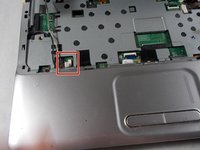
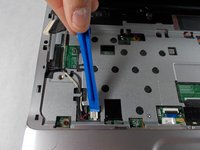
      • Locate at the bottom left of the computer a white clip.

      • Using an opening tool, prop out the white clip.

      FixBot'a Sor

      Yorum Ekle

    10. HP Pavilion G60-247CL Screen Replacement: adım 11, 2 resimden 1. HP Pavilion G60-247CL Screen Replacement: adım 11, 2 resimden 2.
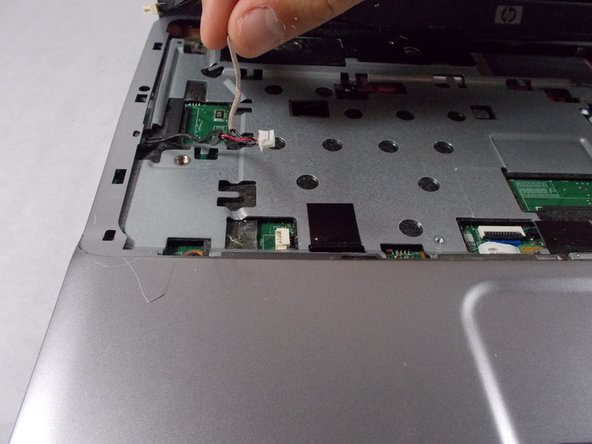
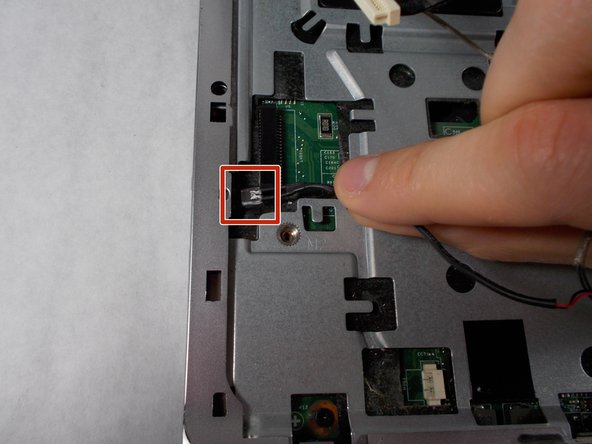
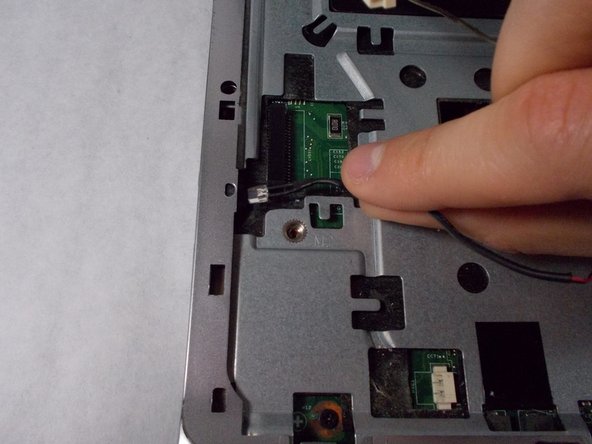
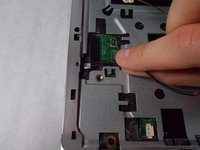
      • On the left side of the computer locate the black wire with the clear clip.

      • Gently pull the wire to the right to detach it.

      FixBot'a Sor

      Yorum Ekle

    11. HP Pavilion G60-247CL Screen Replacement: adım 12, 3 resimden 1. HP Pavilion G60-247CL Screen Replacement: adım 12, 3 resimden 2. HP Pavilion G60-247CL Screen Replacement: adım 12, 3 resimden 3.
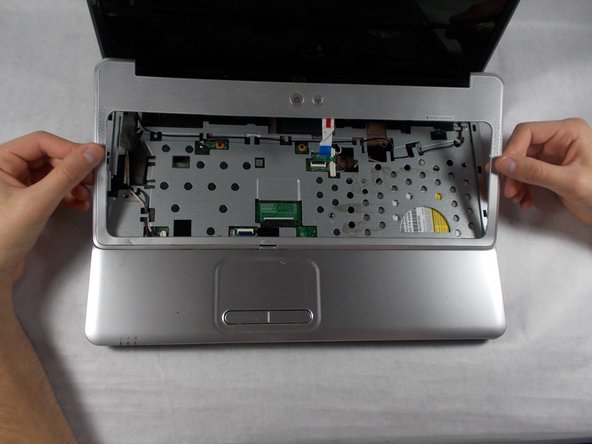
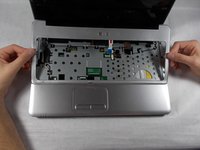
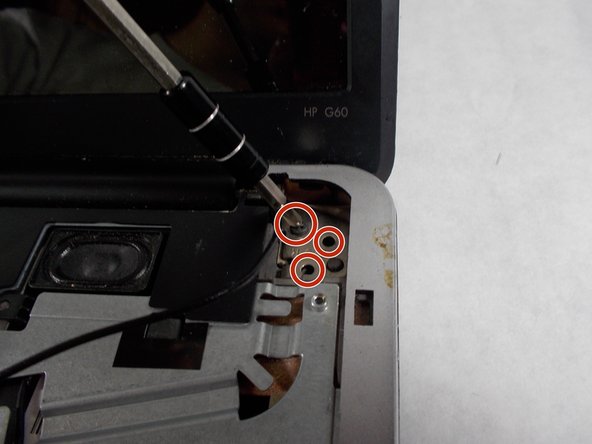
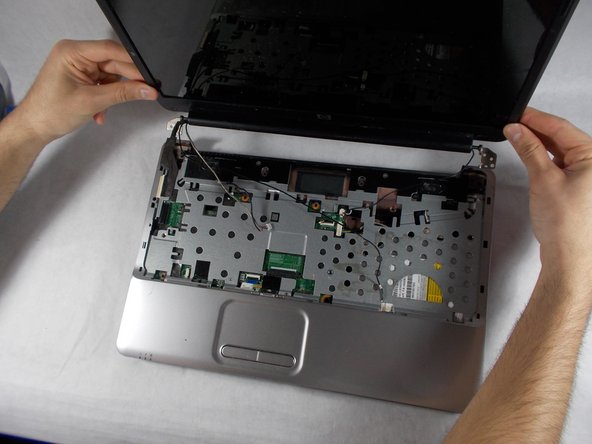
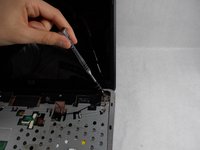
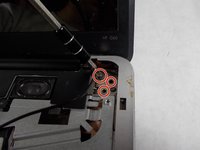
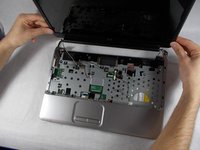
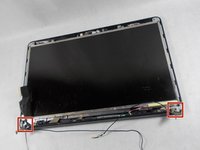
      • At the top corners of the computer, unscrew the three Phillips #0 screws.

      • Lift up the top half of the computer carefully.

      FixBot'a Sor

      Yorum Ekle

    12. HP Pavilion G60-247CL Screen Replacement: adım 13, 3 resimden 1. HP Pavilion G60-247CL Screen Replacement: adım 13, 3 resimden 2. HP Pavilion G60-247CL Screen Replacement: adım 13, 3 resimden 3.
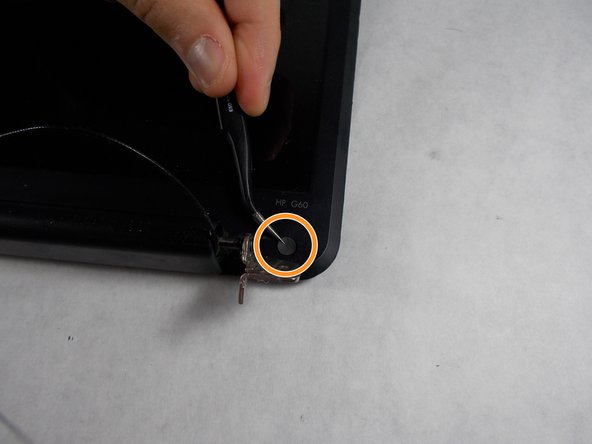
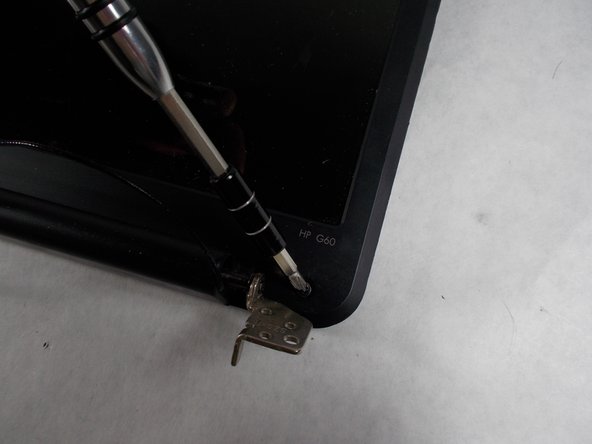
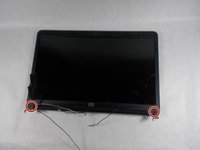
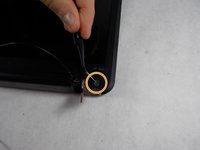
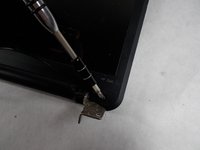
      • Locate the two screws at the bottom corners of the screen.

      • Using the tweezers remove the rubber black covering over the screw.

      • Remove the two Phillips #0 screws.

      FixBot'a Sor

      Yorum Ekle

    13. HP Pavilion G60-247CL Screen Replacement: adım 14, 3 resimden 1. HP Pavilion G60-247CL Screen Replacement: adım 14, 3 resimden 2. HP Pavilion G60-247CL Screen Replacement: adım 14, 3 resimden 3.
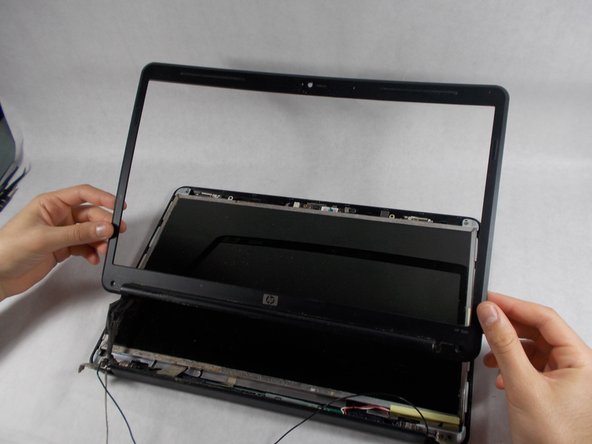
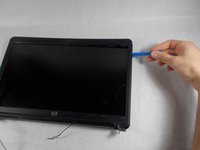
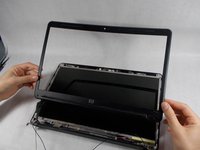
      • Using the opening tool, prop off the screen covering.

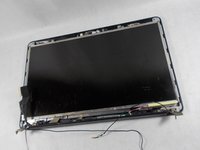
      • Remove the covering to expose the screen completely.

      FixBot'a Sor

      Yorum Ekle

    14. HP Pavilion G60-247CL Screen Replacement: adım 15, 3 resimden 1. HP Pavilion G60-247CL Screen Replacement: adım 15, 3 resimden 2. HP Pavilion G60-247CL Screen Replacement: adım 15, 3 resimden 3.
      • Remove the bottom two screen bearings.

      • Using a Phillips 1 screwdriver, remove the two screws on each side.

      FixBot'a Sor

      Yorum Ekle

    15. HP Pavilion G60-247CL Screen Replacement: adım 16, 2 resimden 1. HP Pavilion G60-247CL Screen Replacement: adım 16, 2 resimden 2.
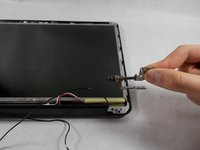
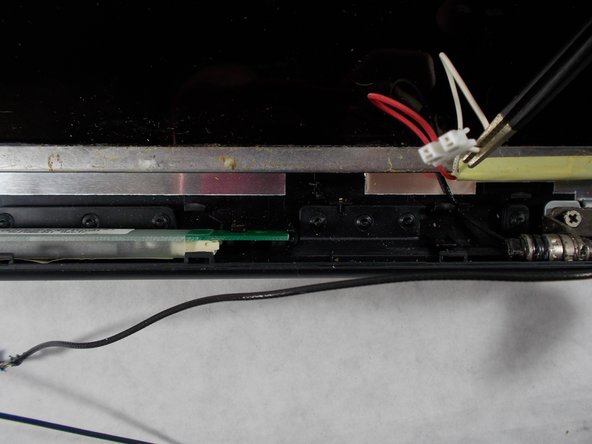
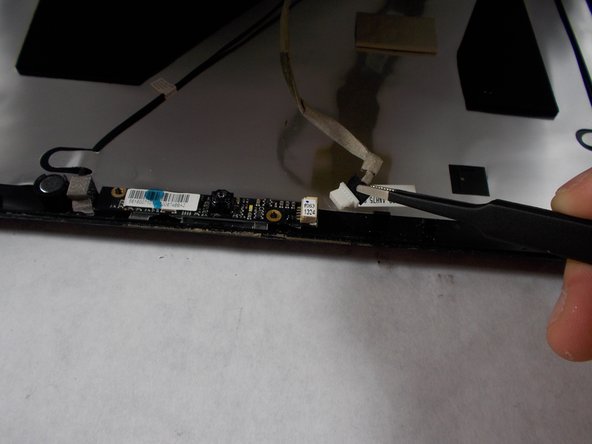
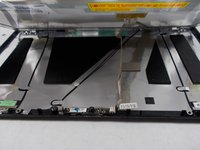
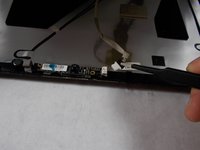
      • Using the tweezers remove the red and white wire from the bottom of the screen.

      FixBot'a Sor

      Yorum Ekle

    16. HP Pavilion G60-247CL Screen Replacement: adım 17, 2 resimden 1. HP Pavilion G60-247CL Screen Replacement: adım 17, 2 resimden 2.
      • Prop the screen up slightly.

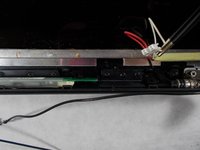
      • Using the tweezers unclip the white wire.

      FixBot'a Sor

      Yorum Ekle

    17. HP Pavilion G60-247CL Screen Replacement: adım 18, 2 resimden 1. HP Pavilion G60-247CL Screen Replacement: adım 18, 2 resimden 2.
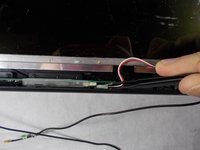
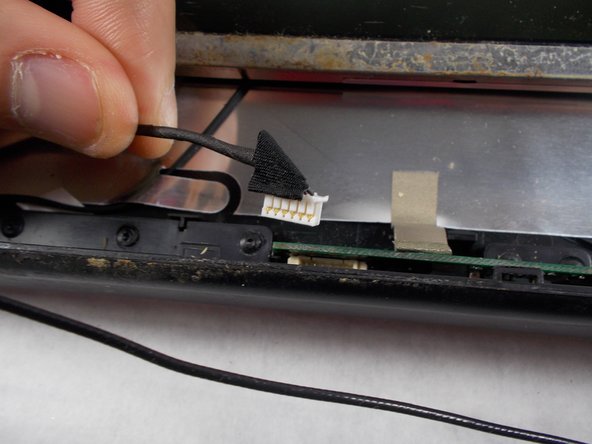
      • While the screen is still propped open, remove the black wire from the bottom middle of the screen by pulling gently.

      FixBot'a Sor

      Yorum Ekle

    18. HP Pavilion G60-247CL Screen Replacement: adım 19, 1 resimden 1.
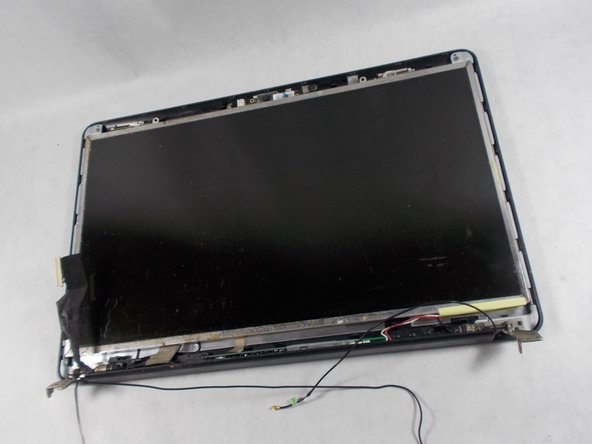
      • Remove the screen from the outer casing carefully.

      FixBot'a Sor

      Yorum Ekle

Sonuç

To reassemble your device, follow these instructions in reverse order.

İptal et: Bu kılavuzu tamamlamadım.

Haley Matthews

Üyelik tarihi: 03/12/18

517 İtibar

3 adet Kılavuz yazıldı

Ekip

UMass Dartmouth, Team S4-G5, Covino Spring 2018 UMass Dartmouth, Team S4-G5, Covino Spring 2018 üyesi

UMASSD-COVINO-S18S4G5

3 Üyeler

38 adet Kılavuz yazıldı

0Kılavuz Yorumları

Yorum Ekle

İstatistikleri Görüntüle:

Son 24 Saat: 2

Son 7 gün: 5

Son 30 gün: 22

Her zaman: 645