Giriş
Considering the steps in this guide were completed by 2 people, it is recommended to attempt this guide with 2 or more people.
Required Tools
- T-9 Screwdriver
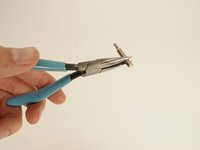
- Needle-Nose Pliers
Neye ihtiyacın var
-
-
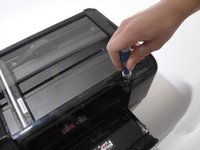
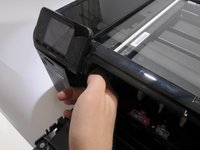
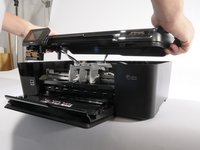
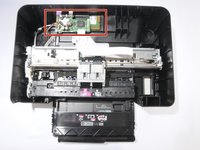
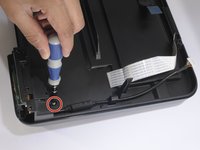
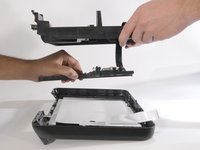
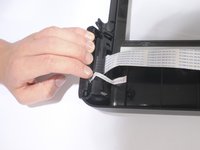
Pull down both front panels to open the printer. Lift the scanner flap upward by pulling down on it; there are two mouth pieces that need to be pulled down.
-
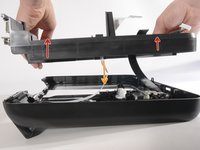
Adjust the flap covering the scanner upward, as shown.
-
-
-
-
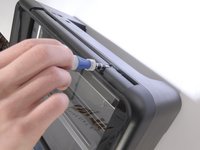
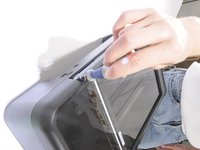
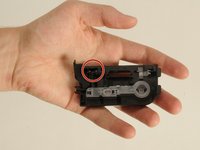
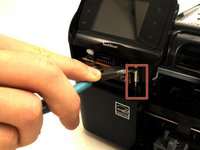
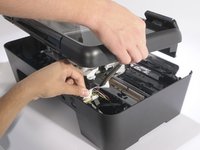
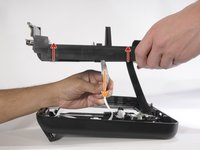
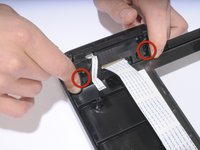
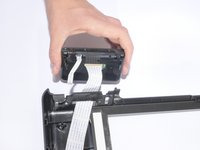
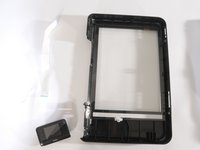
To release the LCD, locate the two mounting slots, and push the sloped slides inward to release the LCD from its slots.
-


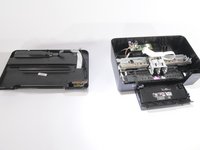


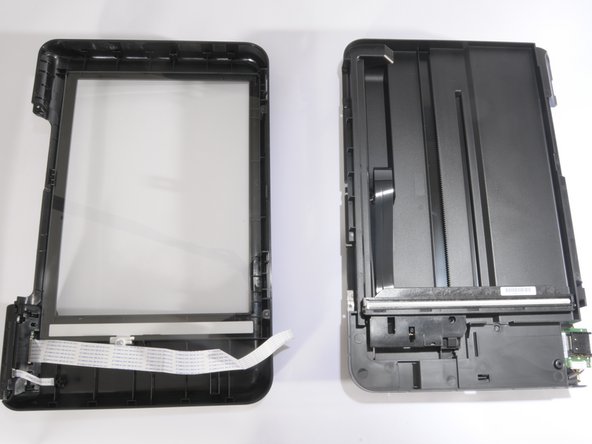


To reassemble your device, follow these instructions in reverse order.
To reassemble your device, follow these instructions in reverse order.
İptal et: Bu kılavuzu tamamlamadım.
2 farklı kişi bu kılavuzu tamamladı.
Ekip

Cal Poly, Team 10-38, Forte Spring 2011 Cal Poly, Team 10-38, Forte Spring 2011 üyesi
CPSU-FORTE-S11S10G38
5 Üyeler
10 adet Kılavuz yazıldı