Giriş
Solid State Drives (SSDs) usually don't have a lot of storage which is why running out of storage space on your device is really common. This guide shows how to replace and upgrade the SSD on this device.
Neye ihtiyacın var
-
-
-
Make sure the device is powered off and the kick stand is retracted.
-
The HP Spectre should be placed on a flat surface with the keyboard detached.
 FixBot'a Sor
-
-
Bu adımda kullanılan alet:Tweezers$4.99
-
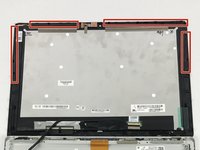
To remove the screen, there is an entire system of clips which need to be undone as well as 4 Phillips M1.5x2.7 screws.
-
The screws should be removed using a Phillips #000 screwdriver. There is a sticker where the laptop attaches to the keyboard.
-
Heat the sticker (if needed) and use fine point tweezers to grip the sticker and remove it.
-
-
-
Use the plastic opening tools or insert a spudger to begin unclipping the system.
-
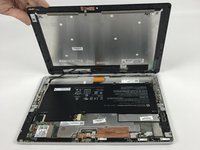
Pry the screen off once all the clips have been unclipped.
-
-
-
-
This screen will break. There is double tape underneath the frame, which is not listed in here.
-
-
-
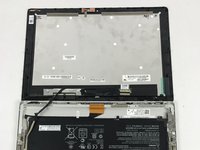
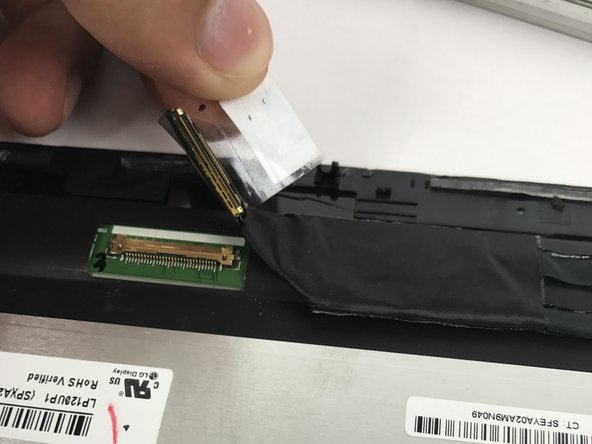
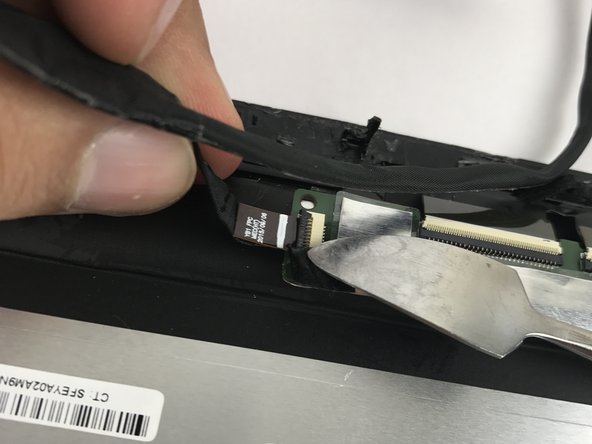
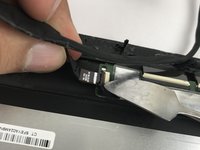
Remove the connecting cable of the screen and battery. Use a spudger to reveal the adhesive strip and carefully peel it off.
-
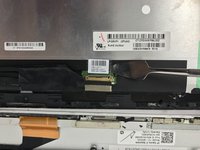
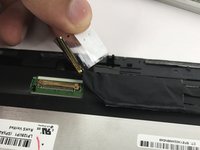
Insert a spudger to the other end and release the ZIF connectors. Detach the cable.
-
-
-
-
-
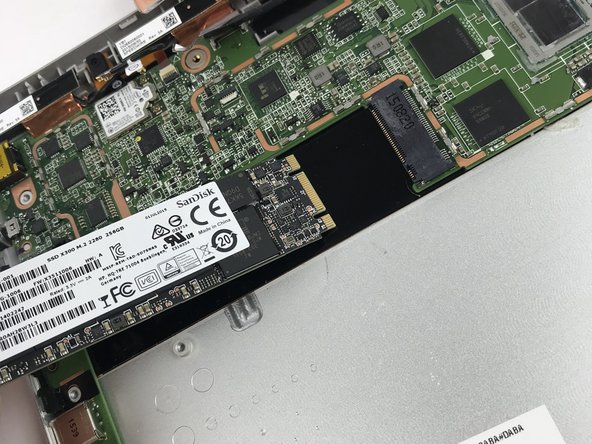
Once you have successfully removed the screen, locate the solid state drive (SSD).
-
-
-
Unscrew the PM2.0x2.5 screw on the SSD using a JIS00 screwdriver.
-
Store the screw in a safe place. You will need it to secure the replacement SSD in place.
-
-





To reassemble your device, follow these instructions in reverse order.
İptal et: Bu kılavuzu tamamlamadım.
6 farklı kişi bu kılavuzu tamamladı.

Ekip

USF Tampa, Team S10-G6, Thompson Fall 2017 USF Tampa, Team S10-G6, Thompson Fall 2017 üyesi
USFT-THOMPSON-F17S10G6
4 Üyeler
50 adet Kılavuz yazıldı
4Kılavuz Yorumları
Hola, esta unidad se puede cambiar, la memoria RAM se puede aumentar. Ha hecho un video al respecto.
it would be nice if you listed the compatible ssds… key, interface, etc.
it is a m.2 interface and it compatible with all 2280 size drives
