Ana içeriğe geç

HP Windows Mixed Reality Controllers TPC-Q044 Trigger Replacement

Neye ihtiyacın var

  1. HP Windows Mixed Reality Controllers TPC-Q044 Trigger Replacement, Batteries: adım 1, 3 resimden 1. HP Windows Mixed Reality Controllers TPC-Q044 Trigger Replacement, Batteries: adım 1, 3 resimden 2. HP Windows Mixed Reality Controllers TPC-Q044 Trigger Replacement, Batteries: adım 1, 3 resimden 3.
    • Slide the rear compartment cover in the direction of the arrow.

    • If replacing batteries, ensure the (+) and (-) on the battery match the (+) and (-) labeled in the battery compartment.

  2. HP Windows Mixed Reality Controllers TPC-Q044 Trigger Replacement, Shell: adım 2, 2 resimden 1. HP Windows Mixed Reality Controllers TPC-Q044 Trigger Replacement, Shell: adım 2, 2 resimden 2.
    • Remove the four 4mm screws using a Phillips #00 screwdriver.

  3. HP Windows Mixed Reality Controllers TPC-Q044 Trigger Replacement: adım 3, 3 resimden 1. HP Windows Mixed Reality Controllers TPC-Q044 Trigger Replacement: adım 3, 3 resimden 2. HP Windows Mixed Reality Controllers TPC-Q044 Trigger Replacement: adım 3, 3 resimden 3.
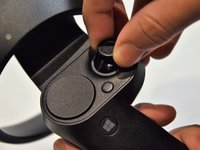
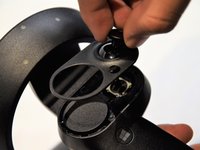
    • Grip the main body and pull the joystick outwards until the entire front panel pops off.

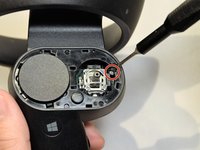
    • Remove the 6mm screw in the corner of the joystick well using a Phillips #00 screwdriver.

  4. HP Windows Mixed Reality Controllers TPC-Q044 Trigger Replacement: adım 4, 2 resimden 1. HP Windows Mixed Reality Controllers TPC-Q044 Trigger Replacement: adım 4, 2 resimden 2.
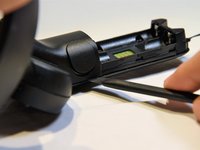
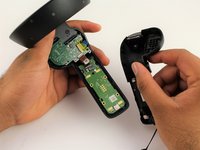
    • Use a spudger to pry apart the two halves of the assembly.

    • Work slowly, prying a small section at a time until the halves are completely separated.

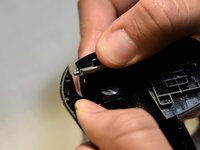
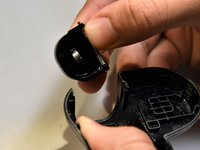
  5. HP Windows Mixed Reality Controllers TPC-Q044 Trigger Replacement, Trigger: adım 5, 3 resimden 1. HP Windows Mixed Reality Controllers TPC-Q044 Trigger Replacement, Trigger: adım 5, 3 resimden 2. HP Windows Mixed Reality Controllers TPC-Q044 Trigger Replacement, Trigger: adım 5, 3 resimden 3.
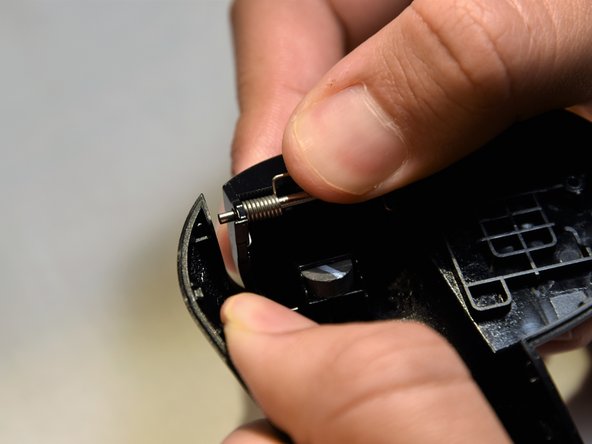
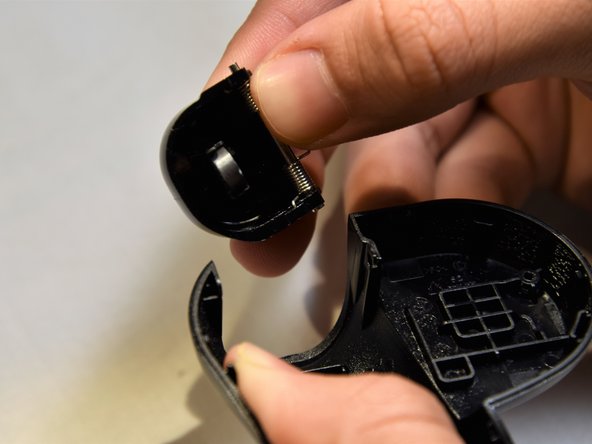
    • Grasp the trigger with one hand while pushing against the outer wall of the shell.

    • Apply pressure, pulling the wall away from the trigger.

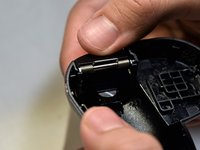
    • Remove the trigger starting from the freed edge.

    • The spring-rod assembly can easily come apart. Inserting the large end first during reassembly may make the process easier.

Sonuç

To reassemble your device, follow these instructions in reverse order.

4 farklı kişi bu kılavuzu tamamladı.

Clement Cheung

Üyelik tarihi: 01/24/19

643 İtibar

5 adet Kılavuz yazıldı

Ekip

Cal Poly, Team S18-G5, White Winter 2019 Cal Poly, Team S18-G5, White Winter 2019 üyesi

CPSU-WHITE-W19S18G5

2 Üyeler

14 adet Kılavuz yazıldı

0 Yorum

Yorum Ekle

İstatistikleri Görüntüle:

Son 24 Saat: 0

Son 7 gün: 4

Son 30 gün: 10

Her zaman: 1,581