Ana içeriğe geç

HTC Excalibur Screen Replacement

Neye ihtiyacın var

  1. HTC Excalibur Screen Replacement, Logic Board: adım 1, 1 resimden 1.
    • Start off with a clean open space to work in and then power off your phone.

    • Remove the SIM card and microSD, if it was inserted.

  2. HTC Excalibur Screen Replacement: adım 2, 1 resimden 1.
    • To take off the back cover, you can use a pry tool or your fingernail to take it off.

    • Gripping the battery by the bottom, lift and remove it from the phone.

  3. HTC Excalibur Screen Replacement: adım 3, 3 resimden 1. HTC Excalibur Screen Replacement: adım 3, 3 resimden 2. HTC Excalibur Screen Replacement: adım 3, 3 resimden 3.
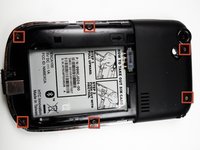
    • After removing the rubber stoppers on top, there should be six exposed screws. Remove these using the T6 screwdriver.

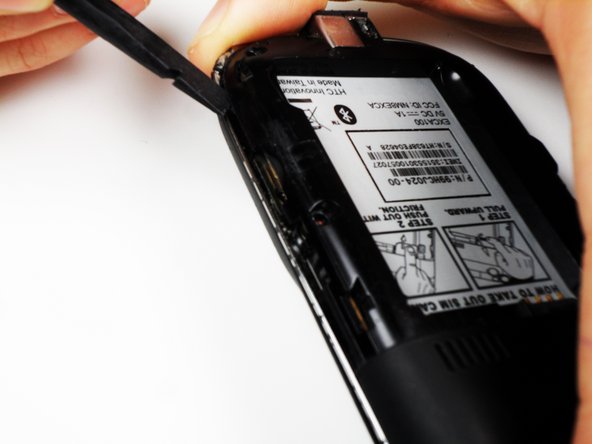
    • Next, use the spudger to loosen the case underneath the shiny metal edge. Go all the way around the phone until completely loosened.

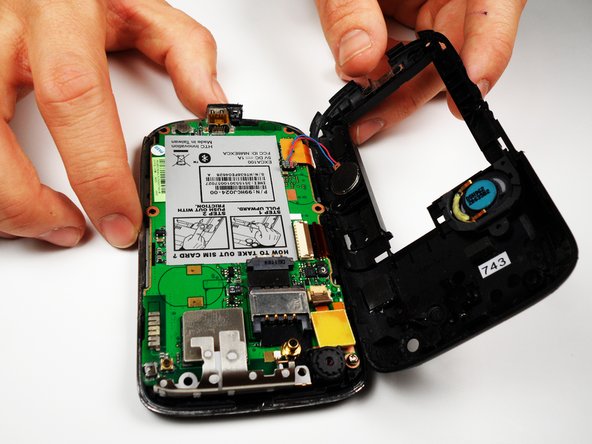
    • After loosening the case, remove it.

    • When taking the cover off, make sure not to snap any of the clips that are attached to the phone.

    • There is a wire that connects both the top and bottom of the case. If you are not careful when removing the case, you might snap the wire.

  4. HTC Excalibur Screen Replacement: adım 4, 2 resimden 1. HTC Excalibur Screen Replacement: adım 4, 2 resimden 2.
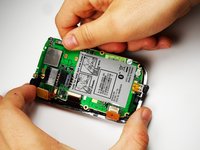
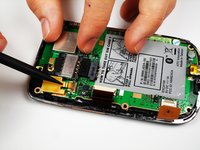
    • Disconnect all the ribbon cables that are connected to the logic board and do it either with the plastic pry tool or tweezers.

    • If there are any extra screws, ensure they are all out.

  5. HTC Excalibur Screen Replacement: adım 5, 3 resimden 1. HTC Excalibur Screen Replacement: adım 5, 3 resimden 2. HTC Excalibur Screen Replacement: adım 5, 3 resimden 3.
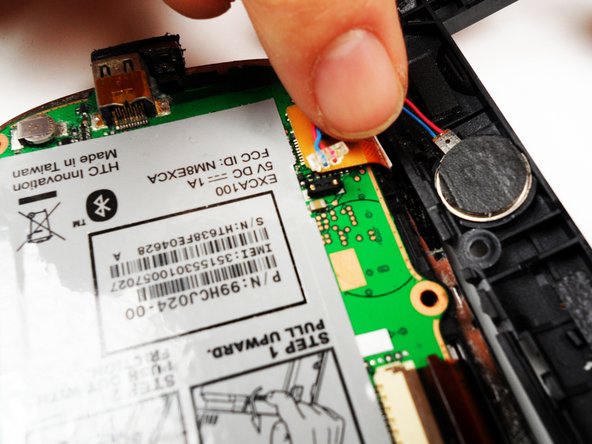
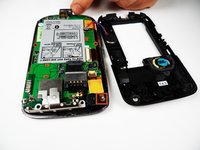
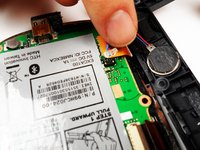
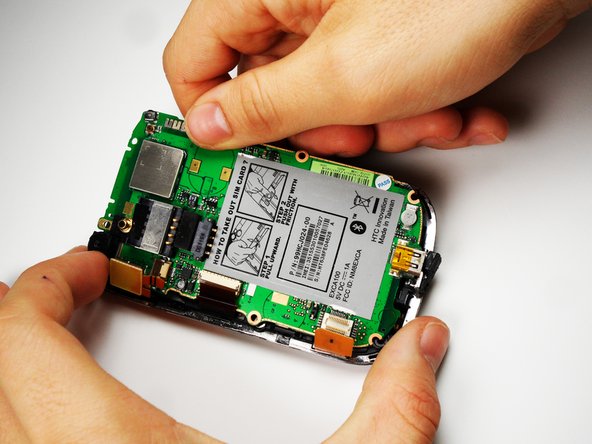
    • On the left side of the phone, there are three copper colored clips.

    • Unclip the bottom clip, thread the middle one through the logic board, and pull the top one out gently.

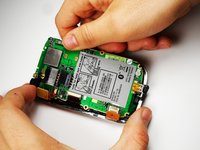
    • You can then lift the logic board out of the phone.

    • Be gentle when taking the logic board out and be mindful of any remaining connectors or adhesive.

    • When installing the logic board, make sure it is aligned properly in the phone.

    • After, reconnect all the ribbon cables back to the logic board and insert the screws again.

    • Including reinserting the battery, SIM card, and microSD card.

    • Finally, turn off the phone back on and check if it functions.

    • Double check if calls, Wi-Fi, touchscreen, and the buttons work after the replacement.

  6. HTC Excalibur Screen Replacement, Screen: adım 8, 1 resimden 1.
    • Remove the metal frame. Slip out the copper clips still attached to the bottom frame from the frame carefully.

  7. HTC Excalibur Screen Replacement: adım 9, 1 resimden 1.
    • Grab the screen by the bottom edge, and lift it out at an angle.

    • Replace the screen, and reassemble the phone.

Sonuç

To reassemble your device, follow these instructions in reverse order.

Ian Mitchell

Üyelik tarihi: 04/19/11

142 İtibar

5 adet Kılavuz yazıldı

Ekip

Cal Poly, Team 25-27, Garner Spring 2011 Cal Poly, Team 25-27, Garner Spring 2011 üyesi

CPSU-GARNER-S11S25G27

4 Üyeler

10 adet Kılavuz yazıldı

0Kılavuz Yorumları

Yorum Ekle

İstatistikleri Görüntüle:

Son 24 Saat: 1

Son 7 gün: 2

Son 30 gün: 2

Her zaman: 1,851