Ana içeriğe geç
Onarım Topluluğuna Katılın - Hesap Oluşturun

HTC Flyer Charging Port Replacement

Neye ihtiyacın var

  1. HTC Flyer Charging Port Replacement, Charging Port: adım 1, 1 resimden 1.
    • Remove the white portion of the top cover as shown. Push down on it to slide it off using just your fingers. Be careful not to break the clips holding it in place with removing it.

    FixBot'a Sor

    Yorum Ekle

  2. HTC Flyer Charging Port Replacement: adım 2, 3 resimden 1. HTC Flyer Charging Port Replacement: adım 2, 3 resimden 2. HTC Flyer Charging Port Replacement: adım 2, 3 resimden 3.
    • Remove the five Torx T5 screws.

    FixBot'a Sor

    Yorum Ekle

  3. HTC Flyer Charging Port Replacement: adım 3, 2 resimden 1. HTC Flyer Charging Port Replacement: adım 3, 2 resimden 2.
    • Remove full frame on the back. A tip is to tape the volume button to the frame before removing it, as the volume button will fall out.

    FixBot'a Sor

    Yorum Ekle

  4. HTC Flyer Charging Port Replacement: adım 4, 2 resimden 1. HTC Flyer Charging Port Replacement: adım 4, 2 resimden 2.
    • Remove the plastic top cover of the motherboard.

    FixBot'a Sor

    Yorum Ekle

  5. HTC Flyer Charging Port Replacement: adım 5, 2 resimden 1. HTC Flyer Charging Port Replacement: adım 5, 2 resimden 2.
    • Remove four T5 Torx screws.

    FixBot'a Sor

    Yorum Ekle

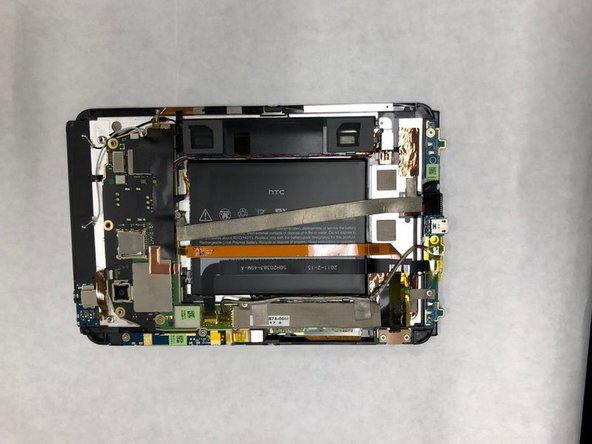
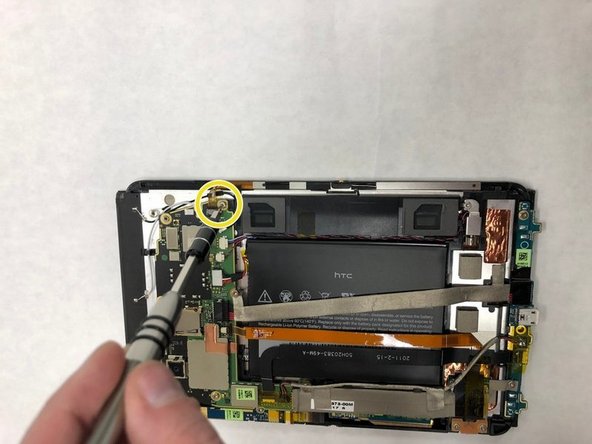
  6. HTC Flyer Charging Port Replacement: adım 6, 3 resimden 1. HTC Flyer Charging Port Replacement: adım 6, 3 resimden 2. HTC Flyer Charging Port Replacement: adım 6, 3 resimden 3.
    • Remove twelve of the connectors.

    FixBot'a Sor

    Yorum Ekle

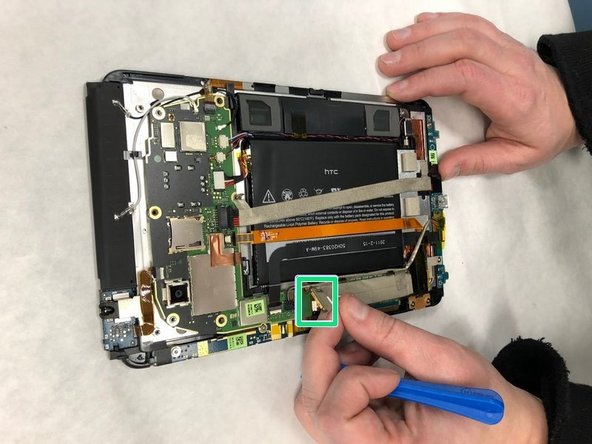
  7. HTC Flyer Charging Port Replacement: adım 7, 2 resimden 1. HTC Flyer Charging Port Replacement: adım 7, 2 resimden 2.
    • Release the flex-screen touch cable. It is held in place with clips. Use the safe open pry tool to unclip it. Note that it will still be connected to the base and the motherboard.

    FixBot'a Sor

    Yorum Ekle

  8. HTC Flyer Charging Port Replacement: adım 8, 1 resimden 1.
    • Flip the motherboard and the flex screen to the left.

    FixBot'a Sor

    Yorum Ekle

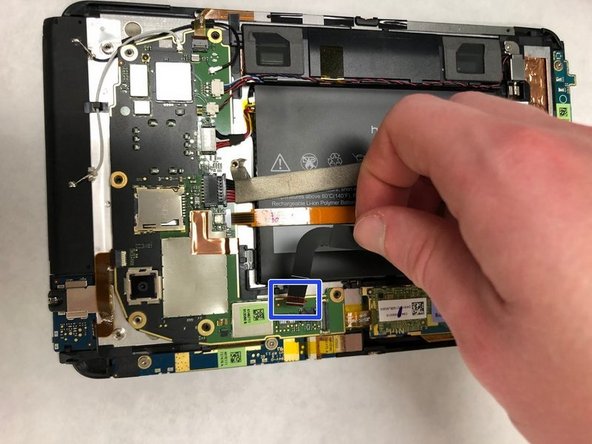
  9. HTC Flyer Charging Port Replacement: adım 9, 1 resimden 1.
    • Release the two file cables attached to the motherboard.

    FixBot'a Sor

    Yorum Ekle

  10. HTC Flyer Charging Port Replacement: adım 10, 1 resimden 1.
    • Remove the motherboard. Note that the flex screen will not be removed with it and will remain attached to the tablet frame.

    FixBot'a Sor

    Yorum Ekle

  11. HTC Flyer Charging Port Replacement: adım 11, 3 resimden 1. HTC Flyer Charging Port Replacement: adım 11, 3 resimden 2. HTC Flyer Charging Port Replacement: adım 11, 3 resimden 3.
    • Remove the motherboard. Note that the flex screen will not be removed with it and will remain attached to the tablet frame.

    FixBot'a Sor

    Yorum Ekle

  12. HTC Flyer Charging Port Replacement: adım 12, 2 resimden 1. HTC Flyer Charging Port Replacement: adım 12, 2 resimden 2.
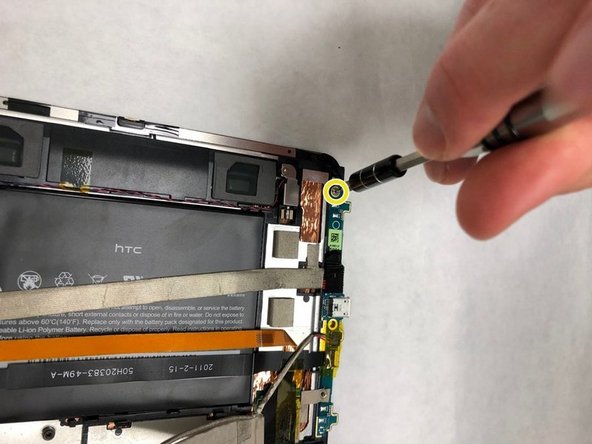
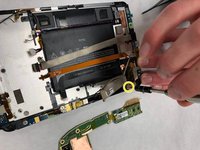
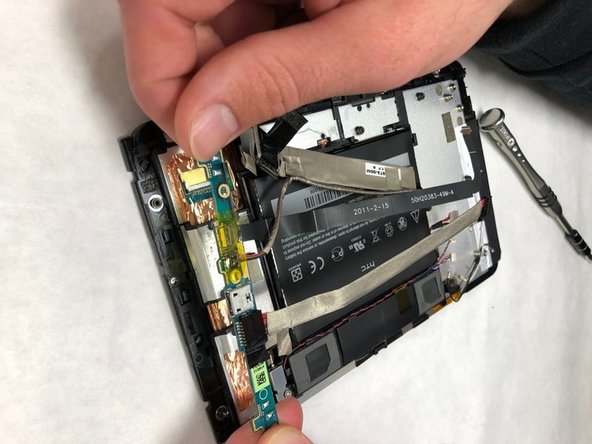
    • Remove the dock port flex cable. It will be tangled around other cables, so take care not to rip it while removing.

    FixBot'a Sor

    Yorum Ekle

Sonuç

To reassemble your device, follow these instructions in reverse order.

İptal et: Bu kılavuzu tamamlamadım.

Joshua Mahon

Üyelik tarihi: 11/26/18

445 İtibar

3 adet Kılavuz yazıldı

Ekip

IUPUI, Team S5-G5, Wilson Fall 2018 IUPUI, Team S5-G5, Wilson Fall 2018 üyesi

IUPUI-WILSON-F18S5G5

4 Üyeler

3 adet Kılavuz yazıldı

0Kılavuz Yorumları

Yorum Ekle

İstatistikleri Görüntüle:

Son 24 Saat: 0

Son 7 gün: 6

Son 30 gün: 27

Her zaman: 724