Bu sürüm, hatalı düzenlemeler içerebilir. En son doğrulanmış bellek kopyası dönün.
Neye ihtiyacın var
-
Bu adım çevrilmemiş. Çevrilmesine yardım edin
-
Use an iOpener or hair dryer to apply heat to the lower speaker grille, in order to soften the adhesive underneath.
-
-
Bu adım çevrilmemiş. Çevrilmesine yardım edin
-
Slide a thin pry tool underneath the lower speaker cover and slide it across to separate the adhesive underneath.
-
Remove the lower speaker cover.
-
-
Bu adım çevrilmemiş. Çevrilmesine yardım edin
-
Remove the screw under the speaker cover using a T6 Torx screwdriver.
-
-
Bu adım çevrilmemiş. Çevrilmesine yardım edin
-
Slide a thin guitar pick or pry tool between the edge of the display and the rear case, near the bottom of the phone.
-
Carefully work your way up each side of the display and separate the rear case. There are three clips on each side.
-
-
Bu adım çevrilmemiş. Çevrilmesine yardım edin
-
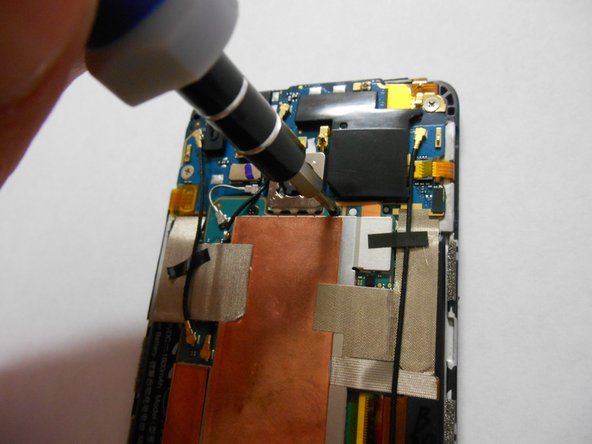
Remove the two Phillips screws securing the battery connector.
-
-
Bu adım çevrilmemiş. Çevrilmesine yardım edin
-
Disconnect the battery by prying the metal cover straight up.
-
-
-
Bu adım çevrilmemiş. Çevrilmesine yardım edin
-
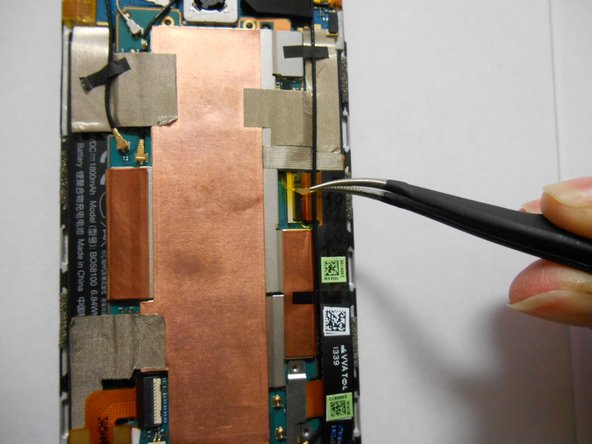
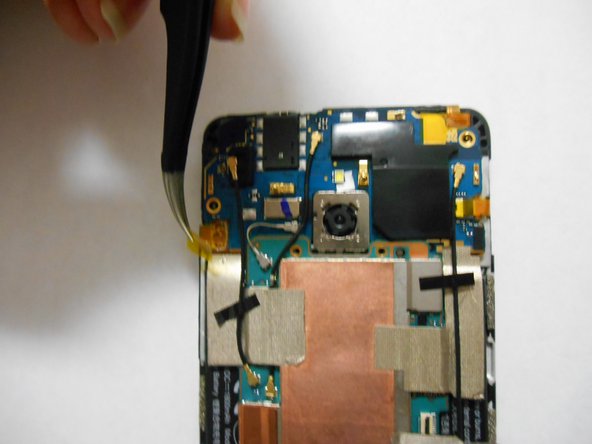
Use tweezers to remove the yellow tape covering the flex cable connectors (total of five).
-
-
Bu adım çevrilmemiş. Çevrilmesine yardım edin
-
Carefully disconnect the flex cables at the points where you removed the yellow tape in the previous steps.
-
To disconnect, flip up the small latch on each connector, opposite its cable, and then gently pull the cable free.
-
-
Bu adım çevrilmemiş. Çevrilmesine yardım edin
-
Peel off the silver strip with your tweezers.
-
Using your hands, detach the black strip from the board without removing it.
-
-
Bu adım çevrilmemiş. Çevrilmesine yardım edin
-
Detach carefully with your tweezers the volume buttons.
-
Detach the power button with your tweezers.
-
-
Bu adım çevrilmemiş. Çevrilmesine yardım edin
-
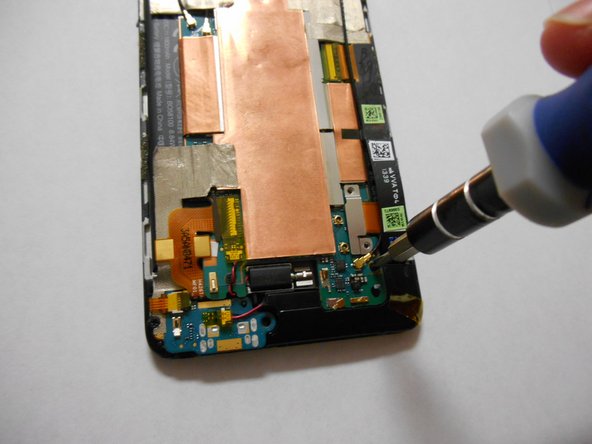
Identify the screw behind the cable.
-
Remove the screw using a Phillips screwdriver.
-
-
Bu adım çevrilmemiş. Çevrilmesine yardım edin
-
Lift the motherboard, but don't try to remove it completely yet.
-
-
Bu adım çevrilmemiş. Çevrilmesine yardım edin
-
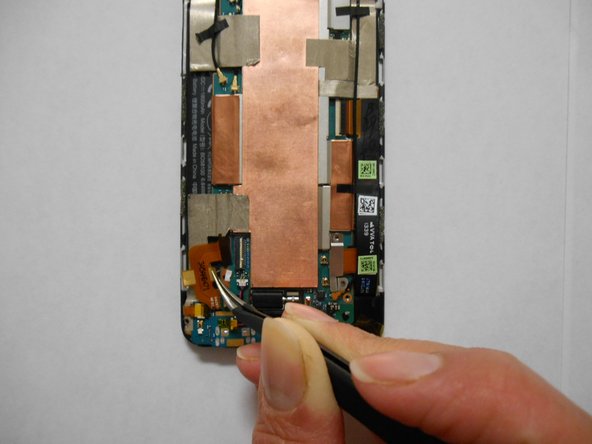
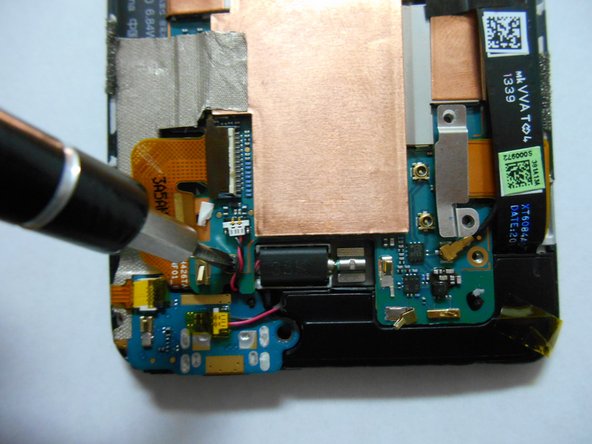
Using your tweezers, remove the black square located in the power button.
-
Remove the motherboard completely.
-
-
Bu adım çevrilmemiş. Çevrilmesine yardım edin
-
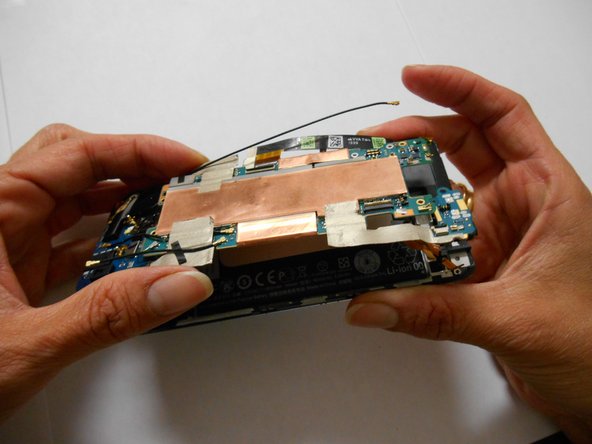
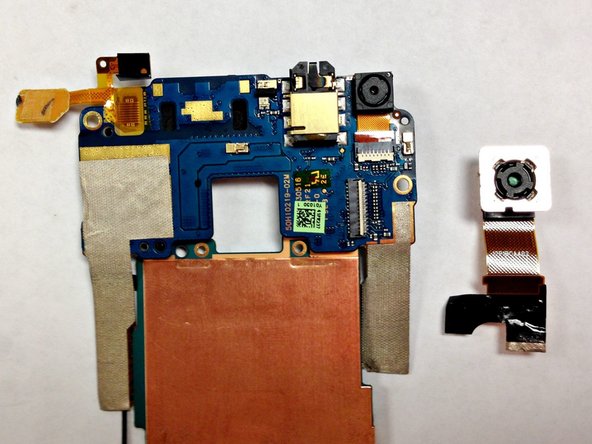
Remove the motherboard and place it so that the rear camera is face down.
-
-
Bu adım çevrilmemiş. Çevrilmesine yardım edin
-
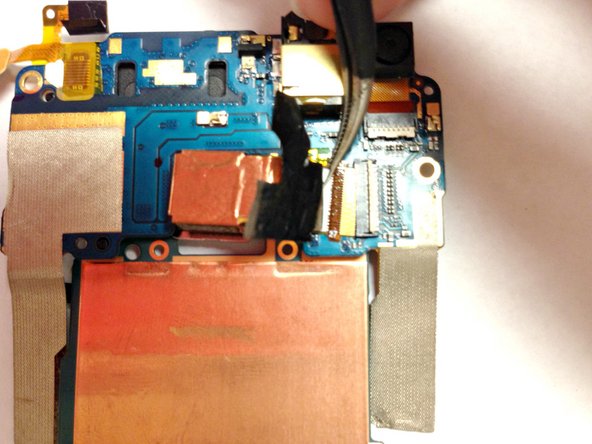
Use the tweezers to carefully peel back the copper tape attached to your rear camera.
-
-
Bu adım çevrilmemiş. Çevrilmesine yardım edin
-
Use the tweezers to lift the hatch and remove the part of the rear camera that is inserted.
-
İptal et: Bu kılavuzu tamamlamadım.
2 farklı kişi bu kılavuzu tamamladı.
2 Yorum
where can I get the rear camera? what is te number part. tks


