Ana içeriğe geç

HTC One X Plus Motherboard Replacement

Neye ihtiyacın var

  1. HTC One X Plus Motherboard Replacement, Motherboard: adım 1, 1 resimden 1.
    • Power off your device.

    • Insert a pin, paper clip, or very small piece of metal into the hole next to the micro sim card holder to remove it.

    • The Sim Card Slot is located on the top edge of the device.

  2. HTC One X Plus Motherboard Replacement: adım 2, 3 resimden 1. HTC One X Plus Motherboard Replacement: adım 2, 3 resimden 2. HTC One X Plus Motherboard Replacement: adım 2, 3 resimden 3.
    • Using plastic opening tools, pry open the bottom of the device first.

    • You will hear clicking sounds as the sides of the device detach from the screen.

    • Once both sides are detached, use the suction cup tool to remove the screen completely from the black encasing.

  3. HTC One X Plus Motherboard Replacement: adım 3, 3 resimden 1. HTC One X Plus Motherboard Replacement: adım 3, 3 resimden 2. HTC One X Plus Motherboard Replacement: adım 3, 3 resimden 3.
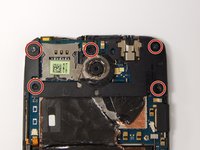
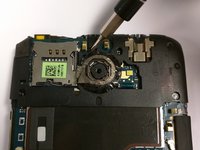
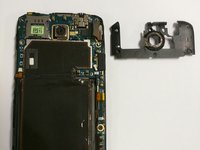
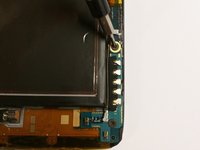
    • Using a Philips head screw driver, remove the five 2.4mm screws that are pictured. Then remove the plastic cover.

    • Once you have disassembled your device the warranty will no longer be valid.

  4. HTC One X Plus Motherboard Replacement: adım 4, 3 resimden 1. HTC One X Plus Motherboard Replacement: adım 4, 3 resimden 2. HTC One X Plus Motherboard Replacement: adım 4, 3 resimden 3.
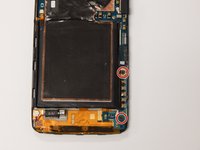
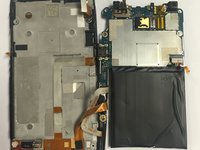
    • Use the J000 Philips screw driver head to remove the screws as pictured.

    • There are two 3.4mm screws to be removed.

    • Remove the PCB board and the antenna.

  5. HTC One X Plus Motherboard Replacement: adım 5, 2 resimden 1. HTC One X Plus Motherboard Replacement: adım 5, 2 resimden 2.
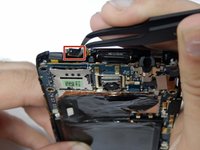
    • Using tweezers, disconnect the power button flex cable.

    • Then disconnect the touch screen flex cable.

  6. HTC One X Plus Motherboard Replacement: adım 6, 3 resimden 1. HTC One X Plus Motherboard Replacement: adım 6, 3 resimden 2. HTC One X Plus Motherboard Replacement: adım 6, 3 resimden 3.
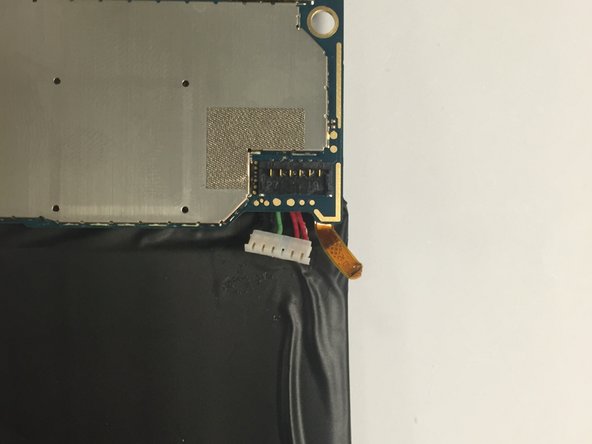
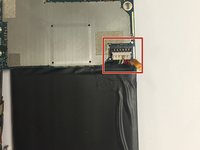
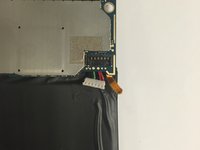
    • Disconnect the battery from the logic board.

    • Look for a white six pin connector.

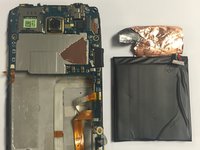
    • Remove the battery by pulling upwards.

  7. HTC One X Plus Motherboard Replacement: adım 7, 1 resimden 1.
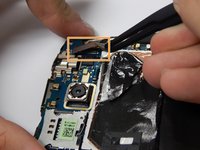
    • Disconnect the remaining two flex cables following the same procedure from Step 5.

    • Once these two flex cables have been disconnected, you may now remove the motherboard.

Sonuç

To reassemble your device, follow these instructions in reverse order.

Bir başkası bu kılavuzu tamamladı.

Jason Melo

Üyelik tarihi: 08/26/15

483 İtibar

4 adet Kılavuz yazıldı

Ekip

USF Tampa, Team 3-3, Eyestone Fall 2015 USF Tampa, Team 3-3, Eyestone Fall 2015 üyesi

USFT-EYESTONE-F15S3G3

3 Üyeler

10 adet Kılavuz yazıldı

0 Yorum

Yorum Ekle

İstatistikleri Görüntüle:

Son 24 Saat: 0

Son 7 gün: 0

Son 30 gün: 2

Her zaman: 1,233