Ana içeriğe geç
Onarım Topluluğuna Katılın - Hesap Oluşturun

HTC Ozone Keyboard Replacement

Neye ihtiyacın var

  1. HTC Ozone Keyboard Replacement, Rear Battery Cover: adım 1, 1 resimden 1.
    • Flip the phone over to have the rear cover facing up.

    • The camera lens should be towards the top of the phone.

    FixBot'a Sor

    Yorum Ekle

  2. HTC Ozone Keyboard Replacement: adım 2, 2 resimden 1. HTC Ozone Keyboard Replacement: adım 2, 2 resimden 2.
    • Slide the cover up, towards the top of phone, to unlock the battery cover.

    • Lift the cover off phone and remove it.

    FixBot'a Sor

    Yorum Ekle

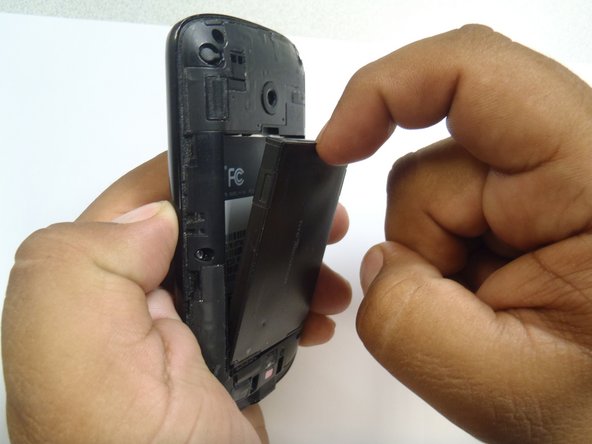
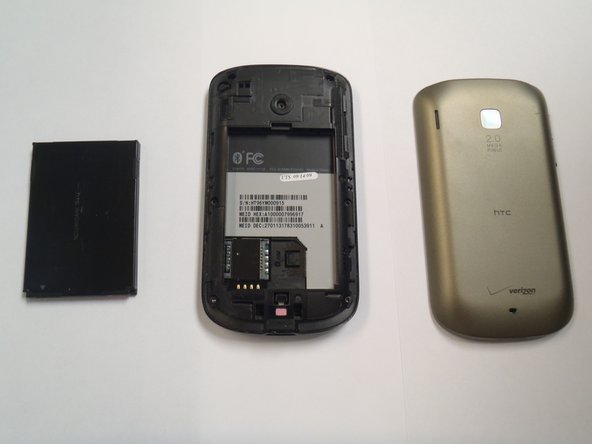
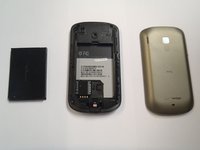
  3. HTC Ozone Keyboard Replacement, Battery: adım 3, 3 resimden 1. HTC Ozone Keyboard Replacement, Battery: adım 3, 3 resimden 2. HTC Ozone Keyboard Replacement, Battery: adım 3, 3 resimden 3.
    • Use your finger to push the top of the battery downwards and lift the battery out of the phone.

    FixBot'a Sor

    Yorum Ekle

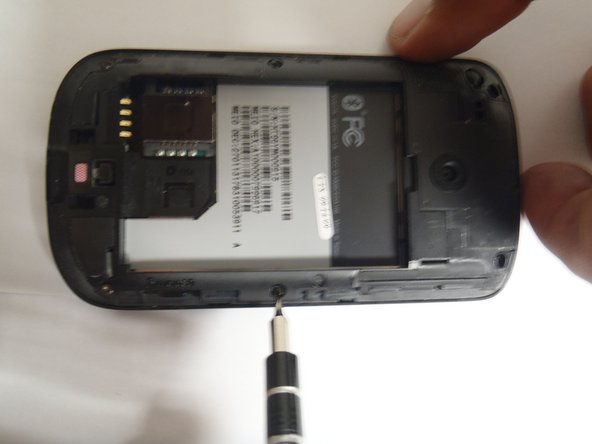
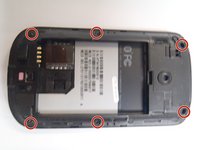
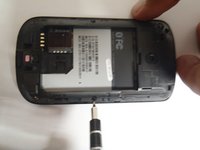
  4. HTC Ozone Keyboard Replacement, Frame: adım 4, 2 resimden 1. HTC Ozone Keyboard Replacement, Frame: adım 4, 2 resimden 2.
    • Remove the six Torx #5 screws that are securing the rear frame.

    FixBot'a Sor

    Yorum Ekle

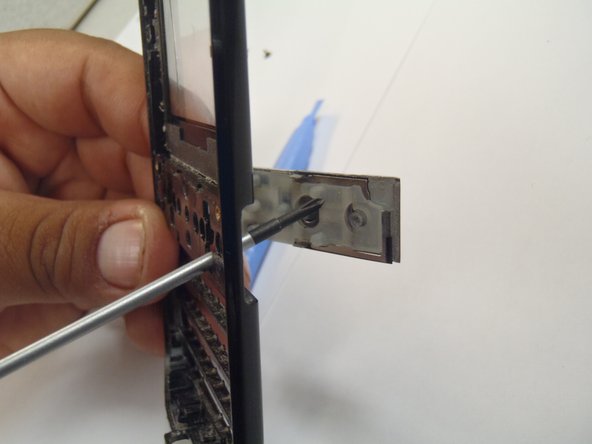
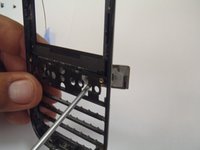
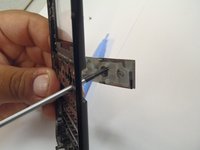
  5. HTC Ozone Keyboard Replacement: adım 5, 3 resimden 1. HTC Ozone Keyboard Replacement: adım 5, 3 resimden 2. HTC Ozone Keyboard Replacement: adım 5, 3 resimden 3.
    Bu adımda kullanılan alet:
    Plastic Cards
    $2.99
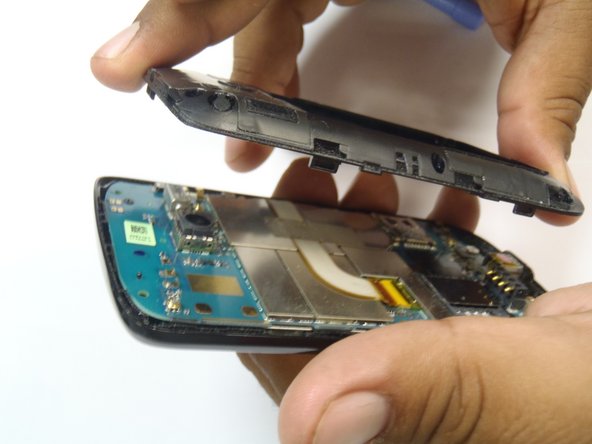
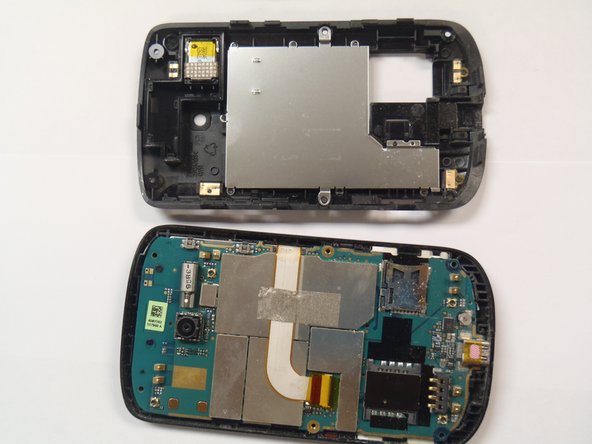
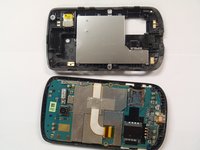
    • Pry the frame open, releasing the eight plastic tabs around the edge of the frame, using the plastic opening tool.

    • A plastic card can be used instead of the plastic opening tool.

    FixBot'a Sor

    Yorum Ekle

  6. HTC Ozone Keyboard Replacement, Motherboard: adım 6, 2 resimden 1. HTC Ozone Keyboard Replacement, Motherboard: adım 6, 2 resimden 2.
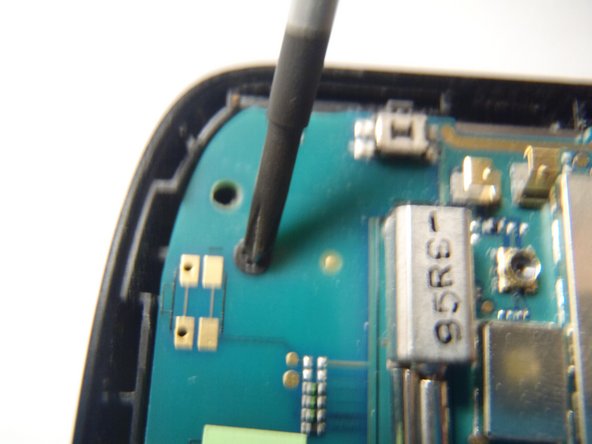
    • Remove the single Phillips #0 screw that is securing the motherboard to the front case of the phone.

    FixBot'a Sor

    Yorum Ekle

  7. HTC Ozone Keyboard Replacement: adım 7, 2 resimden 1. HTC Ozone Keyboard Replacement: adım 7, 2 resimden 2.
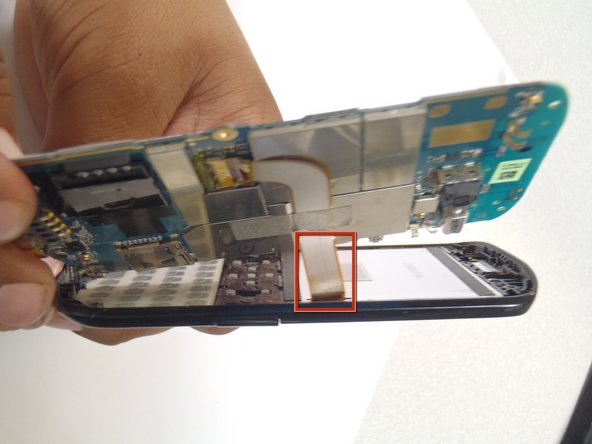
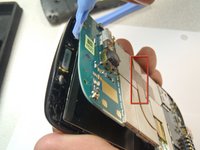
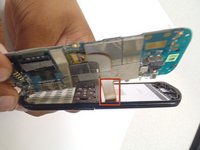
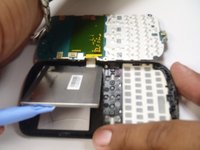
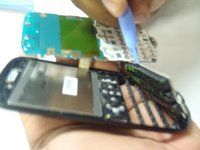
    • Pry the motherboard away from the front of the plastic case using a plastic opening tool.

    • Be careful not to break the ribbon cable when prying away the motherboard.

    FixBot'a Sor

    Yorum Ekle

  8. HTC Ozone Keyboard Replacement: adım 8, 3 resimden 1. HTC Ozone Keyboard Replacement: adım 8, 3 resimden 2. HTC Ozone Keyboard Replacement: adım 8, 3 resimden 3.
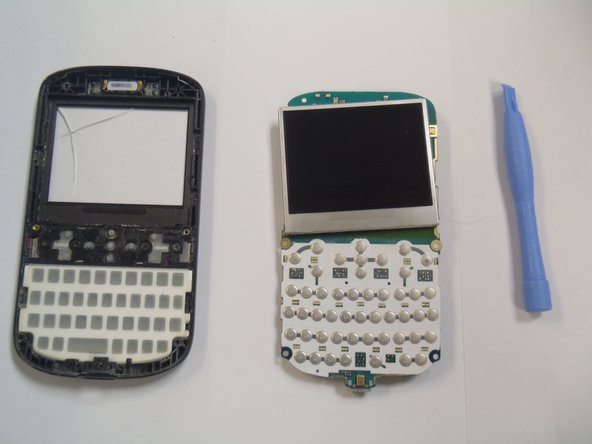
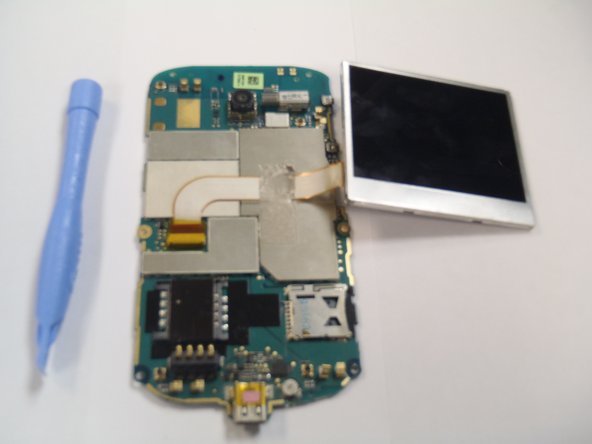
    • Remove the plastic cover from the LCD display and the motherboard.

    • The Motherboard and the LCD are still attached together.

    FixBot'a Sor

    Yorum Ekle

  9. HTC Ozone Keyboard Replacement, LCD Display: adım 9, 2 resimden 1. HTC Ozone Keyboard Replacement, LCD Display: adım 9, 2 resimden 2.
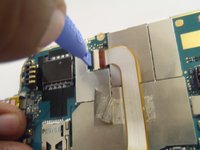
    • Remove the gray tape securing the ribbon cable.

    FixBot'a Sor

    Yorum Ekle

  10. HTC Ozone Keyboard Replacement: adım 10, 1 resimden 1.
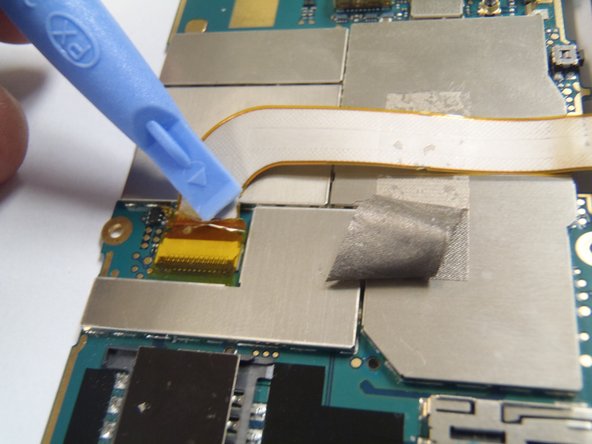
    • Remove the yellow tape securing the connector lock.

    FixBot'a Sor

    Yorum Ekle

  11. HTC Ozone Keyboard Replacement: adım 11, 2 resimden 1. HTC Ozone Keyboard Replacement: adım 11, 2 resimden 2.
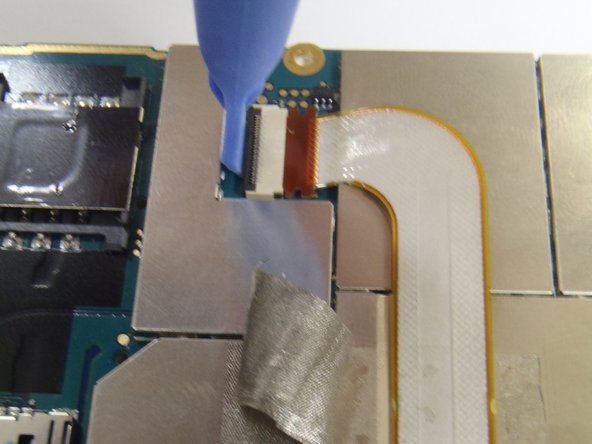
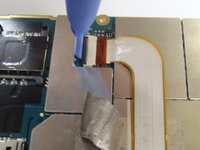
    • Carefully lift the black lock to release the ribbon cable, using the plastic opening tool.

    FixBot'a Sor

    Yorum Ekle

  12. HTC Ozone Keyboard Replacement: adım 12, 1 resimden 1.
    • Pull the ribbon cable upwards, disconnecting it from the Motherboard.

    FixBot'a Sor

    Yorum Ekle

  13. HTC Ozone Keyboard Replacement: adım 13, 1 resimden 1.
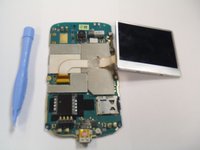
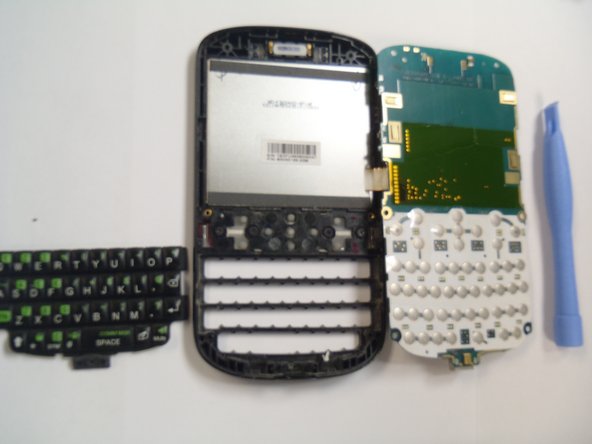
    • Lift the Motherboard away from the LCD display.

    FixBot'a Sor

    Yorum Ekle

  14. HTC Ozone Keyboard Replacement, Keyboard: adım 14, 2 resimden 1. HTC Ozone Keyboard Replacement, Keyboard: adım 14, 2 resimden 2.
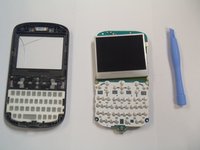
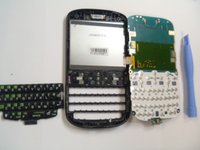
    • Lift off main keyboard from front plastic case using plastic opening tool.

    FixBot'a Sor

    Yorum Ekle

  15. HTC Ozone Keyboard Replacement: adım 15, 2 resimden 1. HTC Ozone Keyboard Replacement: adım 15, 2 resimden 2.
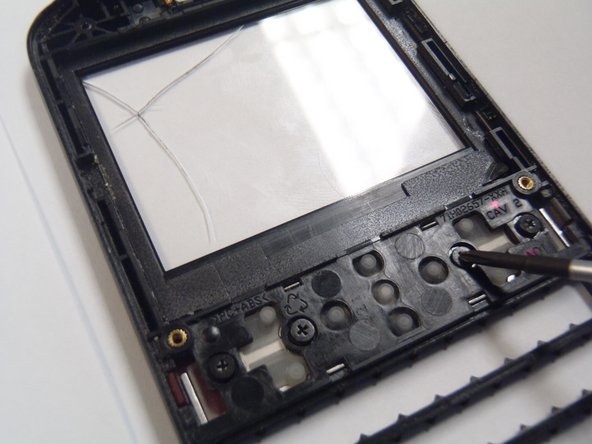
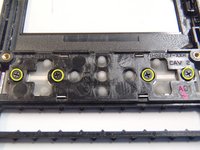
    • Remove four Phillips #00 screws securing function keys.

    FixBot'a Sor

    Yorum Ekle

  16. HTC Ozone Keyboard Replacement: adım 16, 2 resimden 1. HTC Ozone Keyboard Replacement: adım 16, 2 resimden 2.
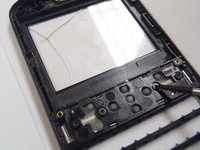
    • Pop keys out by pushing keys from back of the phone.

    FixBot'a Sor

    Yorum Ekle

Sonuç

To reassemble your device, follow these instructions in reverse order.

İptal et: Bu kılavuzu tamamlamadım.

Bir başkası bu kılavuzu tamamladı.

Marco Jokada

Üyelik tarihi: 04/28/11

247 İtibar

6 adet Kılavuz yazıldı

Ekip

CSU Los Angeles, Team 1-2, Nelson Spring 2011 CSU Los Angeles, Team 1-2, Nelson Spring 2011 üyesi

CSULA-NELSON-S11S1G2

5 Üyeler

18 adet Kılavuz yazıldı

0Kılavuz Yorumları

Yorum Ekle

İstatistikleri Görüntüle:

Son 24 Saat: 2

Son 7 gün: 5

Son 30 gün: 20

Her zaman: 2,068