Ana içeriğe geç

HTC SMT 6175 Keyboard Replacement

Neye ihtiyacın var

  1. HTC SMT 6175 Keyboard Replacement, Back Case: adım 1, 1 resimden 1.
    • First, flip the phone over so that the back is facing upwards.

  2. HTC SMT 6175 Keyboard Replacement: adım 2, 2 resimden 1. HTC SMT 6175 Keyboard Replacement: adım 2, 2 resimden 2.
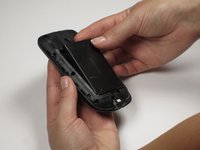
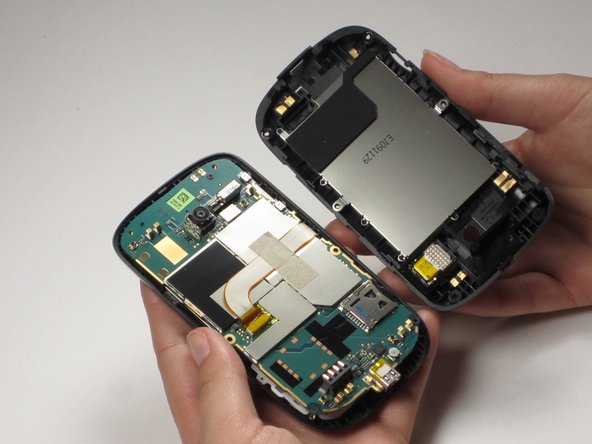
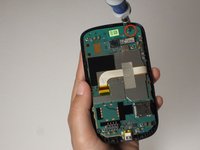
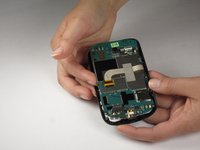
    • Using both thumbs, push the back side of the phone's exterior up and remove the front face of the phone.

  3. HTC SMT 6175 Keyboard Replacement, Battery: adım 3, 2 resimden 1. HTC SMT 6175 Keyboard Replacement, Battery: adım 3, 2 resimden 2.
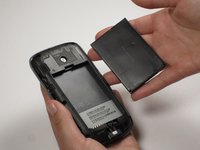
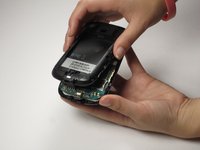
    • Insert your finger or a pry tool into the slot above the battery. Remove it and set aside.

  4. HTC SMT 6175 Keyboard Replacement, Keyboard: adım 4, 2 resimden 1. HTC SMT 6175 Keyboard Replacement, Keyboard: adım 4, 2 resimden 2.
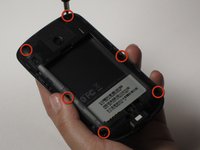
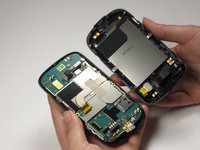
    • To remove the back casing inside the phone, remove the six screws around the perimeter.

  5. HTC SMT 6175 Keyboard Replacement: adım 5, 2 resimden 1. HTC SMT 6175 Keyboard Replacement: adım 5, 2 resimden 2.
    • Carefully pull off the back casing.

    • This step may be difficult. Start pulling the back out from the front shell. As it starts to lift up, move the phone side-to-side until the whole back is free.

  6. HTC SMT 6175 Keyboard Replacement: adım 6, 2 resimden 1. HTC SMT 6175 Keyboard Replacement: adım 6, 2 resimden 2.
    • Remove the top screw.

    • Be CAREFUL, because the LCD screen is attached to the front side of the motherboard by a flexible ribbon cable.

  7. HTC SMT 6175 Keyboard Replacement, QWERTY Keyboard: adım 7, 3 resimden 1. HTC SMT 6175 Keyboard Replacement, QWERTY Keyboard: adım 7, 3 resimden 2. HTC SMT 6175 Keyboard Replacement, QWERTY Keyboard: adım 7, 3 resimden 3.
    • Pull the plastic keyboard away from the front case.

  8. HTC SMT 6175 Keyboard Replacement, Navigation Keys: adım 8, 3 resimden 1. HTC SMT 6175 Keyboard Replacement, Navigation Keys: adım 8, 3 resimden 2. HTC SMT 6175 Keyboard Replacement, Navigation Keys: adım 8, 3 resimden 3.
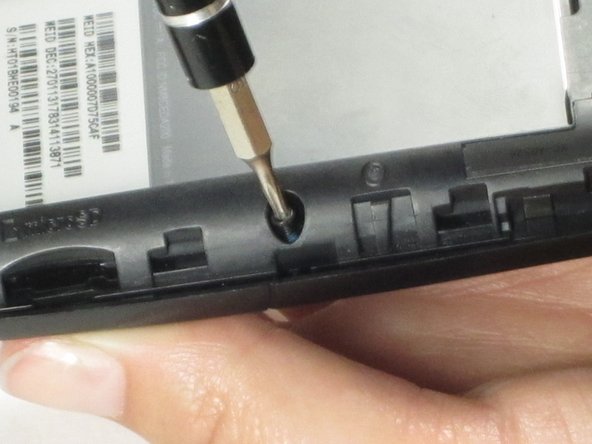
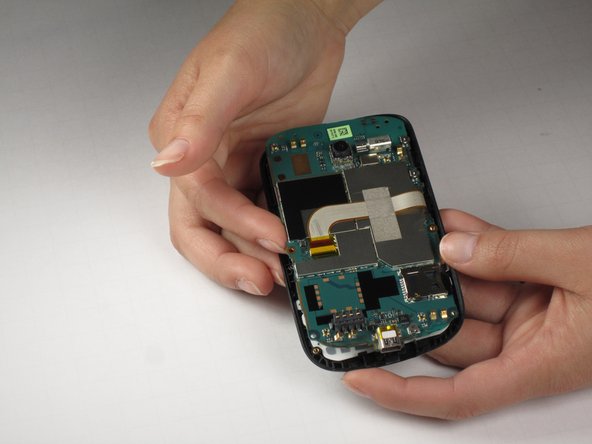
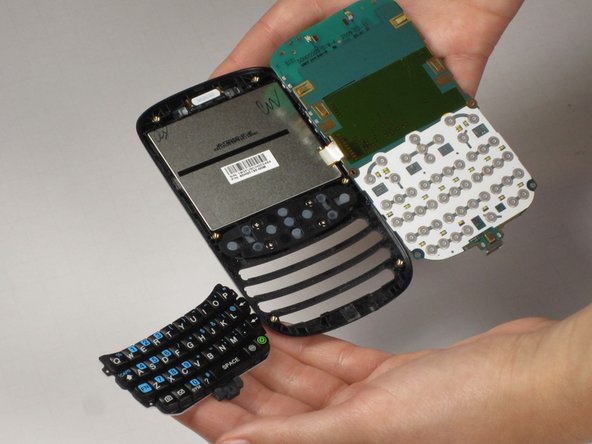
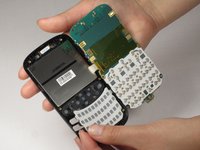
    • To remove the navigation keys on the front of the phone, remove the four screws securing the navigation keys using a Phillips screwdriver.

    • Remove the navigation keys from the front of the phone.

    • They should pop out as a unit.

Sonuç

To reassemble your device, follow these instructions in reverse order.

Luke Plewa

Üyelik tarihi: 04/22/11

116 İtibar

4 adet Kılavuz yazıldı

Ekip

Cal Poly, Team 25-29, Garner Spring 2011 Cal Poly, Team 25-29, Garner Spring 2011 üyesi

CPSU-GARNER-S11S25G29

3 Üyeler

10 adet Kılavuz yazıldı

0 Yorum

Yorum Ekle

İstatistikleri Görüntüle:

Son 24 Saat: 0

Son 7 gün: 0

Son 30 gün: 1

Her zaman: 1,662