Ana içeriğe geç
Onarım Topluluğuna Katılın - Hesap Oluşturun

HTC Thunderbolt Motherboard Replacement

Neye ihtiyacın var

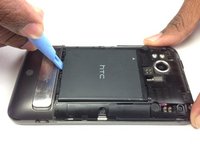
    1. HTC Thunderbolt Motherboard Replacement, Rear Panel: adım 1, 1 resimden 1.
      • Insert the plastic opening tool into the top of the Thunderbolt near the power button.

      • Gently pry up on the rear panel around the edges until it is loose.

      FixBot'a Sor

      Yorum Ekle

    2. HTC Thunderbolt Motherboard Replacement: adım 2, 1 resimden 1.
      • Lift and remove the rear panel.

      FixBot'a Sor

      Yorum Ekle

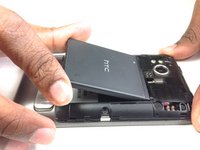
    1. HTC Thunderbolt Motherboard Replacement, Battery: adım 3, 2 resimden 1. HTC Thunderbolt Motherboard Replacement, Battery: adım 3, 2 resimden 2.
      • Using the plastic opening tool, lift up the battery from the bottom near the kickstand.

      • Remove the battery from the inner frame.

      FixBot'a Sor

      Yorum Ekle

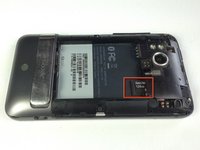
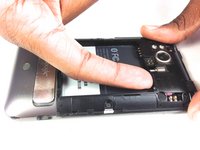
    1. HTC Thunderbolt Motherboard Replacement, MicroSD Card: adım 4, 2 resimden 1. HTC Thunderbolt Motherboard Replacement, MicroSD Card: adım 4, 2 resimden 2.
      • Use your finger to push the MicroSD card in towards the top of the phone, allowing it to be released from the casing.

      FixBot'a Sor

      Yorum Ekle

    2. HTC Thunderbolt Motherboard Replacement: adım 5, 1 resimden 1.
      Bu adımda kullanılan alet:
      Tweezers
      $4.99
      • Use tweezers to grab onto the MicroSD card and carefully remove it from the casing.

      FixBot'a Sor

      Yorum Ekle

    1. HTC Thunderbolt Motherboard Replacement, Rear Frame: adım 6, 1 resimden 1.
      • Remove the six Phillips screws from the perimeter of the rear frame.

      • By removing the screw with the "void" sticker on it, your Thunderbolt will no longer be covered under warranty.

      FixBot'a Sor

      Yorum Ekle

    2. HTC Thunderbolt Motherboard Replacement: adım 7, 2 resimden 1. HTC Thunderbolt Motherboard Replacement: adım 7, 2 resimden 2.
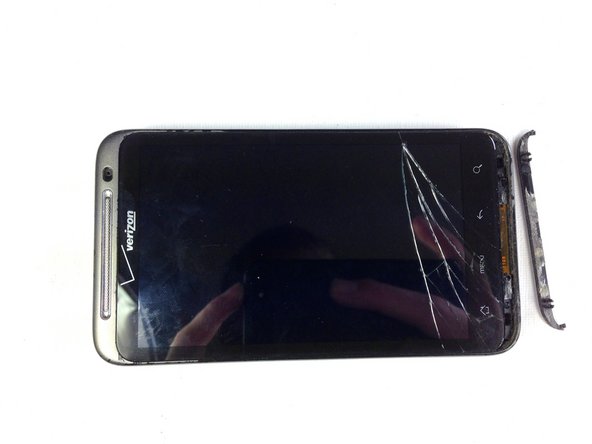
      • Insert the plastic opening tool into the bottom of the phone underneath the soft keys.

      • Gently pry up on the plastic cover by sliding the plastic opening tool across the bottom of the phone.

      • Remove the plastic cover.

      • The plastic cover will have adhesive on it making it difficult to remove.

      FixBot'a Sor

      Yorum Ekle

    3. HTC Thunderbolt Motherboard Replacement: adım 8, 1 resimden 1.
      • Remove the two Phillips screws where the plastic cover was.

      FixBot'a Sor

      Yorum Ekle

    4. HTC Thunderbolt Motherboard Replacement: adım 9, 2 resimden 1. HTC Thunderbolt Motherboard Replacement: adım 9, 2 resimden 2.
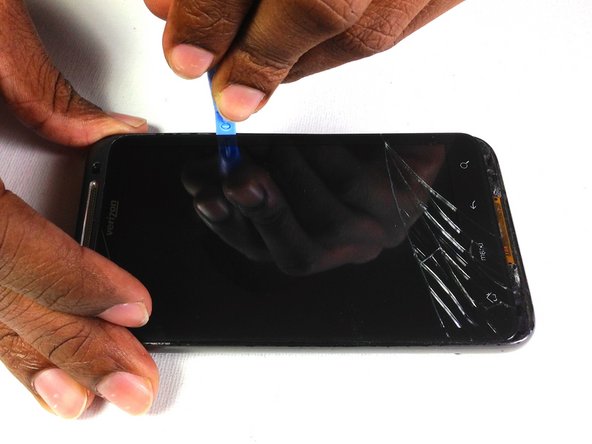
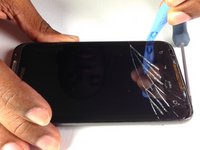
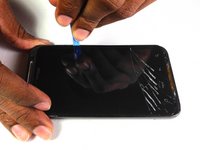
      • Insert the plastic opening tool in between the screen and the frame on the side of the phone.

      • Slowly slide the the plastic opening tool along the side of the phone until the screen begins to separate from the frame.

      • Do the same for the opposite side of the phone.

      FixBot'a Sor

      Yorum Ekle

    5. HTC Thunderbolt Motherboard Replacement: adım 10, 3 resimden 1. HTC Thunderbolt Motherboard Replacement: adım 10, 3 resimden 2. HTC Thunderbolt Motherboard Replacement: adım 10, 3 resimden 3.
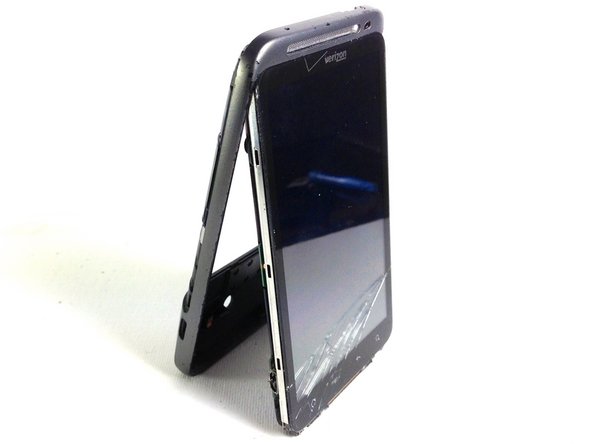
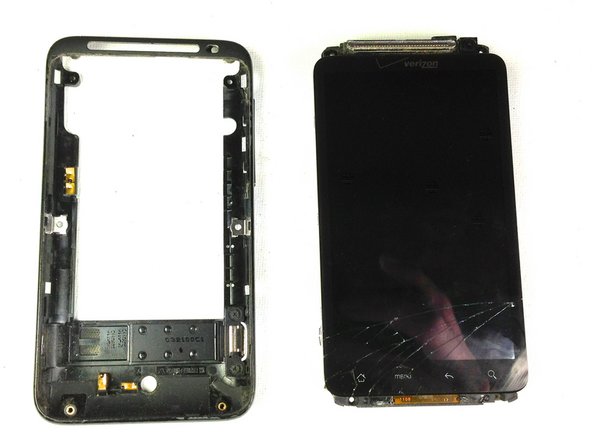
      • Carefully separate the screen and phone from the rear frame, starting from the bottom.

      • Gently pull down on the phone and screen to fully separate it from the rear frame.

      FixBot'a Sor

      Yorum Ekle

    1. HTC Thunderbolt Motherboard Replacement, LCD/Screen: adım 11, 2 resimden 1. HTC Thunderbolt Motherboard Replacement, LCD/Screen: adım 11, 2 resimden 2.
      Bu adımda kullanılan alet:
      Tweezers
      $4.99
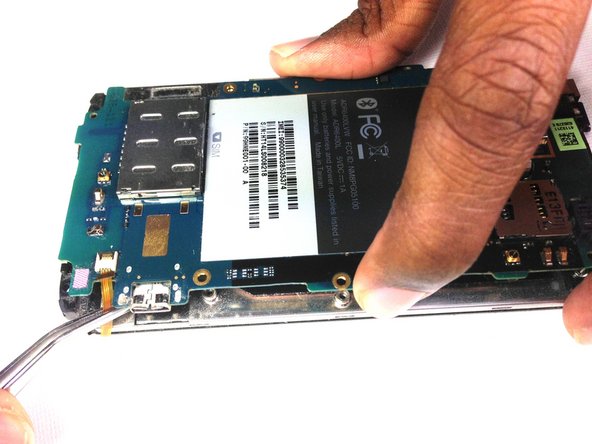
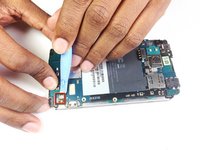
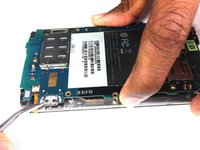
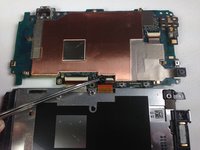
      • Using the tip of an plastic opening tool flip up the tab holding the capacitive button ribbon cable.

      • Be careful opening these tabs as they are very easy to break.

      • Use a pair of tweezers to pull the capacitive button cable out of its socket.

      FixBot'a Sor

      Yorum Ekle

    2. HTC Thunderbolt Motherboard Replacement: adım 12, 2 resimden 1. HTC Thunderbolt Motherboard Replacement: adım 12, 2 resimden 2.
      • Lifting from the side where the ribbon was disconnected, flip over the motherboard.

      • Remove the black tape covering the tabs connecting the motherboard and LCD.

      FixBot'a Sor

      Yorum Ekle

    3. HTC Thunderbolt Motherboard Replacement: adım 13, 1 resimden 1.
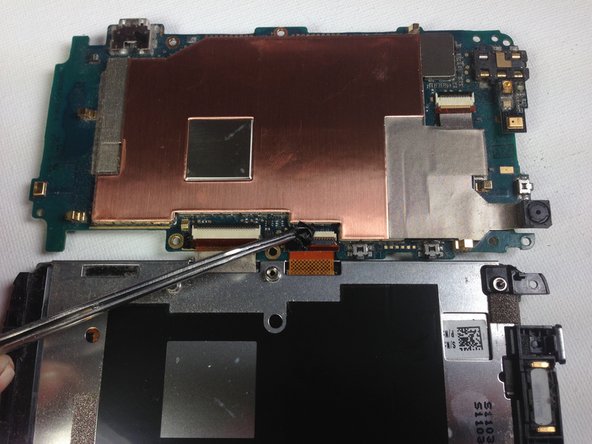
      • Using the plastic opening tool pop up the two tabs connecting the LCD and motherboard.

      FixBot'a Sor

      Yorum Ekle

    4. HTC Thunderbolt Motherboard Replacement: adım 14, 2 resimden 1. HTC Thunderbolt Motherboard Replacement: adım 14, 2 resimden 2.
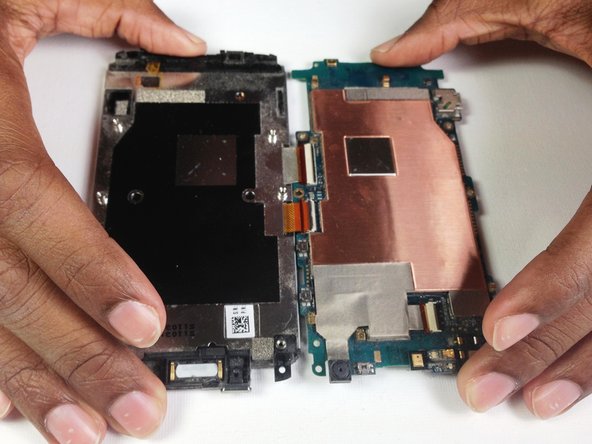
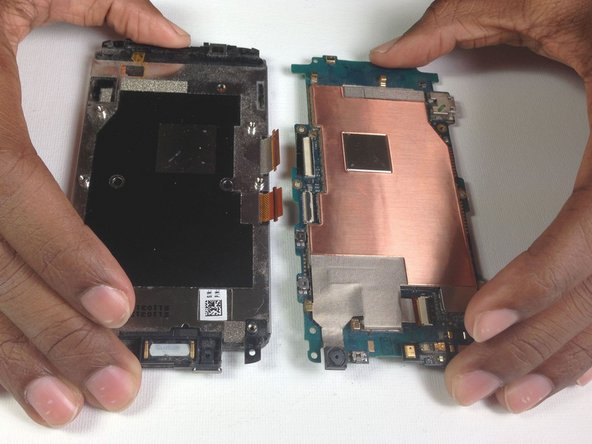
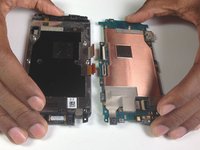
      • Once the tabs have been popped up, slowly pull the two pieces away from each other.

      • If there is resistance pulling apart the phone then a ribbon or tab has not been disconnected properly/completely.

      FixBot'a Sor

      Yorum Ekle

    1. HTC Thunderbolt Motherboard Replacement, Motherboard: adım 15, 1 resimden 1.
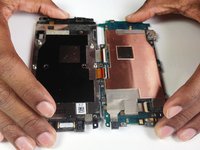
      • The motherboard should now be completely disconnected

      FixBot'a Sor

      Yorum Ekle

Sonuç

To reassemble your device, follow these instructions in reverse order.

İptal et: Bu kılavuzu tamamlamadım.

2 farklı kişi bu kılavuzu tamamladı.

Vanessa

Üyelik tarihi: 01/18/13

60 İtibar

4 adet Kılavuz yazıldı

Ekip

Cal Poly, Team 19-45, Regan Winter 2013 Cal Poly, Team 19-45, Regan Winter 2013 üyesi

CPSU-REGAN-W13S19G45

4 Üyeler

84 adet Kılavuz yazıldı

0Kılavuz Yorumları

Yorum Ekle

İstatistikleri Görüntüle:

Son 24 Saat: 1

Son 7 gün: 3

Son 30 gün: 29

Her zaman: 2,133