Ana içeriğe geç
Onarım Topluluğuna Katılın - Hesap Oluşturun

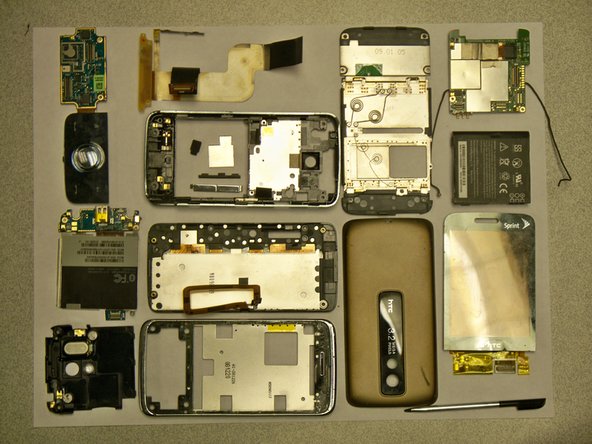
HTC Touch Pro CDMA Screen Replacement

Neye ihtiyacın var

    1. HTC Touch Pro CDMA Screen Replacement, Battery: adım 1, 2 resimden 1. HTC Touch Pro CDMA Screen Replacement, Battery: adım 1, 2 resimden 2.
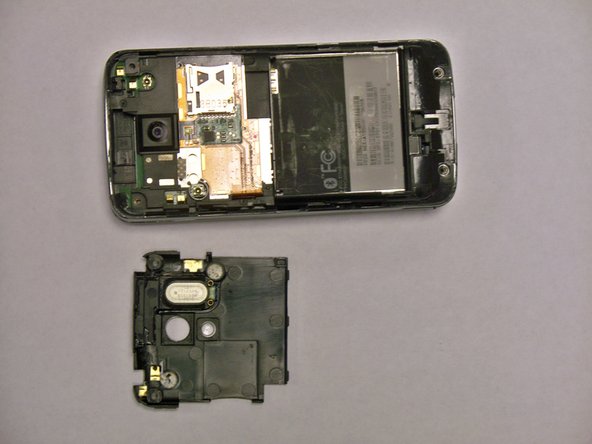
      • First, gently press on the back plate and push down toward the camera.

      FixBot'a Sor

      Yorum Ekle

    2. HTC Touch Pro CDMA Screen Replacement: adım 2, 2 resimden 1. HTC Touch Pro CDMA Screen Replacement: adım 2, 2 resimden 2.
      • Use your finger to lift up the edge of the battery.

      FixBot'a Sor

      Yorum Ekle

    1. HTC Touch Pro CDMA Screen Replacement, USB Logic Board: adım 3, 1 resimden 1.
      • Remove the 4 screws using the T6 screw driver.

      FixBot'a Sor

      Yorum Ekle

    2. HTC Touch Pro CDMA Screen Replacement: adım 4, 2 resimden 1. HTC Touch Pro CDMA Screen Replacement: adım 4, 2 resimden 2.
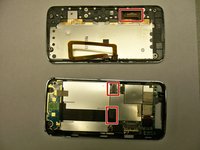
      • Lift the plastic cover near the memory card slot.

      FixBot'a Sor

      Yorum Ekle

    3. HTC Touch Pro CDMA Screen Replacement: adım 5, 1 resimden 1.
      • Remove the two Phillips #00 screws from the backside of the screen.

      FixBot'a Sor

      Yorum Ekle

    4. HTC Touch Pro CDMA Screen Replacement: adım 6, 2 resimden 1. HTC Touch Pro CDMA Screen Replacement: adım 6, 2 resimden 2.
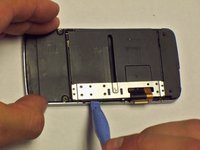
      • Insert a spudger or a plastic opening tool into the seam on the side of the phone.

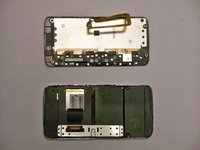
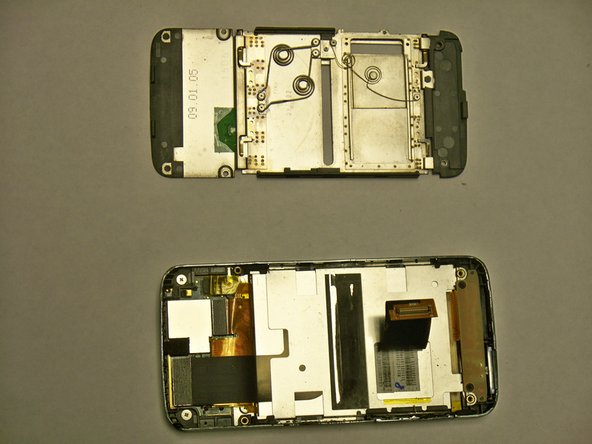
      • Gently pry apart the two halves of the phone.

      FixBot'a Sor

      Yorum Ekle

    5. HTC Touch Pro CDMA Screen Replacement: adım 7, 2 resimden 1. HTC Touch Pro CDMA Screen Replacement: adım 7, 2 resimden 2.
      • Gently unplug the connectors.

      • Remove the screws with a 00 Phillips-head screwdriver.

      FixBot'a Sor

      Yorum Ekle

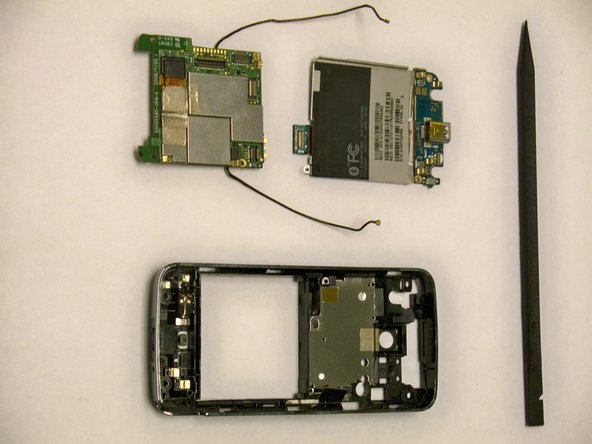
    6. HTC Touch Pro CDMA Screen Replacement: adım 8, 2 resimden 1. HTC Touch Pro CDMA Screen Replacement: adım 8, 2 resimden 2.
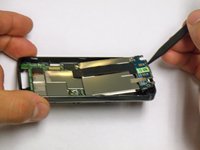
      • Gently lift the motherboard up using a nylon spudger.

      • BE AWARE OF THE ANTENNA.

      FixBot'a Sor

      Yorum Ekle

    1. HTC Touch Pro CDMA Screen Replacement, Keyboard: adım 9, 2 resimden 1. HTC Touch Pro CDMA Screen Replacement, Keyboard: adım 9, 2 resimden 2.
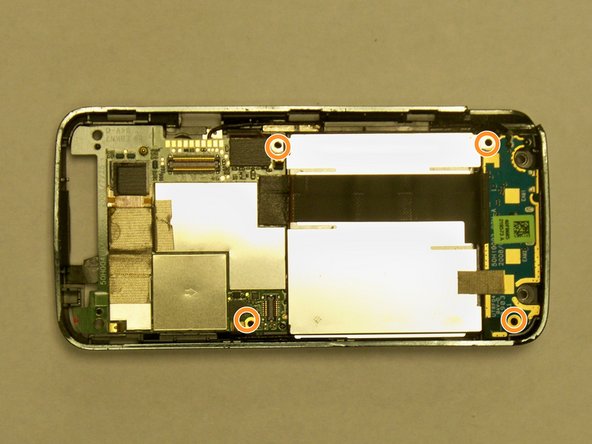
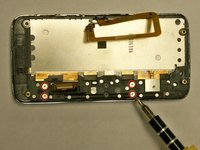
      • Remove the 4 screws circled in red using a 00 Phillips-head screwdriver.

      FixBot'a Sor

      Yorum Ekle

    1. HTC Touch Pro CDMA Screen Replacement, Screen: adım 10, 2 resimden 1. HTC Touch Pro CDMA Screen Replacement, Screen: adım 10, 2 resimden 2.
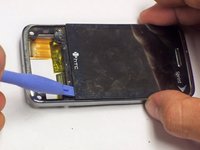
      • Start by lifting the back plate of the screen by using yours finger or a plastic opener tool.

      FixBot'a Sor

      Yorum Ekle

    2. HTC Touch Pro CDMA Screen Replacement: adım 11, 1 resimden 1.
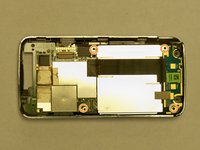
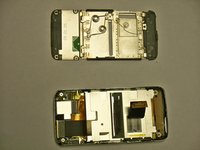
      • Remove the 4 screws by using a 00 Phillips-head screwdriver.

      • Gently lift the connectors.

      FixBot'a Sor

      Yorum Ekle

    3. HTC Touch Pro CDMA Screen Replacement: adım 12, 1 resimden 1.
      • Lift the front keyboard by removing the screws with a 00 Phillips-head screwdriver.

      FixBot'a Sor

      Yorum Ekle

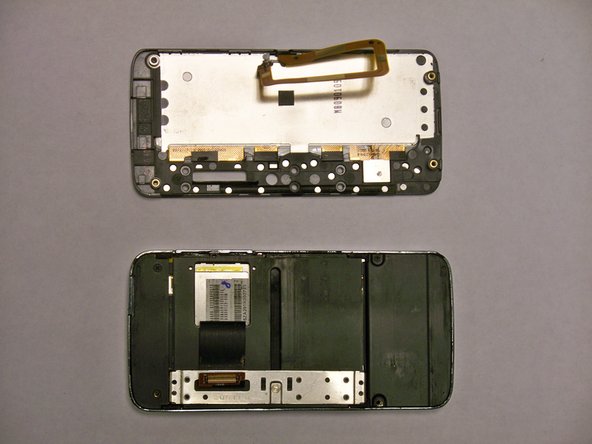
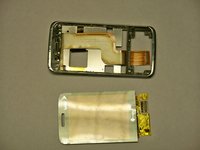
    4. HTC Touch Pro CDMA Screen Replacement: adım 13, 3 resimden 1. HTC Touch Pro CDMA Screen Replacement: adım 13, 3 resimden 2. HTC Touch Pro CDMA Screen Replacement: adım 13, 3 resimden 3.
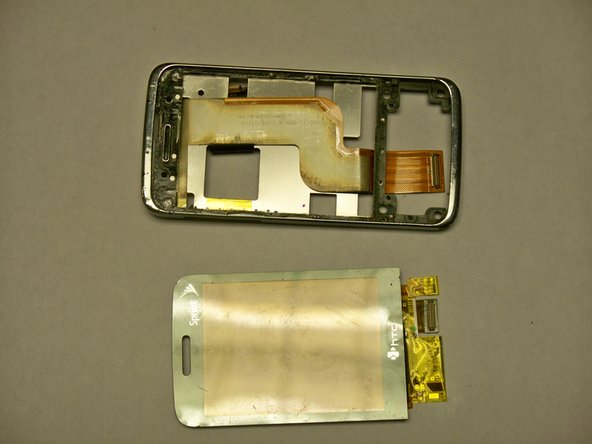
      • With the front keyboard removed, gently lift the screen up with a plastic opener tool and remove it .

      FixBot'a Sor

      Yorum Ekle

Sonuç

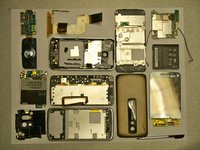
To reassemble your device, follow these instructions in reverse order.

İptal et: Bu kılavuzu tamamlamadım.

3 farklı kişi bu kılavuzu tamamladı.

Zhaowei Zhang

Üyelik tarihi: 04/28/11

133 İtibar

4 adet Kılavuz yazıldı

Ekip

CSU Los Angeles, Team 1-6, Nelson Spring 2011 CSU Los Angeles, Team 1-6, Nelson Spring 2011 üyesi

CSULA-NELSON-S11S1G6

3 Üyeler

44 adet Kılavuz yazıldı

0Kılavuz Yorumları

Yorum Ekle

İstatistikleri Görüntüle:

Son 24 Saat: 0

Son 7 gün: 4

Son 30 gün: 21

Her zaman: 3,972