Giriş
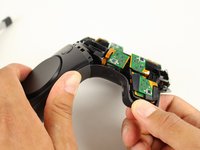
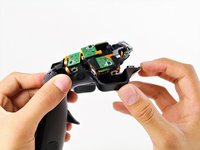
The HTC Vive controller battery may be weak or faulty from extended use and causing power or functionality problems. The battery is essential for the remote to power up and perform. It is important not to puncture the battery while removing. This guide will show you how to replace the battery.
Neye ihtiyacın var
-
-
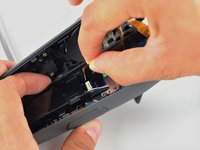
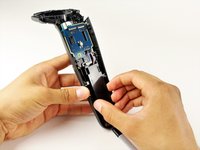
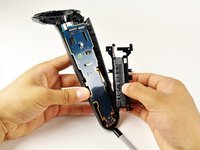
Turn over the Vive controller so that the bottom saucer is facing up.
-
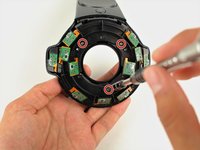
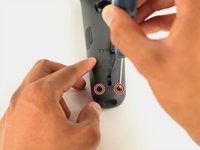
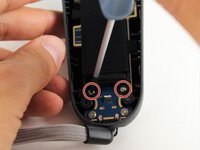
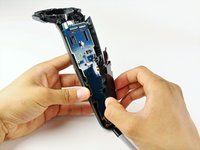
Use the T5 Torx screwdriver to remove three black 21mm screws from the bottom saucer.
-
-
-
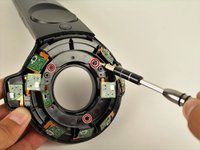
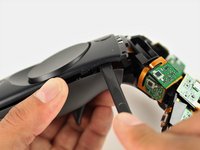
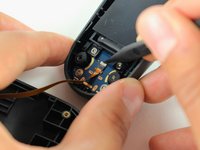
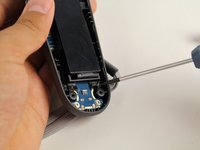
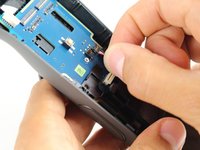
Use the T5 Torx screwdriver to remove the two black 5.2mm screws on the back gray panel.
-
-
-
-
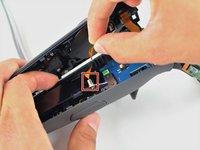
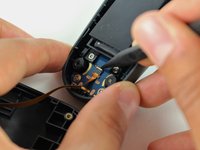
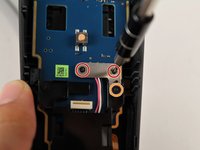
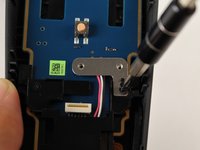
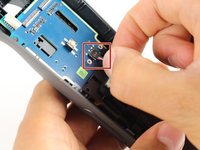
Use the Phillips 00 screwdriver to remove two black 2.8mm screws from the silver plate.
-
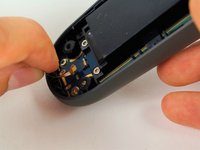
Use the Phillips 00 screwdriver to remove the black 5.8mm screw from the bottom right corner of the silver plate.
-


To reassemble your device, follow these instructions in reverse order.
İptal et: Bu kılavuzu tamamlamadım.
33 farklı kişi bu kılavuzu tamamladı.
Ekip

Cal Poly, Team S15-G5, Livingston Fall 2017 Cal Poly, Team S15-G5, Livingston Fall 2017 üyesi
CPSU-LIVINGSTON-F17S15G5
4 Üyeler
51 adet Kılavuz yazıldı
14Kılavuz Yorumları
This helped me ALOT. i had a controller stop charging or powering on. Decided to use this guide to pull just pull power and re seed the connection for the battery. The Battery connection IS NOT CLIPPED IN. TAPE holds down the connection to the terminals. So it can easy come loose over jolts and shocks or normal use
With all the comments and steps, I easily took apart and rebuilt my controller. Thank you!!
Also, I used this cheap repair kit they sell at walmart if you dont have the tools and don't want to order them online.