Ana içeriğe geç
Onarım Topluluğuna Katılın - Hesap Oluşturun

HTC Wizard 200 Keypad Replacement

Neye ihtiyacın var

  1. HTC Wizard 200 Keypad Replacement, Battery: adım 1, 2 resimden 1. HTC Wizard 200 Keypad Replacement, Battery: adım 1, 2 resimden 2.
    • To expose the battery, remove the outer case with your fingernail.

    • Remove the battery by pulling the black tab.

    FixBot'a Sor

    Yorum Ekle

  2. HTC Wizard 200 Keypad Replacement, Back Panel: adım 2, 1 resimden 1.
    Bu adımda kullanılan alet:
    Spudger
    $3.99
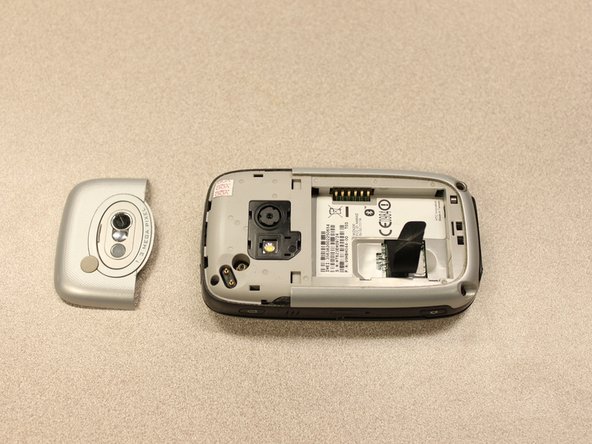
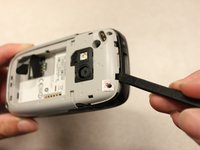
    • Insert the flat end of the spudger into the two notches on the back of the camera cover and pry them up.

    FixBot'a Sor

    Yorum Ekle

  3. HTC Wizard 200 Keypad Replacement: adım 3, 2 resimden 1. HTC Wizard 200 Keypad Replacement: adım 3, 2 resimden 2.
    Bu adımda kullanılan alet:
    Spudger
    $3.99
    • Work the spudger around the edges of the camera cover until it comes off.

    FixBot'a Sor

    Yorum Ekle

  4. HTC Wizard 200 Keypad Replacement: adım 4, 2 resimden 1. HTC Wizard 200 Keypad Replacement: adım 4, 2 resimden 2.
    Bu adımda kullanılan alet:
    T5 Torx Screwdriver
    $5.49
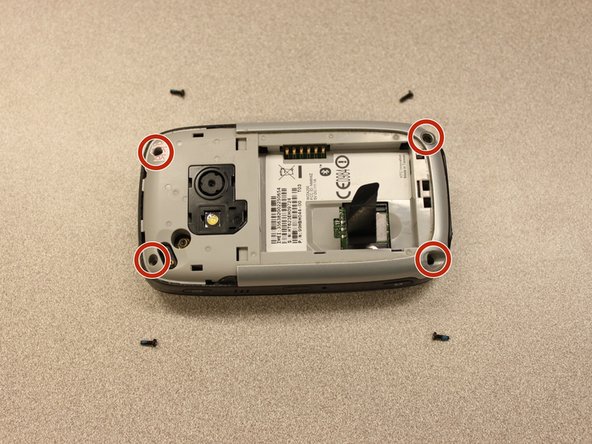
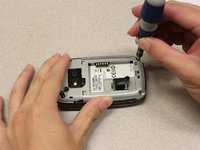
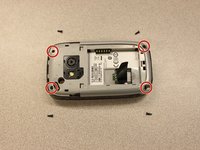
    • Remove the four 6 mm screws with the T5 Torx screwdriver.

    • One of the screws is under the "void" sticker.

    FixBot'a Sor

    Yorum Ekle

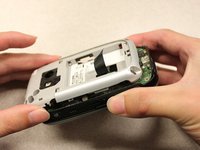
  5. HTC Wizard 200 Keypad Replacement: adım 5, 3 resimden 1. HTC Wizard 200 Keypad Replacement: adım 5, 3 resimden 2. HTC Wizard 200 Keypad Replacement: adım 5, 3 resimden 3.
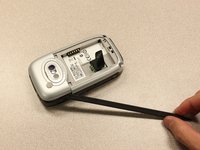
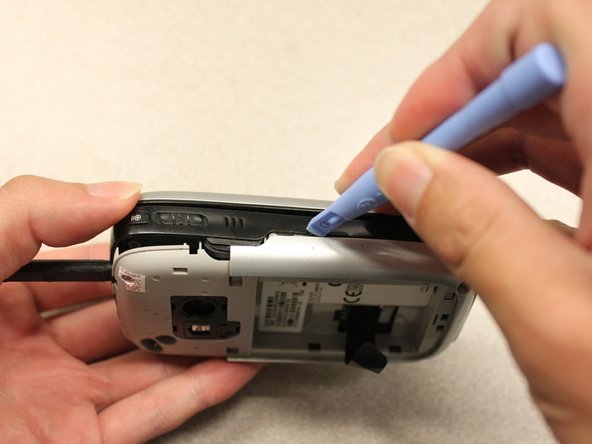
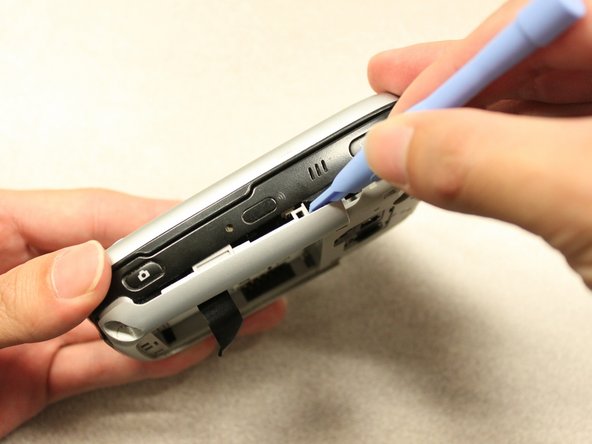
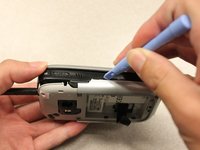
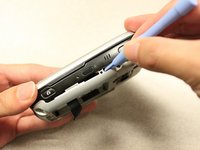
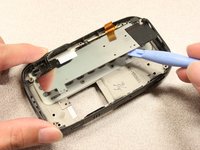
    • Insert the flat end of an iFixit opening tool between the side and inner covers to create a gap.

    • Work the tool around the edges until all the clips release.

    FixBot'a Sor

    Yorum Ekle

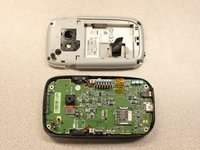
  6. HTC Wizard 200 Keypad Replacement: adım 6, 2 resimden 1. HTC Wizard 200 Keypad Replacement: adım 6, 2 resimden 2.
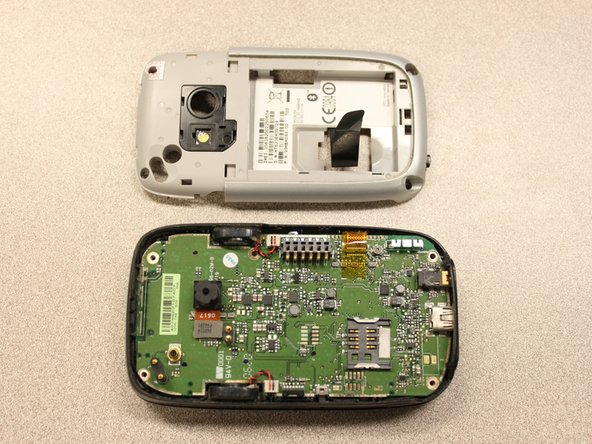
    • Once all the clips are open, remove the inner panel from the phone.

    FixBot'a Sor

    Yorum Ekle

  7. HTC Wizard 200 Keypad Replacement, Motherboard: adım 7, 1 resimden 1.
    Bu adımda kullanılan alet:
    Spudger
    $3.99
    • Use the spudger to pry the camera off.

    FixBot'a Sor

    Yorum Ekle

  8. HTC Wizard 200 Keypad Replacement: adım 8, 2 resimden 1. HTC Wizard 200 Keypad Replacement: adım 8, 2 resimden 2.
    Bu adımda kullanılan alet:
    Tweezers
    $4.99
    • Using tweezers, flip the connector latch away from the motherboard.

    • Detach the flexible connection from under the connector latch.

    FixBot'a Sor

    Yorum Ekle

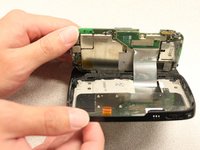
  9. HTC Wizard 200 Keypad Replacement: adım 9, 1 resimden 1.
    • Slide the keyboard into the open position.

    FixBot'a Sor

    Yorum Ekle

  10. HTC Wizard 200 Keypad Replacement: adım 10, 2 resimden 1. HTC Wizard 200 Keypad Replacement: adım 10, 2 resimden 2.
    Bu adımda kullanılan alet:
    Spudger
    $3.99
    • Lift the motherboard out of the case using the spudger.

    • Expose the underside of the motherboard using your hands.

    FixBot'a Sor

    Yorum Ekle

  11. HTC Wizard 200 Keypad Replacement: adım 11, 2 resimden 1. HTC Wizard 200 Keypad Replacement: adım 11, 2 resimden 2.
    • Remove the flexible connection from the motherboard.

    • Caution: Removing the connection too fast may cause damage to the connection and cables.

    FixBot'a Sor

    Yorum Ekle

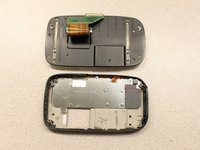
  12. HTC Wizard 200 Keypad Replacement, Keyboard Slider: adım 12, 3 resimden 1. HTC Wizard 200 Keypad Replacement, Keyboard Slider: adım 12, 3 resimden 2. HTC Wizard 200 Keypad Replacement, Keyboard Slider: adım 12, 3 resimden 3.
    Bu adımda kullanılan alet:
    T5 Torx Screwdriver
    $5.49
    • Remove the four 5mm screws with the T5 Torx screwdriver.

    • Remove the keyboard slider from the main body.

    FixBot'a Sor

    Yorum Ekle

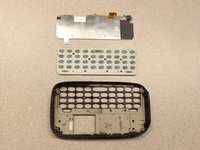
  13. HTC Wizard 200 Keypad Replacement, Keypad: adım 13, 2 resimden 1. HTC Wizard 200 Keypad Replacement, Keypad: adım 13, 2 resimden 2.
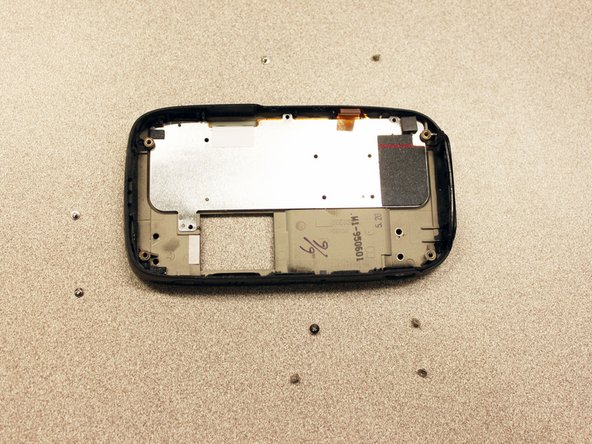
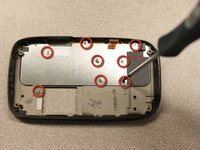
    • Use a screwdriver to remove eight 2mm Phillips screws that secure the keypad to the keyboard slider.

    FixBot'a Sor

    Yorum Ekle

  14. HTC Wizard 200 Keypad Replacement: adım 14, 2 resimden 1. HTC Wizard 200 Keypad Replacement: adım 14, 2 resimden 2.
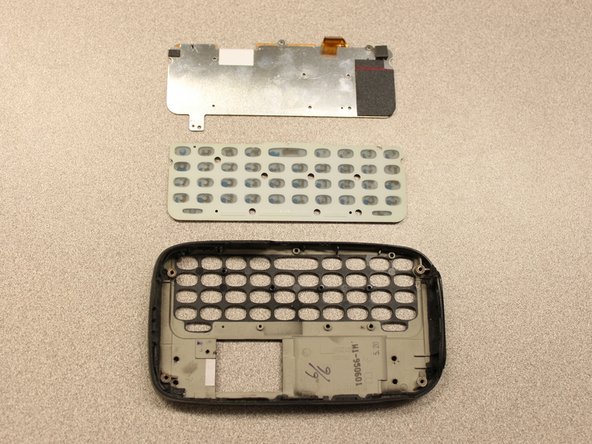
    • Use the plastic opening tool to gently lift up the keypad.

    FixBot'a Sor

    Yorum Ekle

Sonuç

To reassemble your device, follow these instructions in reverse order.

İptal et: Bu kılavuzu tamamlamadım.

Kyle Champ

Üyelik tarihi: 10/03/11

225 İtibar

12 adet Kılavuz yazıldı

Ekip

Cal Poly, Team 20-27, Maness Fall 2011 Cal Poly, Team 20-27, Maness Fall 2011 üyesi

CPSU-MANESS-F11S20G27

4 Üyeler

36 adet Kılavuz yazıldı

0Kılavuz Yorumları

Yorum Ekle

İstatistikleri Görüntüle:

Son 24 Saat: 1

Son 7 gün: 6

Son 30 gün: 26

Her zaman: 993