Ana içeriğe geç

Hamilton Beach 43253R Disassembly

Neye ihtiyacın var

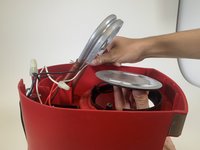
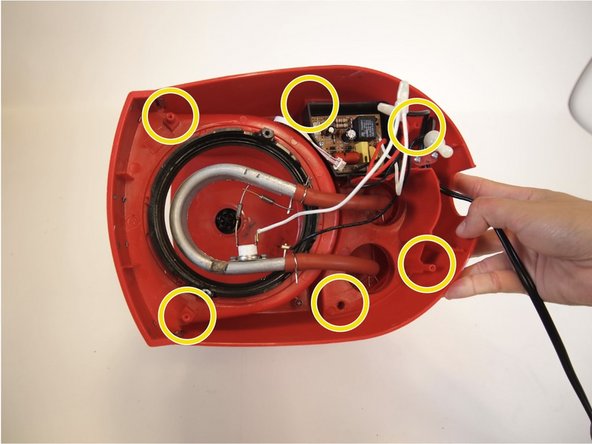
  1. Hamilton Beach 43253R Disassembly, Hamilton Beach 43253R: adım 1, 2 resimden 1. Hamilton Beach 43253R Disassembly, Hamilton Beach 43253R: adım 1, 2 resimden 2.
    • Flip the coffee maker upside down and use the Spanner-8 bit, found in the Mako Driver Kit to remove the four 13 mm security screws.

    • Once the bottom is loose, take it off, and put it to the side with the security screw.

    • You should see a horseshoe-shaped heating element and a circuit board inside.

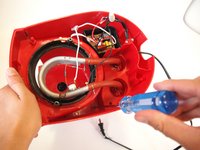
  2. Hamilton Beach 43253R Disassembly: adım 2, 3 resimden 1. Hamilton Beach 43253R Disassembly: adım 2, 3 resimden 2. Hamilton Beach 43253R Disassembly: adım 2, 3 resimden 3.
    • Pull the three-pin JST connector connected to the white and red wires out of the circuit board.

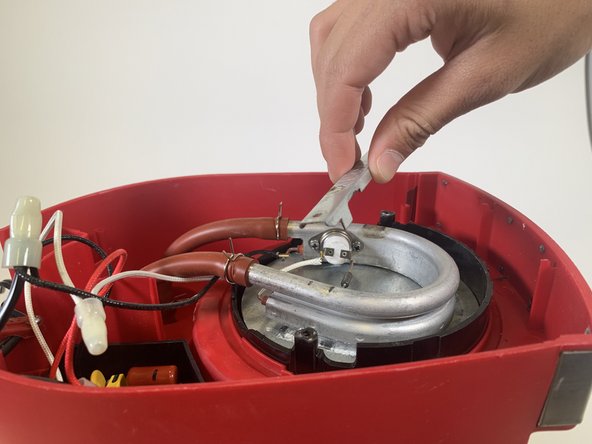
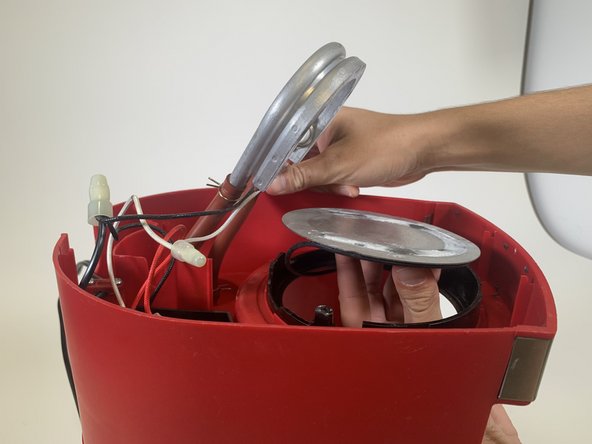
  3. Hamilton Beach 43253R Disassembly: adım 3, 3 resimden 1. Hamilton Beach 43253R Disassembly: adım 3, 3 resimden 2. Hamilton Beach 43253R Disassembly: adım 3, 3 resimden 3.
    • Unscrew the two 12 mm screws from the bar that holds the heating element in place using the Phillips #1 screwdriver.

    • Use your other hand to push the heating plate out of its place.

  4. Hamilton Beach 43253R Disassembly: adım 4, 3 resimden 1. Hamilton Beach 43253R Disassembly: adım 4, 3 resimden 2. Hamilton Beach 43253R Disassembly: adım 4, 3 resimden 3.
    • Remove the ten 13 mm Phillips #2 screws that connect the base of the machine to the upper segment.

  5. Hamilton Beach 43253R Disassembly: adım 5, 3 resimden 1. Hamilton Beach 43253R Disassembly: adım 5, 3 resimden 2. Hamilton Beach 43253R Disassembly: adım 5, 3 resimden 3.
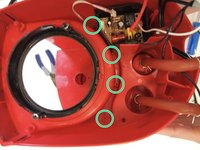
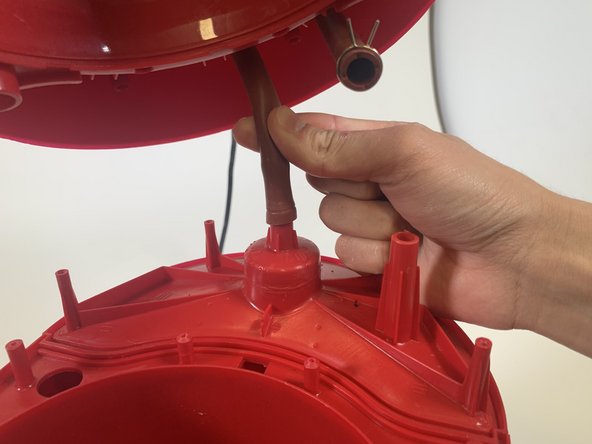
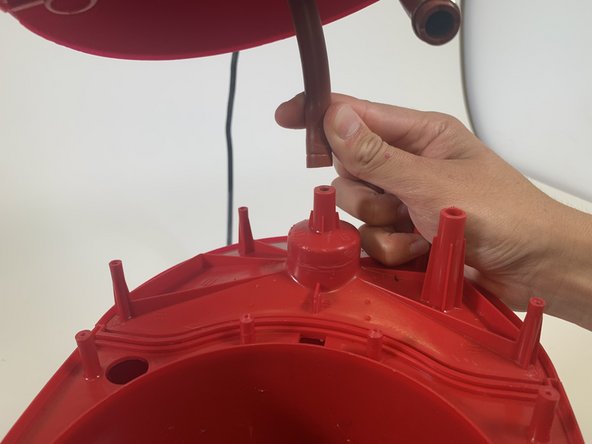
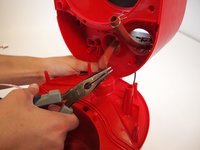
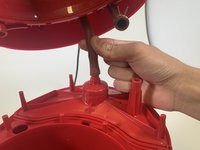
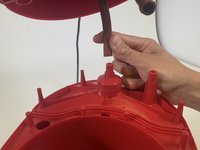
    • Separate the two halves. Use large needle-nose pliers to untwist the wires that secure the heating tubes. Then use a moderate amount of force to pluck the tubes off the spokes.

  6. Hamilton Beach 43253R Disassembly: adım 6, 2 resimden 1. Hamilton Beach 43253R Disassembly: adım 6, 2 resimden 2.
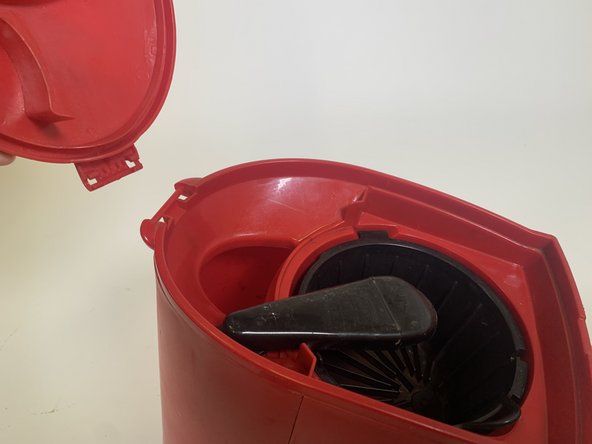
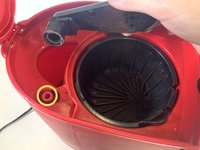
    • Once the two parts are fully separated, take the top element of the machine, and flip it right side up.

    • Remove the coffee maker’s lid by rotating it 180 degrees and gently popping it off of the hinge.

  7. Hamilton Beach 43253R Disassembly: adım 7, 3 resimden 1. Hamilton Beach 43253R Disassembly: adım 7, 3 resimden 2. Hamilton Beach 43253R Disassembly: adım 7, 3 resimden 3.
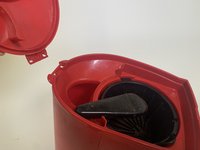
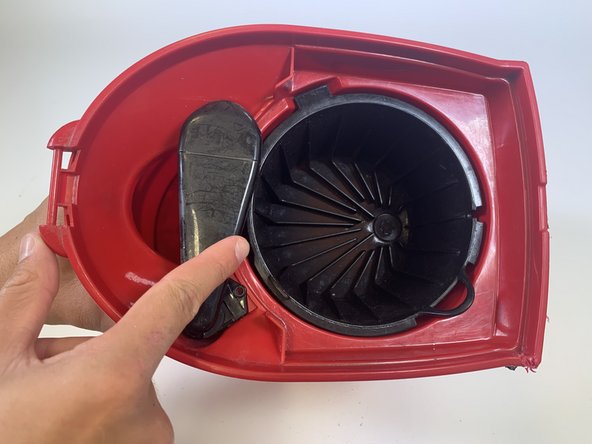
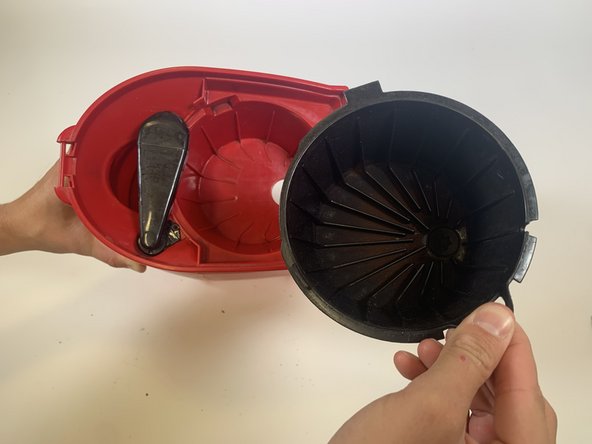
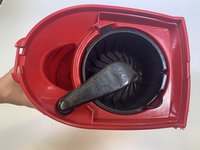
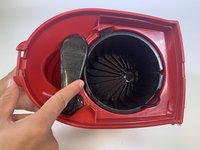
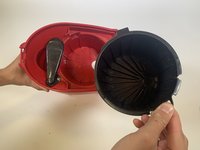
    • Rotate the spout to the back of the machine and take the coffee ground cup out.

  8. Hamilton Beach 43253R Disassembly: adım 8, 2 resimden 1. Hamilton Beach 43253R Disassembly: adım 8, 2 resimden 2.
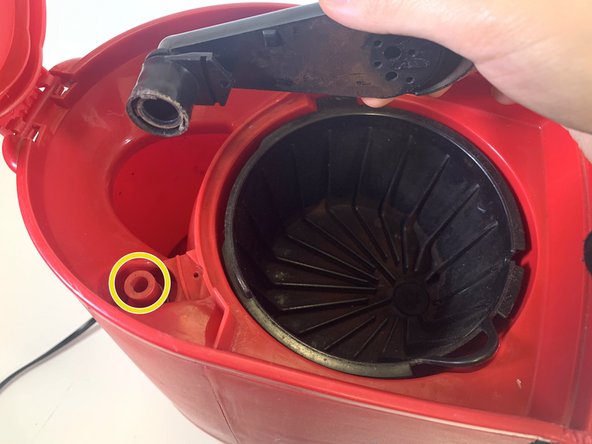
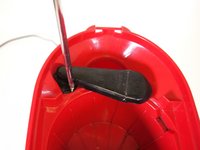
    • Remove the 8 mm Phillips #1 screw that connects the spout to the machine.

    • This will allow access to the hot water tube.

  9. Hamilton Beach 43253R Disassembly: adım 9, 1 resimden 1.
    • Now, we get to disassembling the display and buttons to access the top circuit board. This step WILL damage your coffee maker. We recommend following through with the rest of this guide ONLY if you are willing to sacrifice aesthetics for function.

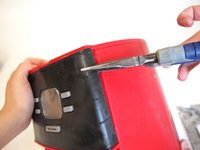
    • Use the ifixit opening too, or any wedge to ply the metal cover off. As you do so, four metal tabs will pop out. These tabs won’t go back in cleanly, and the cover will bend as you pull it off.

  10. Hamilton Beach 43253R Disassembly: adım 10, 2 resimden 1. Hamilton Beach 43253R Disassembly: adım 10, 2 resimden 2.
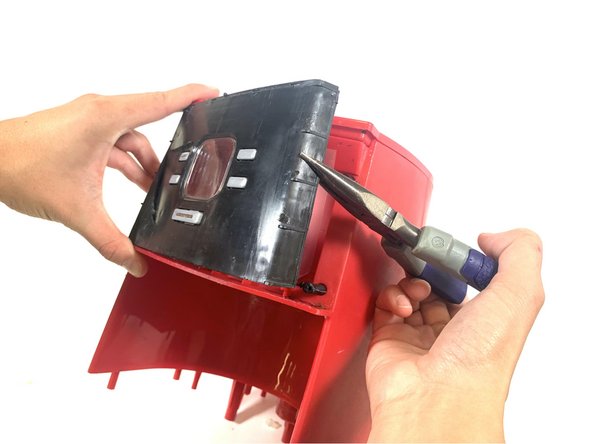
    • Use large needle-nose pliers to pull the secondary cover off.

    • This will deform and crack the plastic as you will need to be forceful.

  11. Hamilton Beach 43253R Disassembly: adım 11, 1 resimden 1.
    • Once the plastic covering comes off, remove the four 9mm screws that attach the circuit board to the cover using the Phillips #0 screwdriver.

  12. Hamilton Beach 43253R Disassembly: adım 12, 1 resimden 1.
    • This is the front of the circuit board. The switches the buttons control are circled.

  13. Hamilton Beach 43253R Disassembly: adım 13, 1 resimden 1.
    • Once you've taken the coffee maker apart, you can get a very good sense of how it operates. Here are the basics of how it works:

    • Once plugged in, the control board takes inputs from the 5 buttons at the top of the machine.

    • Once the mode has been selected, the control board sends electricity through the heating element (17.3 Ω). The heating element is metal and sits right underneath the metal heating plate which keeps your already dispensed coffee warm from the bottom of the kettle.

    • The very same heating element has a channel through the middle and is connected to two rubber tubes. These tubes guide the water from the reciprocal into the heating element, which boils the water.

    • The tubes then carry the boiling water up to the top of the machine, into the coffee filter where the water mixes with coffee grounds and is dispensed into the cup.

    • It is interesting to note that many of the elements that interact with the heating system and boiling water are plastic, making plastic leaching a potential concern.

Sonuç

To reassemble your device, follow these instructions in reverse order.

Bir başkası bu kılavuzu tamamladı.

0 Yorum

Yorum Ekle

İstatistikleri Görüntüle:

Son 24 Saat: 0

Son 7 gün: 3

Son 30 gün: 20

Her zaman: 118