Giriş
Be sure to keep the processor unplugged throughout the replacement process.
Neye ihtiyacın var
-
-
-
Bu adımda kullanılan alet:Heavy-Duty Spudger$4.99
-
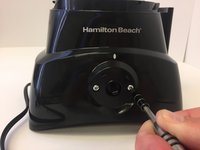
Using the heavy duty spudger pry the plastic knob off the front of the processor.
-
-
-
-
-
-
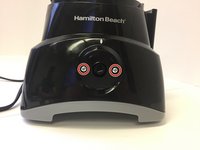
Using a #2 Phillips head screwdriver, remove the two 11 mm screws from the base.
-
Pull suction cups straight out.
-
-
Bu adımda kullanılan alet:Heavy-Duty Spudger$4.99
-
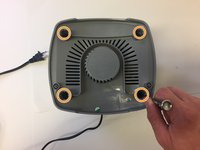
Remove rubber caps using the heavy duty spudger.
-
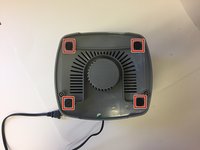
Remove the four 11 mm screws using the #2 Phillips head screwdriver.
-
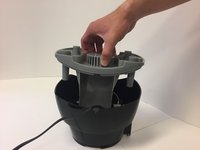
Pull base straight out.
-
-
-
-
-
Remove the two 11 mm screws using the #2 Phillips head screwdriver.
-
-
-
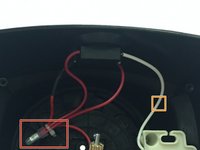
Cut all four red wires using the wire stripper crimping tool.
-
Using the wire stripper crimping tool strip the ends of each red wire and insert them into a new wiring connector cap, then crimp firmly.
-
Cut the white wire using the stripper crimping tool.
-
Using the wire stripper crimping tool strip the ends of each of the white wires and insert them into the opposite ends of a parallel connector, then crimp firmly.
-
-


 FixBot'a Sor






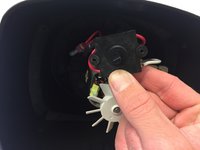
To reassemble your device, follow these instructions in reverse order.

Ekip

USF Tampa, Team 17-4, Blackwell Spring 2017 USF Tampa, Team 17-4, Blackwell Spring 2017 üyesi
USFT-BLACKWELL-S17S17G4
3 Üyeler
21 adet Kılavuz yazıldı
2Kılavuz Yorumları
On our unit the control knob became stuck. Where can I get a new control knob? Do you happen to know the part number?
I used a hair dryer and that did the trick, but am wondering if WD 40 would work as well. I went online e with the company and they want $2.00 for tech advice which is dumb to me. At first I thought it was the locking device on top; it is actually the pulse switch and my machine is just over a year old.
