Ana içeriğe geç

Hatch Restore Bottom Circuit Board Replacement

Neye ihtiyacın var

  1. Hatch Restore Bottom Circuit Board Replacement, Intro: adım 1, 2 resimden 1. Hatch Restore Bottom Circuit Board Replacement, Intro: adım 1, 2 resimden 2.
    • Replacing your bottom circuit board will be easy.

  2. Hatch Restore Bottom Circuit Board Replacement: adım 2, 2 resimden 1. Hatch Restore Bottom Circuit Board Replacement: adım 2, 2 resimden 2.
    • Peel away the rubber feet.

  3. Hatch Restore Bottom Circuit Board Replacement: adım 3, 2 resimden 1. Hatch Restore Bottom Circuit Board Replacement: adım 3, 2 resimden 2.
    • Remove the indicated 8 screws.

    • You may need to remove some adhesive from the screws to remove them.

  4. Hatch Restore Bottom Circuit Board Replacement: adım 4, 2 resimden 1. Hatch Restore Bottom Circuit Board Replacement: adım 4, 2 resimden 2.
    • Pry off the bottom cover.

  5. Hatch Restore Bottom Circuit Board Replacement: adım 5, 1 resimden 1.
    • Remove the 6 indicated screws.

  6. Hatch Restore Bottom Circuit Board Replacement: adım 6, 2 resimden 1. Hatch Restore Bottom Circuit Board Replacement: adım 6, 2 resimden 2.
    • Remove the power cable

    • There is a ribbon cable under the board. Do not pull the circuit board too far from the device.

  7. Hatch Restore Bottom Circuit Board Replacement: adım 7, 2 resimden 1. Hatch Restore Bottom Circuit Board Replacement: adım 7, 2 resimden 2.
    • Push the black tabs on the ZIF connector towards the cable, then remove the cable.

    • The cable should have no resistance when pulled out. Do not forcefully remove the cable.

Sonuç

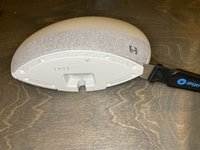
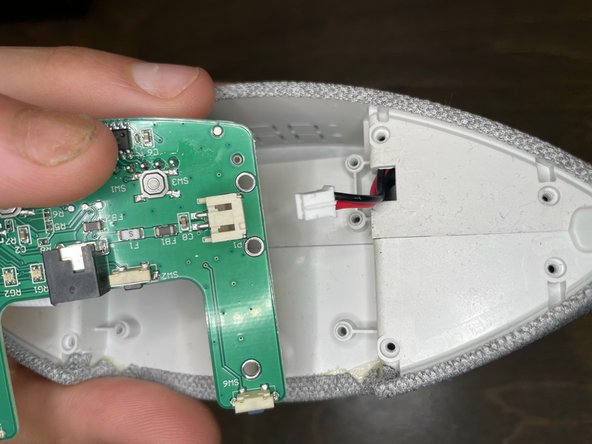
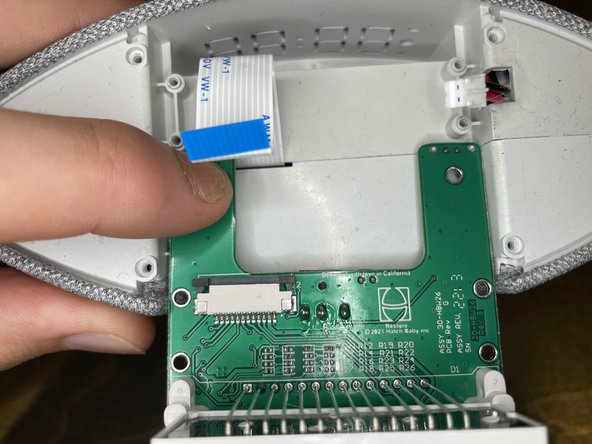
To reassemble your device, follow these instructions in reverse order.

9021007

Üyelik tarihi: 07/13/18

4.599 İtibar

25 adet Kılavuz yazıldı

0 Yorum

Yorum Ekle

İstatistikleri Görüntüle:

Son 24 Saat: 0

Son 7 gün: 2

Son 30 gün: 18

Her zaman: 223