Bu sürüm, hatalı düzenlemeler içerebilir. En son doğrulanmış bellek kopyası dönün.
Neye ihtiyacın var
-
Bu adım çevrilmemiş. Çevrilmesine yardım edin
-
First of all we need to make room behind the dryer. To do this a dolly is recommended since its about 250lbs and can definitely scratch the floor if drug. Pull the machine out slowly until there is room to fit behind and still have arm space.
-
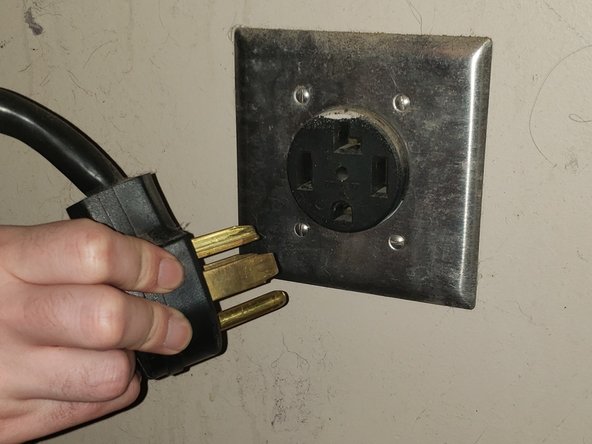
The dryer vent, hot/cold water and drainage pipes can remain attached. But for safety unplugging the machine is mandatory. The plug is big and may require a little extra force to remove.
-
-
-
Bu adım çevrilmemiş. Çevrilmesine yardım edin
-
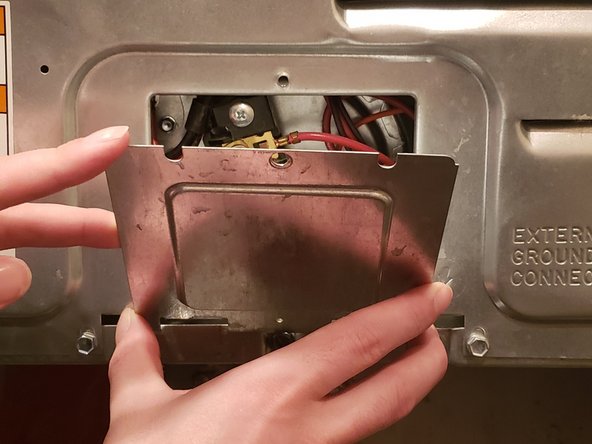
Now that we have safe access to the rear panel we must first remove the small plate on the back of the dryer. To do this simply unscrew the single screw at the top of the small plate and lift the plate out.
-
-
Bu adım çevrilmemiş. Çevrilmesine yardım edin
-
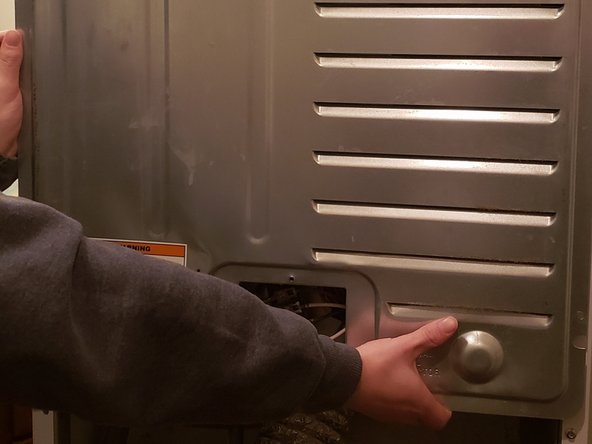
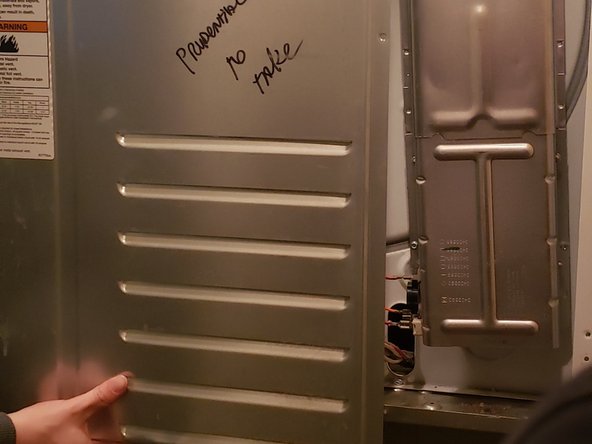
After setting aside the small panel we can proceed with the large panel.
-
There is no special method or order to removing the screws. But on the last screw be aware the panel will fall so holding the panel is strongly suggested when removing the last screw.
-


Ekip

Eastern Washington University, Team S27-G20, Munoz Winter 2019 Eastern Washington University, Team S27-G20, Munoz Winter 2019 üyesi
EWU-MUNOZ-W19S27G20
1 Üye
2 adet Kılavuz yazıldı