Giriş
This screen replacement guide will walk you through the steps on how to replace a broken or cracked screen for a Hipstreet Titan Plus. This device will require you to work with small electronic components, so use care not to damage parts. Use an area that is clean and clear of debris and make sure that you have the proper tools for replacement before taking apart your device.
Neye ihtiyacın var
-
-
-
Use the iFixit opening tools to pry the screen from the back casing of the device.
-
Now that the screen and back casing have been separated, lay them flat on the table with the inside facing up.
 FixBot'a Sor
-
-
-
Use the spudger tool to remove the speaker from back casing of the device.
-
-
Bu adımda kullanılan alet:Tweezers$4.99
-
Use the tweezers to remove the black adhesive strips covering the wires.
-
After, set the strips aside. You will use them later.
-
-
-
-
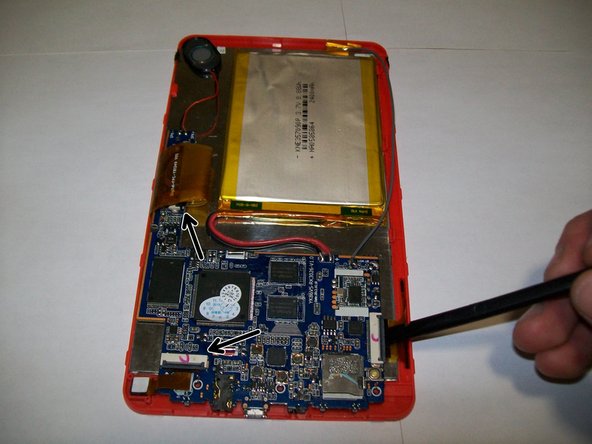
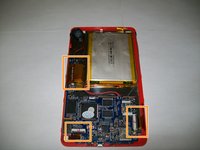
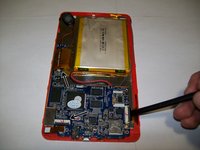
Use the spudger to release the three black clips.
-
Ensure to remove the main far right clip, which connects the screen to the motherboard.
-
-
-
All components will be removable from the screen after the battery, motherboard and all the black clips have been undone.
-
-
-
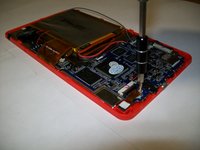
Use the spudger to push back the clips along the side of the device and remove the screen.
-
-




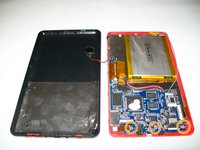

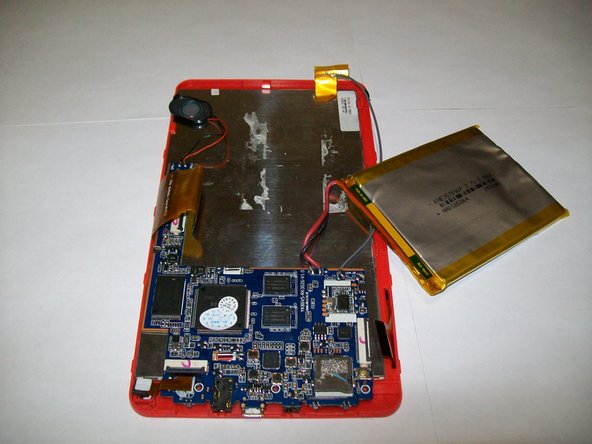


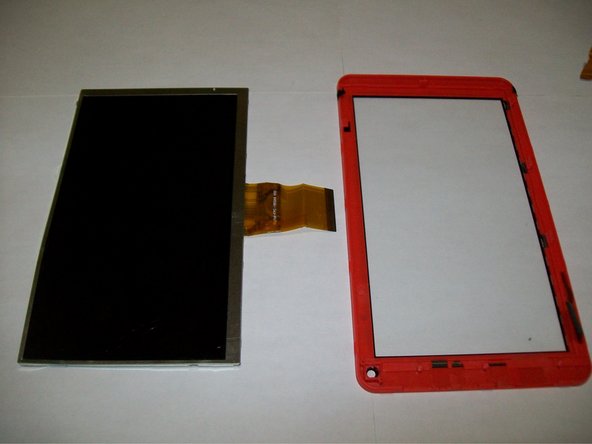
To reassemble your device, follow these instructions in reverse order.
İptal et: Bu kılavuzu tamamlamadım.
2 farklı kişi bu kılavuzu tamamladı.

Ekip

UMass Dartmouth, Team 1-1, Miles Fall 2015 UMass Dartmouth, Team 1-1, Miles Fall 2015 üyesi
UMASSD-MILES-F15S1G1
3 Üyeler
10 adet Kılavuz yazıldı
