Giriş
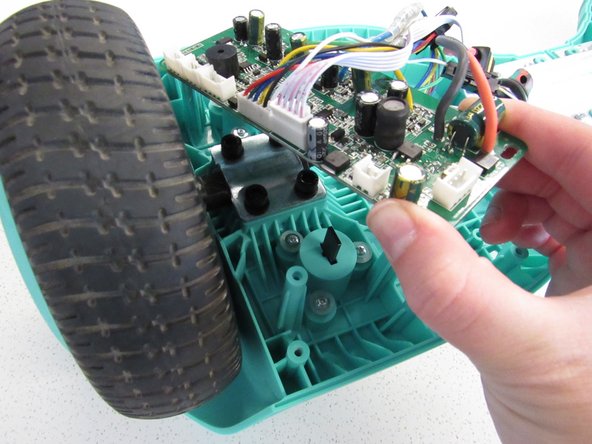
This guide for the Hover-1 Maverick guides users in replacing the motherboard in their device. The motherboard is crucial within the hoverboard. It controls all functions and acts as a medium for communication between parts in the device. Symptoms of having a faulty motherboard include the device being unable to balance, unable to hold a charge, has flashing lights, or has trouble powering on. Users need to disconnect the battery and the wires in order to replace the motherboard.
Neye ihtiyacın var
-
-
Remove the twenty 15mm Phillips #1 screws from the shell of the hoverboard.
-
Open the shell.
-
-
To reassemble your device, follow these instructions in reverse order.
To reassemble your device, follow these instructions in reverse order.
İptal et: Bu kılavuzu tamamlamadım.
2 farklı kişi bu kılavuzu tamamladı.


