Ana içeriğe geç

Hover-1 Titan Right Gyroscope Replacement

Neye ihtiyacın var

  1. Hover-1 Titan Right Gyroscope Replacement, Bottom Right Panel: adım 1, 2 resimden 1. Hover-1 Titan Right Gyroscope Replacement, Bottom Right Panel: adım 1, 2 resimden 2.
    • Flip the hoverboard so the bottom is facing up.

    • The right side is the side that has the power button. There is also an "R" on the metal plate underneath the battery.

  2. Hover-1 Titan Right Gyroscope Replacement: adım 2, 2 resimden 1. Hover-1 Titan Right Gyroscope Replacement: adım 2, 2 resimden 2.
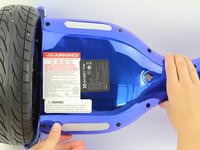
    • Using a Phillips #1 screwdriver, remove the two 14 mm screws closest to the center of the hoverboard.

    • Using a Phillips #1 screwdriver, remove the four 12 mm screws located in the middle of the panel.

    • Using a Phillips #1 screwdriver, remove the two 15 mm screws located closest to the wheel.

  3. Hover-1 Titan Right Gyroscope Replacement: adım 3, 3 resimden 1. Hover-1 Titan Right Gyroscope Replacement: adım 3, 3 resimden 2. Hover-1 Titan Right Gyroscope Replacement: adım 3, 3 resimden 3.
    • Grip the bottom right panel and lift to remove it.

  4. Hover-1 Titan Right Gyroscope Replacement, Right Gyroscope and Motherboard: adım 4, 2 resimden 1. Hover-1 Titan Right Gyroscope Replacement, Right Gyroscope and Motherboard: adım 4, 2 resimden 2.
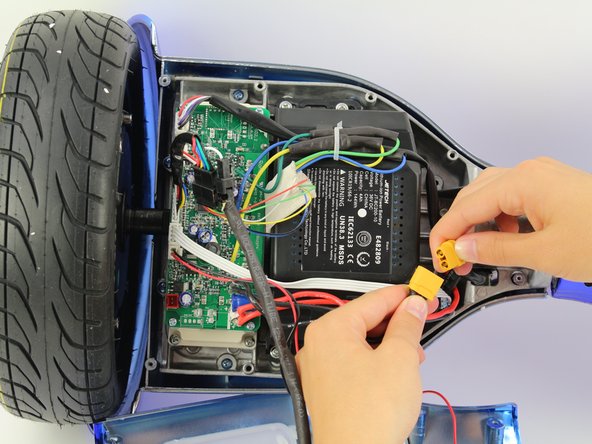
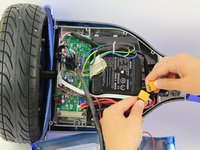
    • Unplug the battery from the gyroscope/motherboard by holding the yellow connector and pulling apart.

  5. Hover-1 Titan Right Gyroscope Replacement: adım 5, 3 resimden 1. Hover-1 Titan Right Gyroscope Replacement: adım 5, 3 resimden 2. Hover-1 Titan Right Gyroscope Replacement: adım 5, 3 resimden 3.
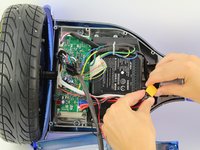
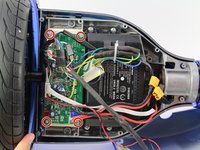
    • Remove four 12 mm Phillips #1 head screws from the corners of the green gyroscope/motherboard.

  6. Hover-1 Titan Right Gyroscope Replacement: adım 6, 2 resimden 1. Hover-1 Titan Right Gyroscope Replacement: adım 6, 2 resimden 2.
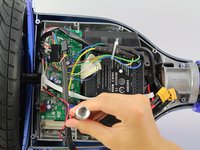
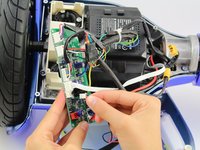
    • Unplug the bottom left connector by squeezing it and pulling it away from the board.

  7. Hover-1 Titan Right Gyroscope Replacement: adım 7, 2 resimden 1. Hover-1 Titan Right Gyroscope Replacement: adım 7, 2 resimden 2.
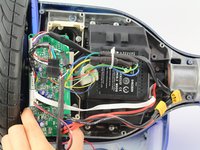
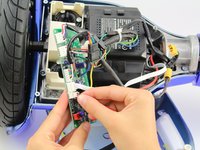
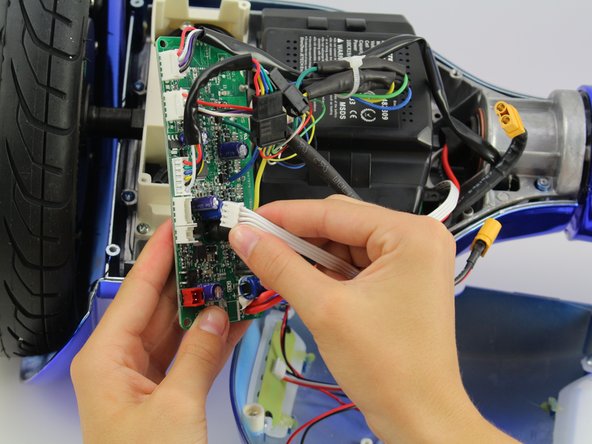
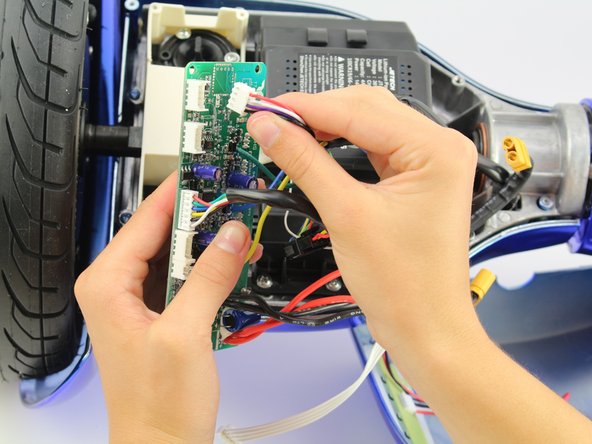
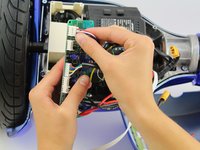
    • Unplug the white wires by squeezing the connector and pulling away from the board.

  8. Hover-1 Titan Right Gyroscope Replacement: adım 8, 2 resimden 1. Hover-1 Titan Right Gyroscope Replacement: adım 8, 2 resimden 2.
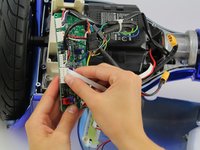
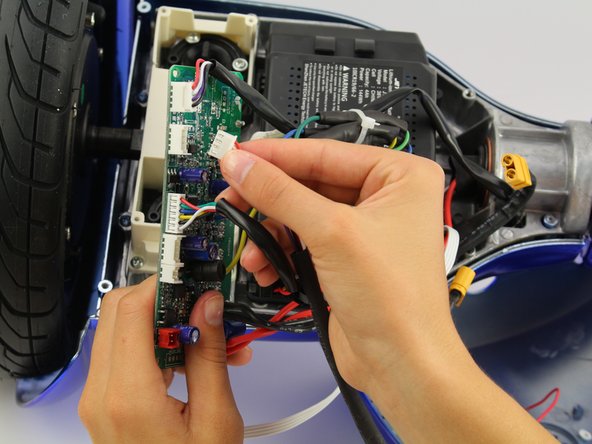
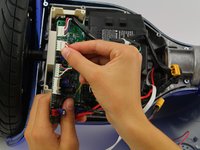
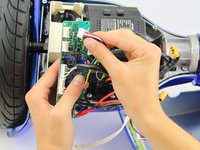
    • Unplug one set of the red, white, purple, and black wires by squeezing the connector and pulling away from the board.

  9. Hover-1 Titan Right Gyroscope Replacement: adım 9, 2 resimden 1. Hover-1 Titan Right Gyroscope Replacement: adım 9, 2 resimden 2.
    • Unplug the other set of the red, white, purple, and black wires by squeezing the connector and pulling away from the board.

  10. Hover-1 Titan Right Gyroscope Replacement: adım 10, 1 resimden 1.
    • Cut the cable tie and unplug the remaining wires.

Sonuç

To reassemble your device, follow these instructions in reverse order.

2 farklı kişi bu kılavuzu tamamladı.

Jessica Ouyang

Üyelik tarihi: 10/08/18

619 İtibar

4 adet Kılavuz yazıldı

Ekip

Cal Poly, Team S15-G4, White Fall 2018 Cal Poly, Team S15-G4, White Fall 2018 üyesi

CPSU-WHITE-F18S15G4

4 Üyeler

10 adet Kılavuz yazıldı

Bir Yorum

Where can I get the circuit boards for the left and right ?

jfsucher - Yanıt

Yorum Ekle

İstatistikleri Görüntüle:

Son 24 Saat: 0

Son 7 gün: 12

Son 30 gün: 36

Her zaman: 1,078