Giriş
LED daytime running lights are a great add-on to any vehicle to increase light output for style and safety. Some LED daytime lamps are vehicle specific, but this set of Philips Style LED DRL is universal fit for more cars and SUVs.
Neye ihtiyacın var


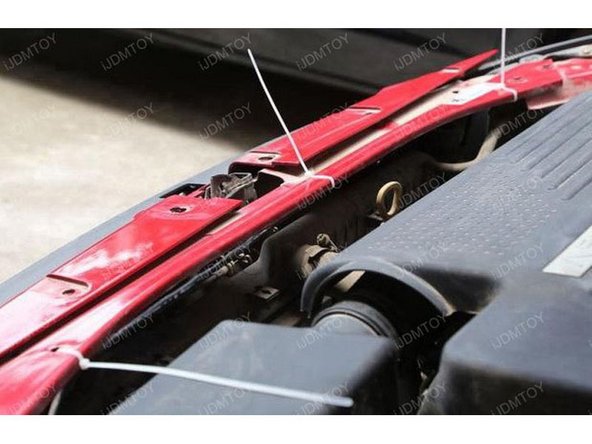


As you can see, installation isn't complicated and if you follow the directions accordingly, you'll be on your way to new LED daytime running lights in no time.
As you can see, installation isn't complicated and if you follow the directions accordingly, you'll be on your way to new LED daytime running lights in no time.
İptal et: Bu kılavuzu tamamlamadım.
21 farklı kişi bu kılavuzu tamamladı.

11 Yorum
Useful information shared. Thanks for giving us nice info. Fantastic walk through. I appreciate this post and here is my link
Useful info. Thanks
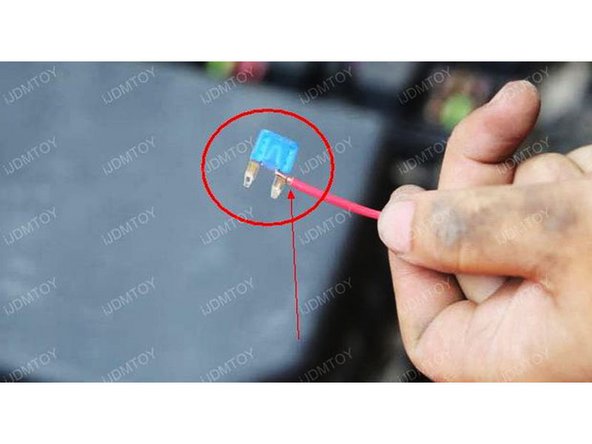
great information and pictures, just one thing, what size of fuse should I use for connection in fuse box.
UK road/MOT law states you must 60% dim or better still, make DRL’s turn off when headlights are turned on … stop advertising fake information Phillips and start stating some facts for a change
When did Philips ever make a comment on brightness? Its your responsibility to ensure you meet MOT regulations, not theirs.
AdamA -
Wot about the indicator wire
Indicator has nothing to do with it as these aren’t switchback
AdamA -
Hello. Can I wire 2 drl to this same fuse?
The wire connection directly to the ACC fuse is both unsafe and unprofessional. Using the method you describe, if the LED DRL, or a bare wire causes the fuse to blow, all ACCessories will be disabled. Also, your description doesn't ensure you are connected to the back side of the fuse, anyway. The proper connection would be a quick-tap splice to the back-side wire of the ACC fuse with a separate in-line fuse for the DRL. That way, if the DRL overloads the fuse, only the in-line fuse will be blown and the rest of the ACCessories will still have power.
Thanks for sharing this guide with us. I like this because each details are mentioned; with images. by some times our vehicle became very old; and we need to update it instead of replace the best option is cash for cars I think.
cash for cars: https://www.a1autorecycling.com.au/
#top_cash_for_cars
#cash_for_cars