Ana içeriğe geç

Bu sürüm, hatalı düzenlemeler içerebilir. En son doğrulanmış bellek kopyası dönün.

Neye ihtiyacın var

  1. Bu adım çevrilmemiş. Çevrilmesine yardım edin

    : adım 1, 3 resimden 1. : adım 1, 3 resimden 2. : adım 1, 3 resimden 3.
    • Remove the drawer from the cabinet/dresser.

    • Do this so you have enough room to work with.

  2. Bu adım çevrilmemiş. Çevrilmesine yardım edin

    : adım 2, 3 resimden 1. : adım 2, 3 resimden 2. : adım 2, 3 resimden 3.
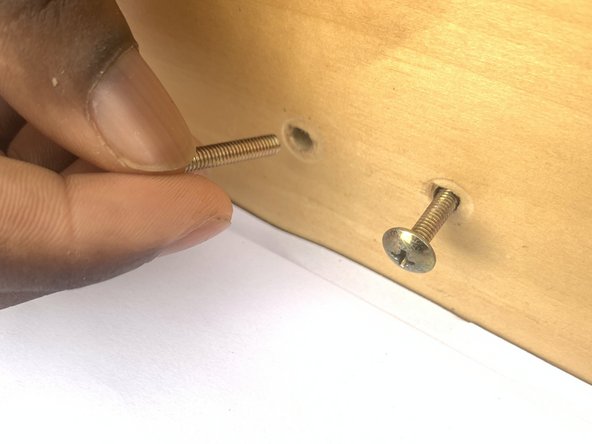
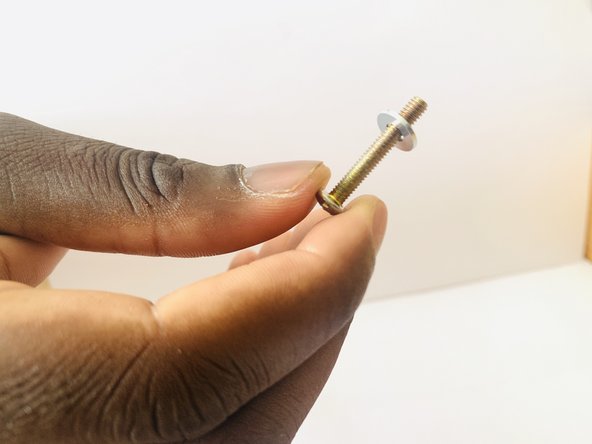
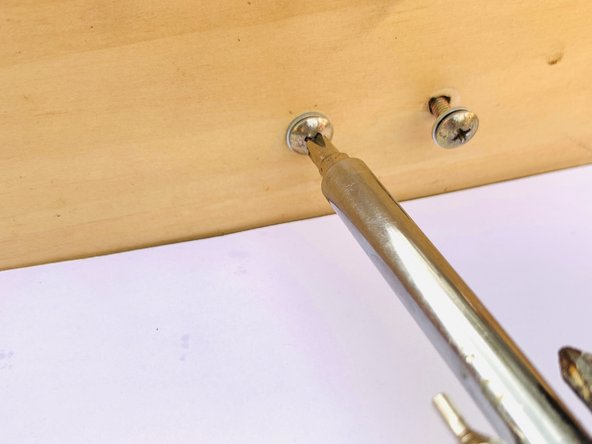
    • Take your screw driver to remove the screw from the knob.

    • Place the screwdriver on the screw turning the screwdriver counter clock wise to untighten the screw from the knob.

    • Knowing that every cabinet and drawers are different will determine how many screws you will need to untighten for this repair.

  3. Bu adım çevrilmemiş. Çevrilmesine yardım edin

    : adım 3, 3 resimden 1. : adım 3, 3 resimden 2. : adım 3, 3 resimden 3.
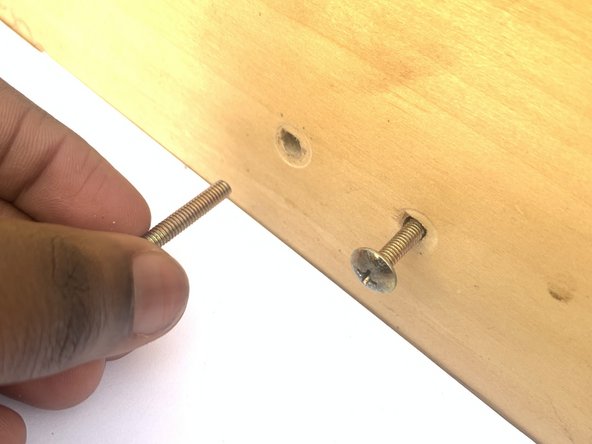
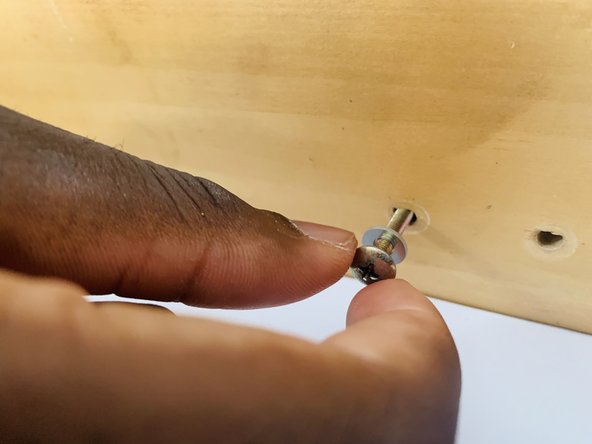
    • Next, you will then remove the screw from the desired hole.

  4. Bu adım çevrilmemiş. Çevrilmesine yardım edin

    : adım 4, 2 resimden 1. : adım 4, 2 resimden 2.
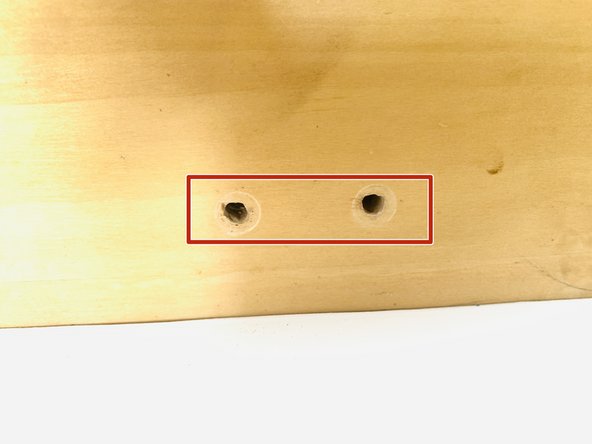
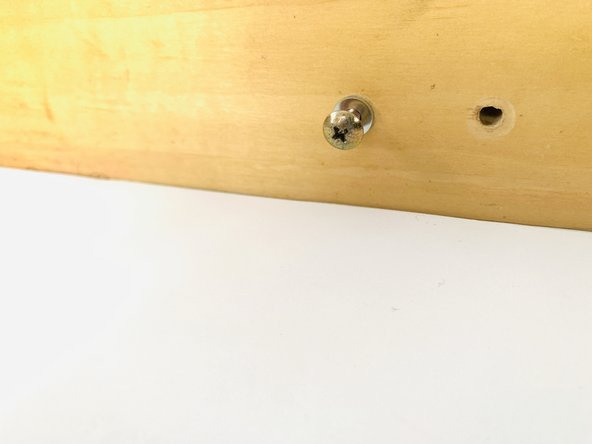
    • Inspect the threading of the screw to see whether the screw is still in good condition or if there is any jagged threading on the body portion of the screw.

    • If your screw does not appear to be in good condition, then you would have to purchase another screw. Remember to take the knob with you to the store so that you can get the correct screw for that knob.

  5. Bu adım çevrilmemiş. Çevrilmesine yardım edin

    : adım 5, 3 resimden 1. : adım 5, 3 resimden 2. : adım 5, 3 resimden 3.
    • Inspect the holes within the knob and drawer.

    • You would perform this step to see if there is any extra debris that was left behind.

  6. Bu adım çevrilmemiş. Çevrilmesine yardım edin

    : adım 6, 2 resimden 1. : adım 6, 2 resimden 2.
    • Place washers on the screw.

  7. Bu adım çevrilmemiş. Çevrilmesine yardım edin

    : adım 7, 3 resimden 1. : adım 7, 3 resimden 2. : adım 7, 3 resimden 3.
    • Insert the screw in the desired hole.

  8. Bu adım çevrilmemiş. Çevrilmesine yardım edin

    : adım 8, 2 resimden 1. : adım 8, 2 resimden 2.
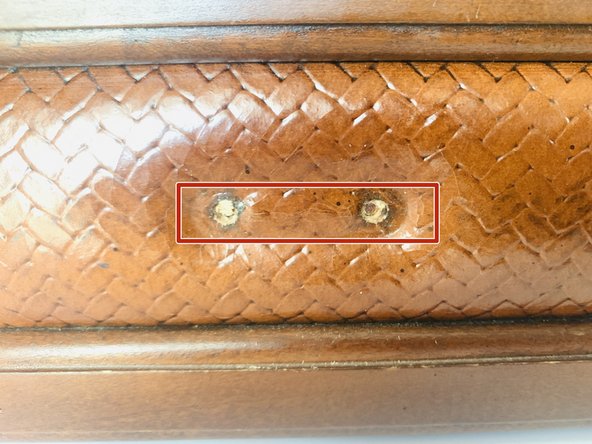
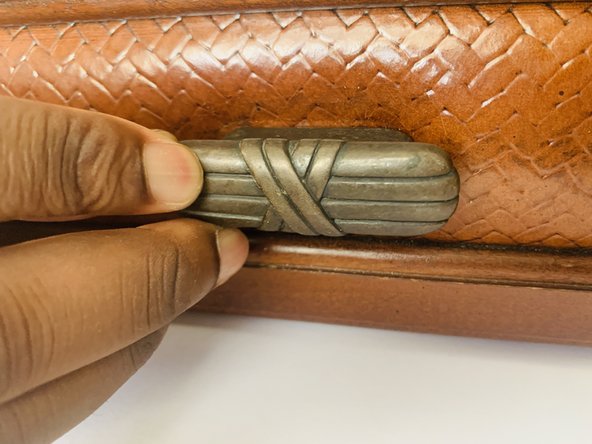
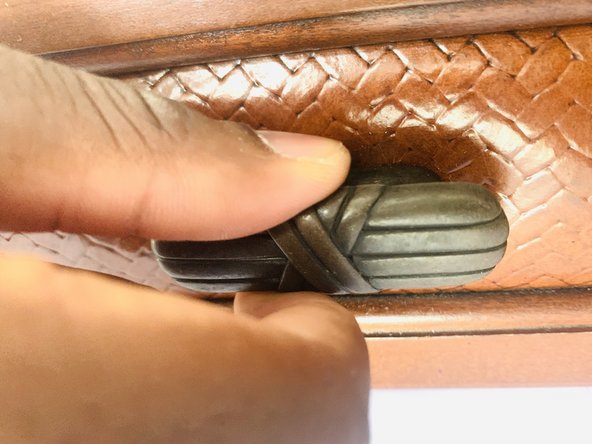
    • Place the knob in front of the cabinet/drawer where the screw would be in place.

  9. Bu adım çevrilmemiş. Çevrilmesine yardım edin

    : adım 9, 3 resimden 1. : adım 9, 3 resimden 2. : adım 9, 3 resimden 3.
    • Hand tighten the screw on the knob.

    • Since you are holding the screw with your left hand and the knob with your right all you have to do is turn the screw clockwise, so the knob can tighten on the screw.

    • Make sure to hold the knob in place while performing this step.

  10. Bu adım çevrilmemiş. Çevrilmesine yardım edin

    : adım 10, 3 resimden 1. : adım 10, 3 resimden 2. : adım 10, 3 resimden 3.
    • Use your screwdriver to finish tightening the screw in place.

    • Remember to keep the knob in place while completing this step.

  11. Bu adım çevrilmemiş. Çevrilmesine yardım edin

    : adım 11, 2 resimden 1. : adım 11, 2 resimden 2.
    • Check to see if the knob is tight and secure.

  12. Bu adım çevrilmemiş. Çevrilmesine yardım edin

    : adım 12, 3 resimden 1. : adım 12, 3 resimden 2. : adım 12, 3 resimden 3.
    • Place the drawer back in the cabinet/dresser.

    • Congratulations! You fixed your loose cabinet knob.

Bitiş Çizgisi

Bir başkası bu kılavuzu tamamladı.

Sandra William

Üyelik tarihi: 01/15/19

241 İtibar

1 Kılavuz yazıldı

2 Yorum

Thanks Sandra. Appreciate all the photos as I really don’t know how to do many home repairs.

W. B. - Yanıt

Another aspect of iFixit,

Home repair

Kind-hearted, spirited Man -

Yorum Ekle

İstatistikleri Görüntüle:

Son 24 Saat: 1

Son 7 gün: 16

Son 30 gün: 65

Her zaman: 3,284