Ana içeriğe geç

How to Rebuild a Briggs and Stratton Quantum Engine Carburetor

Neye ihtiyacın var

  1. How to Rebuild a Briggs and Stratton Quantum Engine Carburetor, Remove the Air Filter Cover: adım 1, 3 resimden 1. How to Rebuild a Briggs and Stratton Quantum Engine Carburetor, Remove the Air Filter Cover: adım 1, 3 resimden 2. How to Rebuild a Briggs and Stratton Quantum Engine Carburetor, Remove the Air Filter Cover: adım 1, 3 resimden 3.
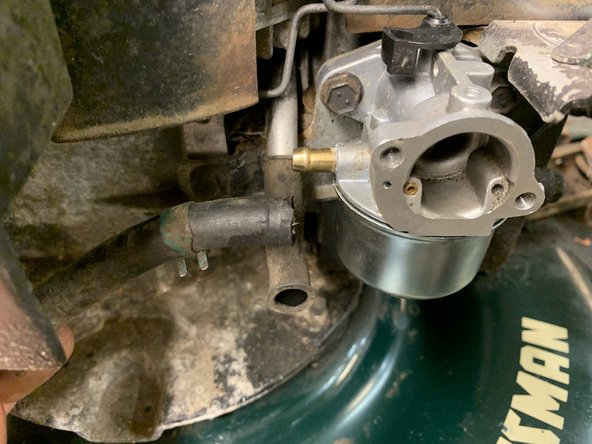
    • The air filter and its cover are located to the right of the yellow warning label under the throttle cable.

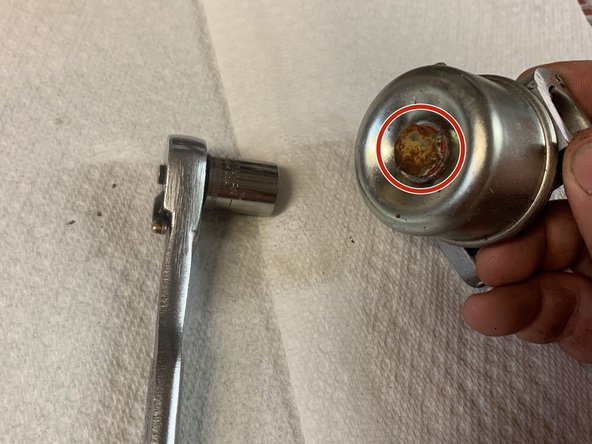
    • Remove the single screw attaching the cover and filter using a 5/16'' socket.

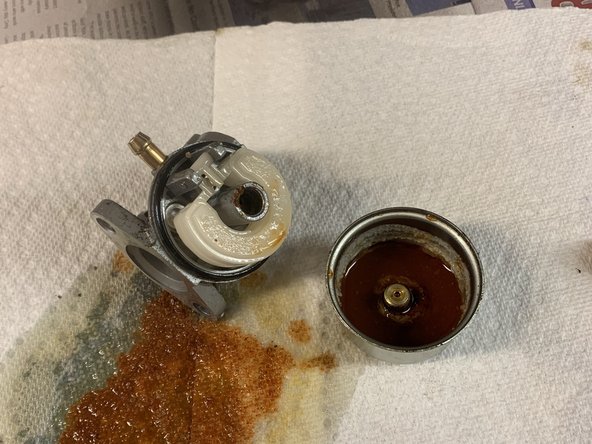
    • Pull straight outward until the filter assembly is detached.

    • The screw is a flat head as well as a 5/16'' socket.

  2. How to Rebuild a Briggs and Stratton Quantum Engine Carburetor, Remove the throttle Cable: adım 2, 1 resimden 1.
    • The throttle cable will be located above the air filter assembly.

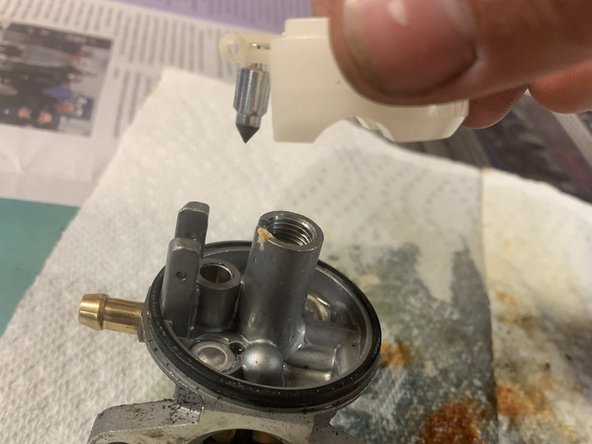
    • Use a flathead screwdriver to remove the throttle cable.

    • If your engine is not equipped with a throttle, skip this step.

  3. How to Rebuild a Briggs and Stratton Quantum Engine Carburetor: adım 3, 2 resimden 1. How to Rebuild a Briggs and Stratton Quantum Engine Carburetor: adım 3, 2 resimden 2.
    • Remove the backplate of the air filter assembly to access the carburetor.

    • Using a 5/16" socket, remove the three screws inside of the assembly.

  4. How to Rebuild a Briggs and Stratton Quantum Engine Carburetor: adım 4, 3 resimden 1. How to Rebuild a Briggs and Stratton Quantum Engine Carburetor: adım 4, 3 resimden 2. How to Rebuild a Briggs and Stratton Quantum Engine Carburetor: adım 4, 3 resimden 3.
    • Remove the fuel line spring clamp with pliers.

    • Remove the fuel line from the carburetor by pulling directly outward.

    • Crimp the line with locking pliers. Do this before removing the fuel line to mitigate fuel spillage.

    • Drain the fuel line into a container and dispose of it properly.

  5. How to Rebuild a Briggs and Stratton Quantum Engine Carburetor: adım 5, 2 resimden 1. How to Rebuild a Briggs and Stratton Quantum Engine Carburetor: adım 5, 2 resimden 2.
    • To remove the carburetor, use a 3/8" socket with an extension and ratchet to remove the two screws attached to the engine block.

    • Turn the carb 90 degrees, and pull off of the Z bend in the carb linkage.

  6. How to Rebuild a Briggs and Stratton Quantum Engine Carburetor: adım 6, 3 resimden 1. How to Rebuild a Briggs and Stratton Quantum Engine Carburetor: adım 6, 3 resimden 2. How to Rebuild a Briggs and Stratton Quantum Engine Carburetor: adım 6, 3 resimden 3.
    • Remove the carburetor bowl screw with a 1/2" socket and ratchet.

    • Empty fuel from the carburetor bowl into a container for disposal.

  7. How to Rebuild a Briggs and Stratton Quantum Engine Carburetor: adım 7, 3 resimden 1. How to Rebuild a Briggs and Stratton Quantum Engine Carburetor: adım 7, 3 resimden 2. How to Rebuild a Briggs and Stratton Quantum Engine Carburetor: adım 7, 3 resimden 3.
    • Spray the interior of the carburetor with carb cleaner.

    • Remove the float pin.

    • This will allow the float and needle to be removed as one piece.

    • This is not a full carburetor cleaning. This is just a rinse-off.

  8. How to Rebuild a Briggs and Stratton Quantum Engine Carburetor: adım 8, 3 resimden 1. How to Rebuild a Briggs and Stratton Quantum Engine Carburetor: adım 8, 3 resimden 2. How to Rebuild a Briggs and Stratton Quantum Engine Carburetor: adım 8, 3 resimden 3.
    • Spray out the three major spots in the following order: the main adjustment hole, the inlet needle hole, and the main jet.

    • If the carb cleaner does not pass through any component, use a small piece of wire to poke through the passage.

    • If using a needle to clear passages, spray the passages with carb cleaner after clearing.

  9. How to Rebuild a Briggs and Stratton Quantum Engine Carburetor: adım 9, 1 resimden 1.
    • After all parts are clean, lay them out to prepare for reassembly.

Sonuç

To reassemble your device, follow these instructions in reverse order.

Bir başkası bu kılavuzu tamamladı.

Matthew Dunham

Üyelik tarihi: 03/24/21

166 İtibar

1 Kılavuz yazıldı

0 Yorum

Yorum Ekle

İstatistikleri Görüntüle:

Son 24 Saat: 6

Son 7 gün: 65

Son 30 gün: 248

Her zaman: 4,688