Bu sürüm, hatalı düzenlemeler içerebilir. En son doğrulanmış bellek kopyası dönün.
Neye ihtiyacın var
-
Bu adım çevrilmemiş. Çevrilmesine yardım edin
-
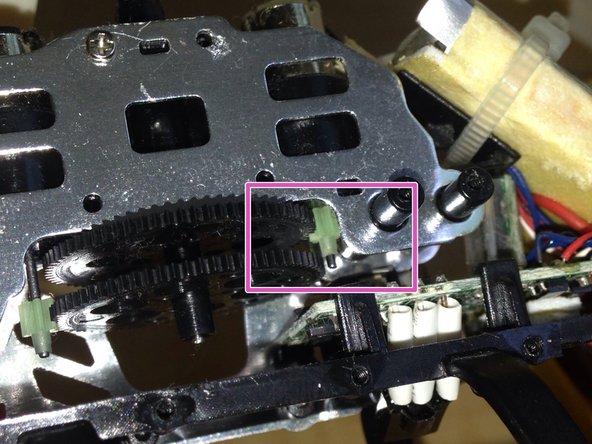
Locate the problematic engine gear inside the helicopter frame.
-
-
Bu adım çevrilmemiş. Çevrilmesine yardım edin
-
Grab the screwdriver that will fit the screws on your specific model.
-
-
Bu adım çevrilmemiş. Çevrilmesine yardım edin
-
Unscrew the decorative/protective shroud blocking your access to the inside of the helicopter.
-
-
-
Bu adım çevrilmemiş. Çevrilmesine yardım edin
-
If it is possible to reset the gear without unscrewing further, attempt to push the gear back up into place on the motor shaft with a screwdriver or your finger.
-
-
Bu adım çevrilmemiş. Çevrilmesine yardım edin
-
Unscrew one side of the frame and set it aside, allowing access to the gear.
-
-
Bu adım çevrilmemiş. Çevrilmesine yardım edin
-
Place the screwdriver's tip underneath the clear motor gear.
-
Firmly push the gear back up into place so that it correctly connects with the main rotor gear.
-
-
Bu adım çevrilmemiş. Çevrilmesine yardım edin
-
Return all the pieces to their original place inside the frame.
-
Screw the frame tightly back into place.
-
-
Bu adım çevrilmemiş. Çevrilmesine yardım edin
-
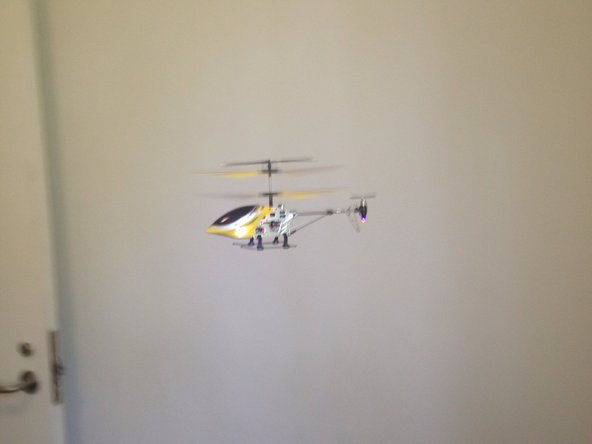
Test the helicopter for functionality.
-
If it works then the helicopter is fixed and you can screw the shroud back into place.
-


İptal et: Bu kılavuzu tamamlamadım.
5 farklı kişi bu kılavuzu tamamladı.
Ekip

Cal Poly, Team 30-6, Green Spring 2015 Cal Poly, Team 30-6, Green Spring 2015 üyesi
CPSU-GREEN-S15S30G6
2 Üyeler
3 adet Kılavuz yazıldı
2 Yorum
Amazing! That repair was genuinely simple to follow directions helped me step by step and I fixed my helicopter for my grandson