Giriş
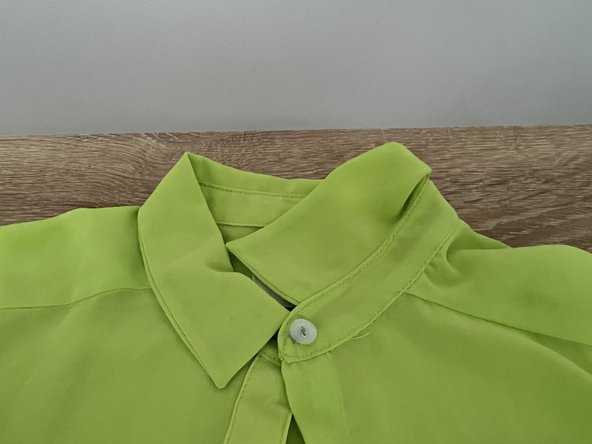
Imagine getting ready to wear a brand new shirt only to find out, there's a button missing. Due to time constraints, you only have two options - wear something or fix it....except you aren't exactly sure how to fix it. Well....we have the guide to do just that. To make this work, you will need an old shirt that you do not wear, some scissors, thread, and a few other tools. We promise, this will be as pain-free as possible. Some basic sewing skills are necessary to complete this guide, but it's nothing too complicated. Let's begin!
Neye ihtiyacın var
-
-
Lay both shirts down on a clean flat surface.
-
Identify your old shirt.
-
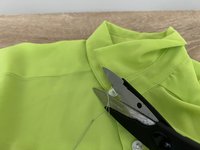
Use your sewing scissors to cut a button from the old shirt, (preferably from an area that won't be noticeable). The bottom of the shirt is a great place to start, as most shirts have an extra button sewn-on, in the event that a button is popped or lost.
-
Set your newly cut button aside.
-
-
-
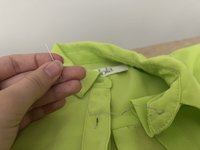
Pick up both your needle, and the selected thread, that you will use to make repairs.
-
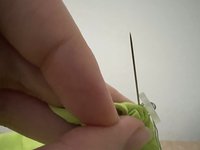
This may take a bit of time, as threading a needle can be quite tricky. Take the thread, and place it through the opening at the top of your needle.
-
Once you have placed the thread in the needle, create a knot on the end.
-
-
-
Now, grab your threaded needle and the shirt that you wish to repair.
-
While not required, this would be a great time to place your thimble on your finger, if you elected to purchase one.
-
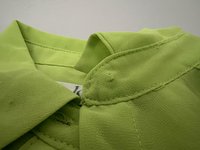
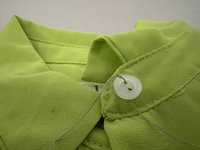
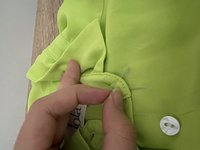
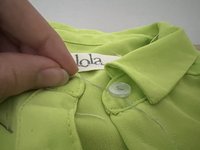
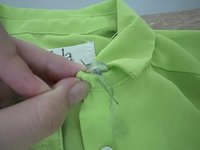
Flip up the collar, so that the underside of the collar is facing you.
-
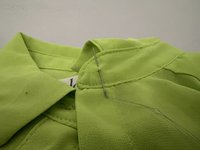
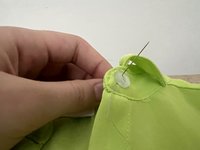
Insert the needle into the button-hole area, where the missing button was located.
-
Pull the thread through to the end until the knot stops it.
-
-
-
-
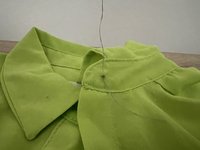
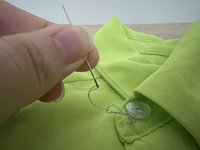
After you've made your first stitch into the shirt, take the recycled button and put the needle through the bottom of one of the holes.
-
This will bring the button onto the thread.
-
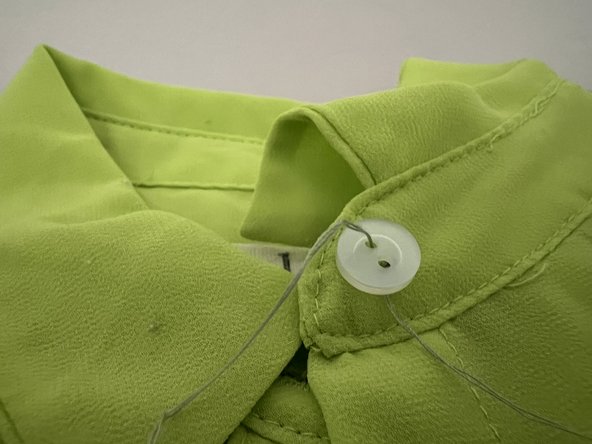
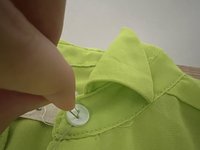
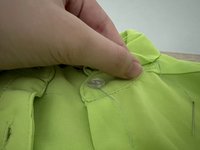
Next, thread through the second button to secure, and pull down, so that the button now rests in the area of the missing button.
-
-
-
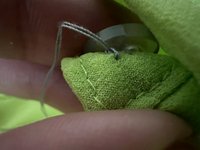
As an added layer of security, if you want, you can secure the button to a piece of fabric, to eliminate any movement.
-
Take a small piece of fabric behind the button area, and sewn-in the button holes, into the fabric.
-
After making sure it is tight, grab the needle and put it in between the two threads to create a knot.
-


To reassemble your device, follow these instructions in reverse order.
İptal et: Bu kılavuzu tamamlamadım.
Bir başkası bu kılavuzu tamamladı.

Ekip

University of Puerto Rico Mayagüez, Team 2-7, Cools Stephens Spring 2022 University of Puerto Rico Mayagüez, Team 2-7, Cools Stephens Spring 2022 üyesi
UPRM-COOLS STEPHENS-S22S2G7
1 Üye
1 Kılavuz yazıldı