Giriş
A simple guide to fix a jammed drive tray on the 360 S, please follow instructions on how to remove the drive from the 360 S first.
Neye ihtiyacın var
-
-
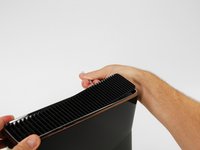
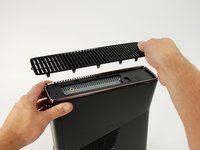
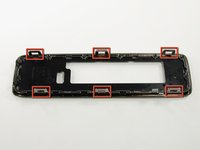
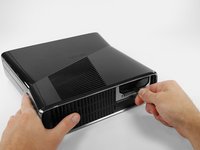
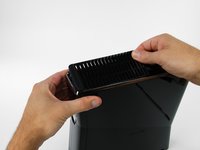
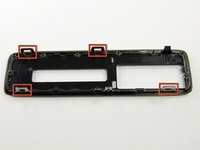
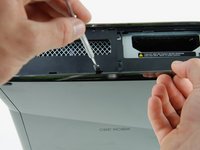
In the following steps, you will remove the top vent, secured to the top panel by the thirteen clips shown.
-
-
-
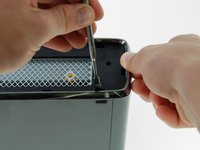
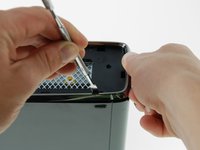
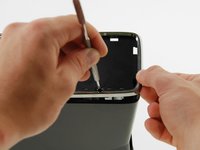
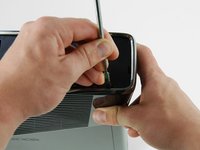
Orient the console so that the words "XBOX 360" on the sides are right-side up, and the faceplate is facing to the left.
-
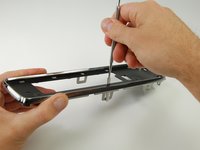
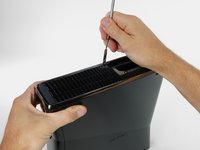
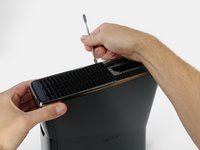
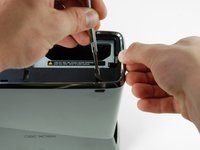
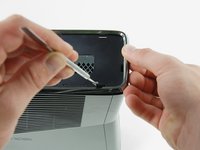
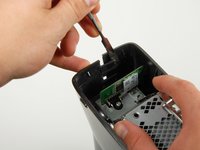
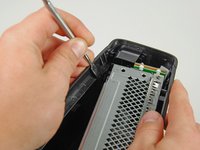
Insert a metal spudger between the top vent and the top bezel near the rear of the Xbox.
-
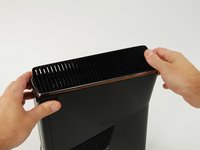
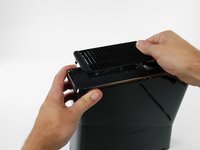
Rotate the spudger away from the console, prying the edge of the fan vent up until the two plastic clips come free.
-
-
-
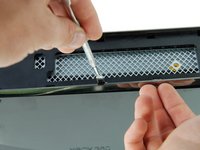
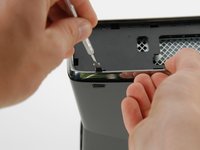
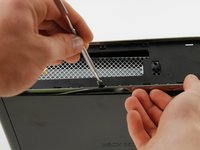
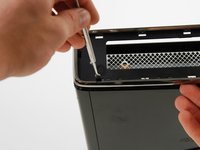
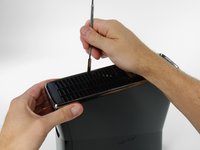
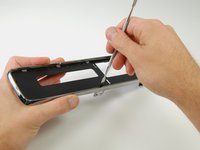
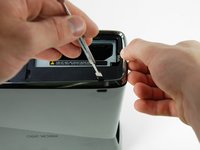
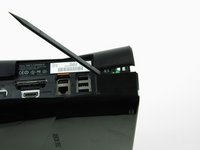
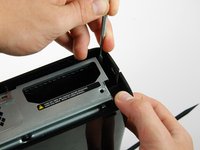
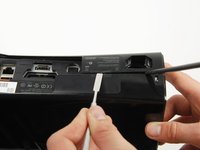
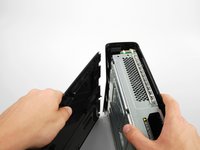
Rotate the console so that the rear of the Xbox 360 S is facing to the right, and the right case is facing you.
-
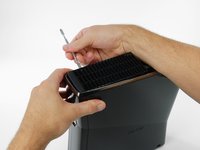
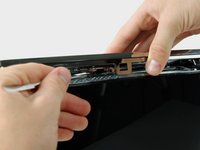
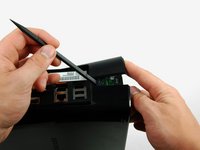
Insert a metal spudger through the rear-most slit on the right edge of the top bezel and between the bottom edge of the clip and the right case.
-
While lifting up on the top bezel with your fingers, rotate the spudger away from the console to free the clip.
-
-
-
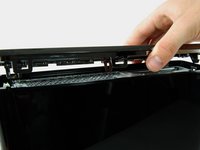
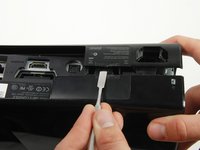
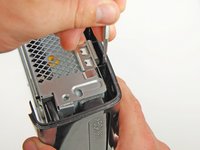
Push the latch holding down the hard drive cover to the left.
-
Pull the hard drive cover away from the console.
-
-
-
-
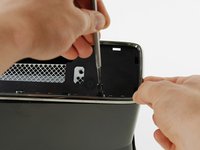
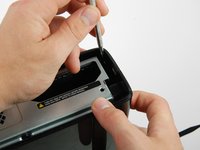
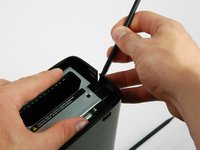
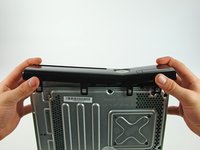
Insert a metal spudger through the left middle slit of the bottom bezel, and between the bottom edge of the clip and the left case.
-
Simultaneously pull the bottom bezel up and rotate the spudger away from the console to free the clip.
-
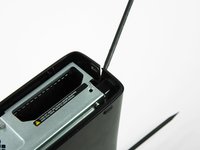
In a similar fashion, free the clip at the front of the bottom bezel's left edge.
-
-
-
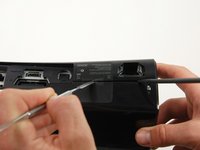
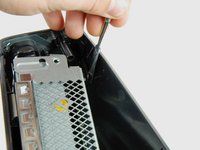
Release the clip near the front right corner of the top edge securing the right case to the faceplate.
-
-
-
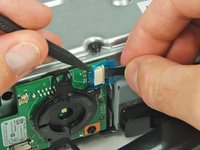
Using a spudger or fingernail, lift the clear blue tab away from the connector.
-
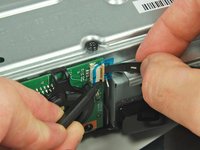
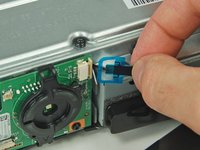
Slide the locking tab on the power switch board cable connector toward the top of the console.
-
Pull the power switch cable straight out of the connector.
-
The faceplate is now free of the rest of the console.
-
-
-
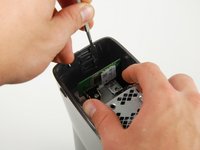
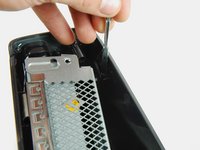
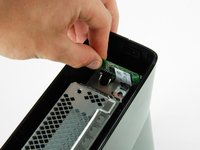
Remove the single T10 Torx screw holding in the wireless card.
-
Pull the Wi-Fi board out of the console.
-
-
-
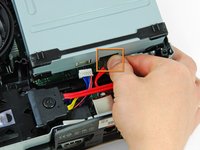
Disconnect the optical drive data cable from the back of the optical drive.
-
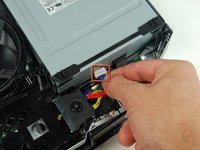
Disconnect the power cable from the back of the optical drive.
-
-
-
The Drive unit itself
-
For the lite-on phillips drive, you pretty much have to use brute force and a little prayer. Once you remove the rubber piece near the back (sound dampner and it keeps the drive from wiggling), remove the sponge foam strip at the front (allows the drive to close silently) and the 4 screws at the corners.
-
You then remove the top piece (some videos will actually have you remove the top spin plate, but that is not necessary). Slide the drive components towards the front, after lifting the front to clear the base pins from the other half of the case.
-
Then carefully remove the drive tray from the side lips holding it in place, starting from the back of the drive and using it's flexibility to free it one tab at a time towards the front.
-
-
-
Once free you'll notice a small guide pin on the right side (from the front view) near the gears, manually rotate the gears (lowering the lens assembly) until the pin lines up on the far right side (there should be a guide track for it on the bottom of the tray).
-
Slide the tray back into place making sure the guide pin is properly aligned into the guide track.
-
You can do a partial reassembly to test the fix, but be careful as the power cord "key" is a molded part of the case, so it can be inserted upside down.
-


To reassemble your device, follow these instructions in reverse order.
İptal et: Bu kılavuzu tamamlamadım.
36 farklı kişi bu kılavuzu tamamladı.
6Kılavuz Yorumları
Was able to pop tray up on right side out of guide, then moved gears till the pin lined up with bottom of tray, popped tray back into guide. Worked perfectly.
step 35 is not necessary, just gently flip xbox and detach dvd-drive
Thanks for writing this! This guide was really helpful and my xbox is working perfectly again :) never done anything like this before but instructions were clear and I'm pretty happy with myself to be honest. Could do with relevant pictures on the last two steps but overall a really useful and well written guide.
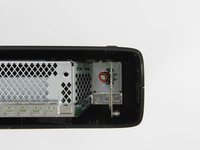
STUCK DRIVE = Need go no further than Step 4. (Photos available)
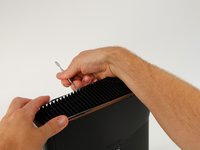
After removing the top vent you will be able to see a hole in the mesh towards the front.
Beneath the mesh is the side of the DVD case with another hole lining up with hole in mesh. (May have yellow circle around it).
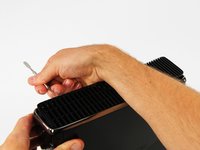
This will need a long thin probe (Nothing I have in my kit) like a perfectly straightened paper clip.
Push the probe through the hole which disengages the lifter inside the DVD player and allows the draw to open.
No need to go past step 4 unless the DVD needs to be opened to remove stuck objects.