Giriş
A hole in knitted sports items can easily appear after snagging it on something sharp, especially winter items such as beanies or jumpers.
Here we will explain how to perform a repair using a standard darning technique; and demonstrate with a contrast colour thread to make the photos clearer. Depending on your preference, you might choose a matching thread colour to hide the repair, or a contrast thread colour to celebrate your repair and the adventure which made the hole!
Neye ihtiyacın var
-
-
Prepare a clean and uncluttered space to perform the repair. Find the hole in your item of clothing, and inspect it noting the size and shape, and the stretch and thickness of the surrounding fabric.
-
Choose your thread colour, and prepare the needle and darning egg.
-
Note: in this guide we use a darning egg, but darning mushrooms and many other options are also available.
-
-
-
Position the egg underneath the hole.
-
Hold the fabric around the egg, so that both the egg and fabric create a stable and secure position to work on. Do not apply excess pressure or tension to the fabric - the hole size should not increase.
-
Start the repair on one end of the hole, and position the needle to one side of the hole - at an area which is not broken. Thread the needle into the fabric from the bottom side of the hole, and exit the fabric at the top side of the hole, to create the first vertical stitch.
-
Tip: the darning technique will gradually build up a series of interlocking vertical and horizonal stitches to fill the hole. This is the first one!
-
-
-
After the first vertical stitch, there is no need to make a knot at the end of the thread; just leave it free.
-
Make a second vertical stitch through the fabric and back out in the vertical direction, but this time downwards.
-
Continue with the same "up and down" process, spacing the stitches in regular intervals all along the hole.
-
-
-
-
You should now have completed the vertical stitching. Check that the vertical stitches are evenly spread, and not too spaced out before continuing.
-
Tip: if needed, add extra vertical stitches to fill in big gaps, or even repeat the whole vertical stitching process again to add a second row of vertical stitches. The amount of stitches will determine the density and durability of the repair, and is unique to each item/fabric.
-
Once you're satisfied with the vertical stitches, begin adding the horizontal stitches. For this, start again at one side of the hole and start stitching in the opposite orientation to the first set of stitches. Turn the product 90 degrees if it helps.
-
Important: the horizontal stitches must weave between the vertical stitches. To do this, thread the needle under and over each vertical stitch in an alternating fashion.
-
Proceed with this "under and over" action as you continue across the hole, until the hole is fully covered.
-
-
-
Continue the horizontal stitching until the hole is fully covered.
-
Try to finish the last horizontal stitch, so that the thread-end is at the opposite corner of the starting point.
-
Tip: If you ended up on the same side as the starting point, simply make one more horizontal stitch.
-
-
-
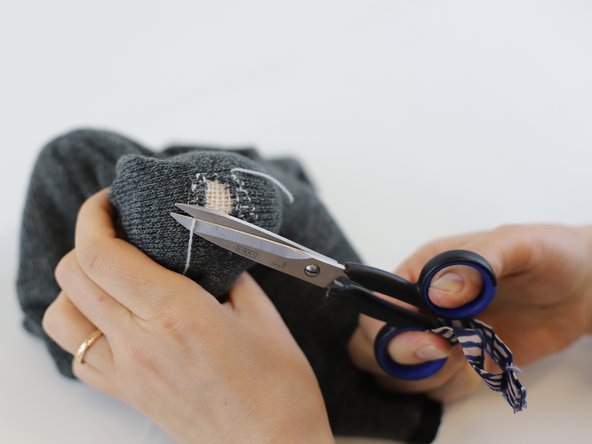
Inspect your repair, and ensure there are no further stitches to be made before cutting the threads. Then, make a double stitch at the final point, to secure the thread - there is no need to make a knot.
-
Carefully cut one loose thread...
-
... and then carefully cut the other loose thread.
-
Flatten down the edges of the repair and smooth the entire repaired area.
-
Tip: flatten item on a hard and flat surface, and use the rounded side of your darning egg or mushroom to firmly apply pressure on a circular motion to the repaired areas, to smooth down the edges.
-
-
-
🛠️🏆👏 Congratulations! The repair is complete, and you're ready to go!
-


To reassemble your device, follow these instructions in reverse order.
To reassemble your device, follow these instructions in reverse order.

Ekip
