Ana içeriğe geç

IBM ThinkPad 600E Display Replacement

Neye ihtiyacın var

  1. IBM ThinkPad 600E Display Replacement, Battery: adım 1, 3 resimden 1. IBM ThinkPad 600E Display Replacement, Battery: adım 1, 3 resimden 2. IBM ThinkPad 600E Display Replacement, Battery: adım 1, 3 resimden 3.
    • Flip the laptop over and find the battery latch.

  2. IBM ThinkPad 600E Display Replacement: adım 2, 1 resimden 1.
    • Move the latch to the side with the unlocked symbol.

  3. IBM ThinkPad 600E Display Replacement: adım 3, 3 resimden 1. IBM ThinkPad 600E Display Replacement: adım 3, 3 resimden 2. IBM ThinkPad 600E Display Replacement: adım 3, 3 resimden 3.
    • Pry the battery out using your fingers.

  4. IBM ThinkPad 600E Display Replacement, Keyboard: adım 4, 3 resimden 1. IBM ThinkPad 600E Display Replacement, Keyboard: adım 4, 3 resimden 2. IBM ThinkPad 600E Display Replacement, Keyboard: adım 4, 3 resimden 3.
    Bu adımda kullanılan alet:
    Anti-Static Wrist Strap
    $7.95
    Satın Al
    • Use an antistatic wrist strap to avoid the risk of electric shock.

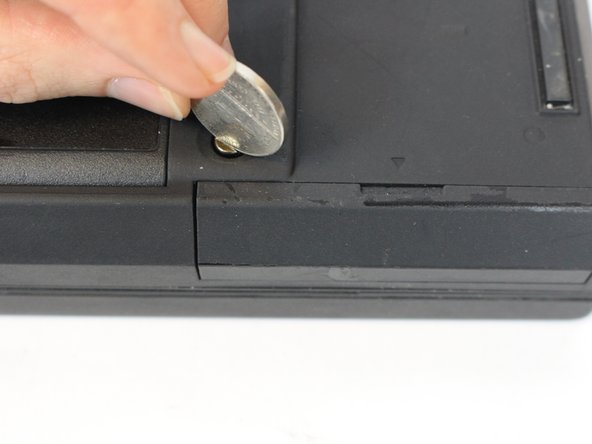
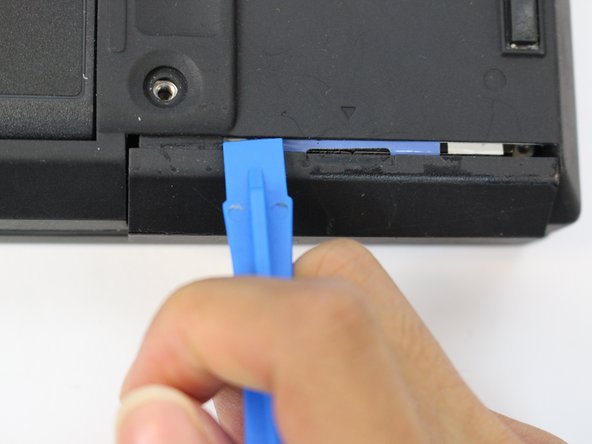
    • Unscrew the coin screw for the hard drive using a coin. Pry off the HDD cover.

    • It is easier to remove the coin screw using a thicker coin, such as a nickel.

  5. IBM ThinkPad 600E Display Replacement: adım 5, 3 resimden 1. IBM ThinkPad 600E Display Replacement: adım 5, 3 resimden 2. IBM ThinkPad 600E Display Replacement: adım 5, 3 resimden 3.
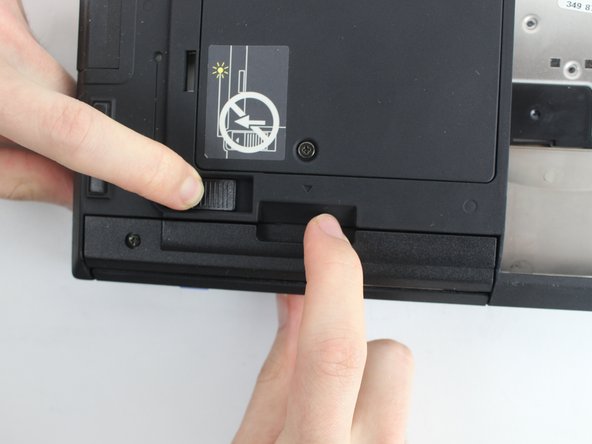
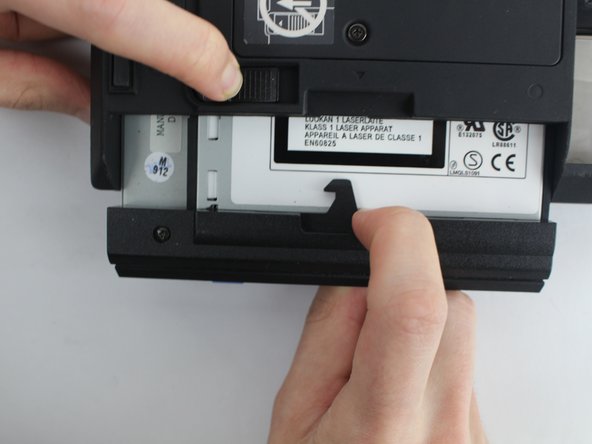
    • Unlock the highlighted latch and pull the disk drive out.

    • Remove the disk drive.

  6. IBM ThinkPad 600E Display Replacement: adım 6, 3 resimden 1. IBM ThinkPad 600E Display Replacement: adım 6, 3 resimden 2. IBM ThinkPad 600E Display Replacement: adım 6, 3 resimden 3.
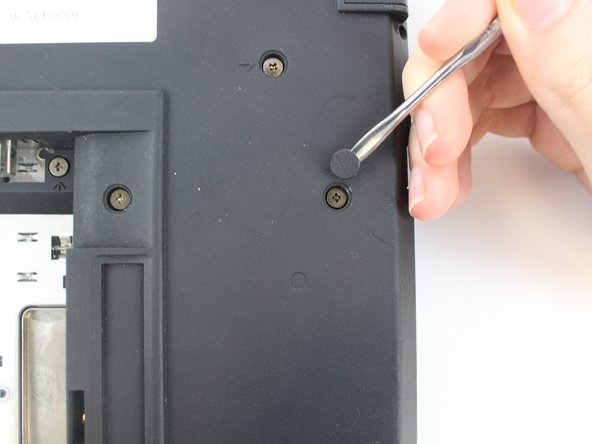
    • Most of the screws have a small, plastic covering attached with an adhesive. Use the metal spudger to pry it off. Make sure to note which screw came from which hole.

    • Four 18mm long M2.5 screws

    • Two 16mm long M2.5 screws

    • One 4.5mm long M2.5 screws

    • Four 3mm long M2.5 screws

  7. IBM ThinkPad 600E Display Replacement: adım 7, 2 resimden 1. IBM ThinkPad 600E Display Replacement: adım 7, 2 resimden 2.
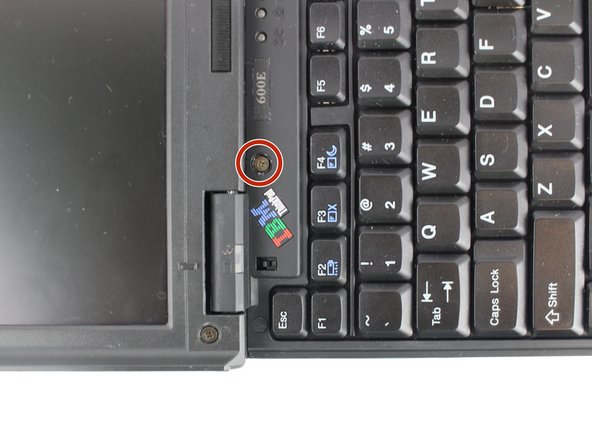
    • Open the laptop all the way until it is flat.

    • Take the black circle off and remove the screw.

    • One 4.5mm long M2.5 screw

  8. IBM ThinkPad 600E Display Replacement: adım 8, 3 resimden 1. IBM ThinkPad 600E Display Replacement: adım 8, 3 resimden 2. IBM ThinkPad 600E Display Replacement: adım 8, 3 resimden 3.
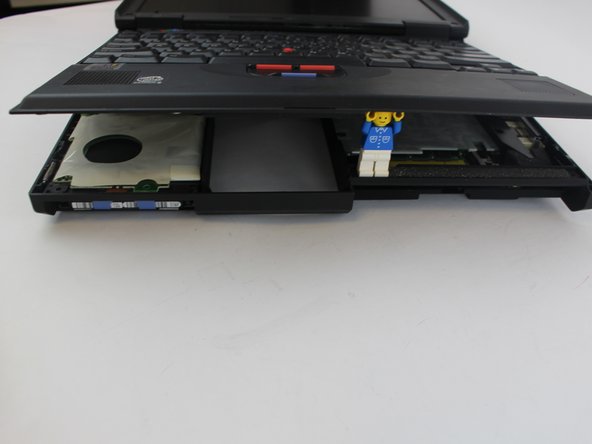
    • Pry the keyboard case up from the bottom and gently pry it up from all other edges.

    • Use caution when opening the case, as there are two ribbon cables attached to the keyboard case.

  9. IBM ThinkPad 600E Display Replacement: adım 9, 3 resimden 1. IBM ThinkPad 600E Display Replacement: adım 9, 3 resimden 2. IBM ThinkPad 600E Display Replacement: adım 9, 3 resimden 3.
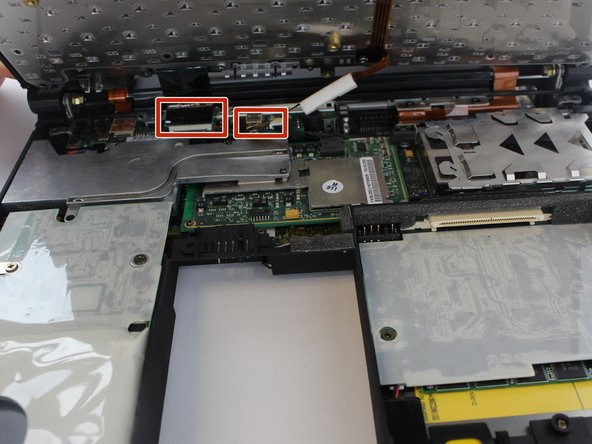
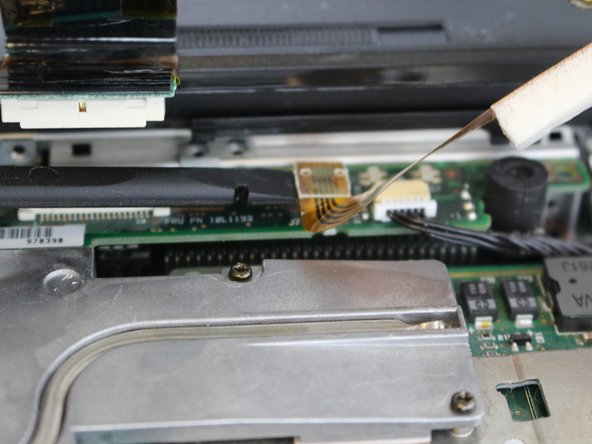
    • Pry the connectors of the ribbon cables off slowly, lifting straight up. Wiggle gently side to side if necessary.

  10. IBM ThinkPad 600E Display Replacement, Display: adım 10, 2 resimden 1. IBM ThinkPad 600E Display Replacement, Display: adım 10, 2 resimden 2.
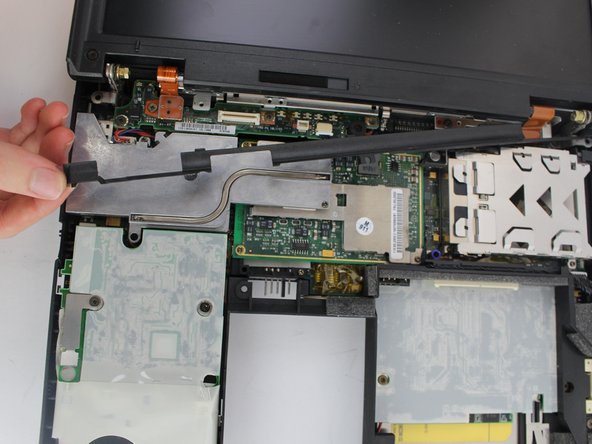
    • Remove the plastic part attached to the bottom of the screen.

    • Gently pull it from one side and then from another.

  11. IBM ThinkPad 600E Display Replacement: adım 11, 1 resimden 1.
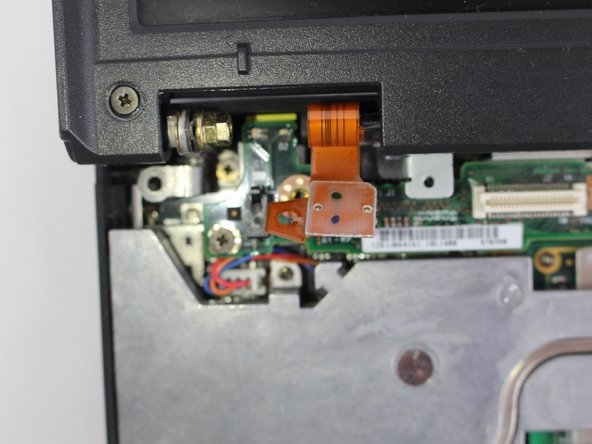
    • Remove the highlighted screws.

    • Five 4.8mm long M2.5 screws

  12. IBM ThinkPad 600E Display Replacement: adım 12, 3 resimden 1. IBM ThinkPad 600E Display Replacement: adım 12, 3 resimden 2. IBM ThinkPad 600E Display Replacement: adım 12, 3 resimden 3.
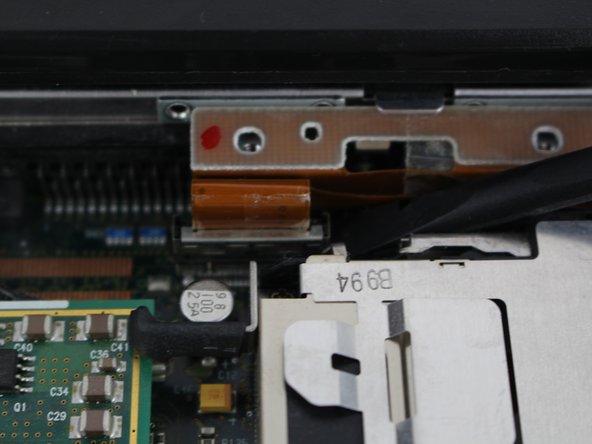
    • Pry the connectors of the ribbon cables off slowly, lifting straight up. Wiggle gently side to side if necessary.

  13. IBM ThinkPad 600E Display Replacement: adım 13, 1 resimden 1.
    • Close the laptop and turn it around. There you will see 4 more screws.

    • Unscrew highlighted screws.

    • Four 4.8mm long M2.5 screws

  14. IBM ThinkPad 600E Display Replacement: adım 14, 2 resimden 1. IBM ThinkPad 600E Display Replacement: adım 14, 2 resimden 2.
    • After you've removed the screws, open the laptop and gently pull the display out.

    • Be sure you hold it from the bottom edges while taking it out.

Sonuç

To reassemble your device, follow these instructions in reverse order.

Bir başkası bu kılavuzu tamamladı.

Kevin Nguyen

Üyelik tarihi: 10/04/16

722 İtibar

4 adet Kılavuz yazıldı

Ekip

USF Tampa, Team 1-4, Nance Fall 2016 USF Tampa, Team 1-4, Nance Fall 2016 üyesi

USFT-NANCE-F16S1G4

4 Üyeler

12 adet Kılavuz yazıldı

0 Yorum

Yorum Ekle

İstatistikleri Görüntüle:

Son 24 Saat: 0

Son 7 gün: 5

Son 30 gün: 16

Her zaman: 1,453