Giriş
This guide will show you how to replace a cracked or faulty screen on your Insignia Flex 10.1 tablet.
Neye ihtiyacın var
-
-
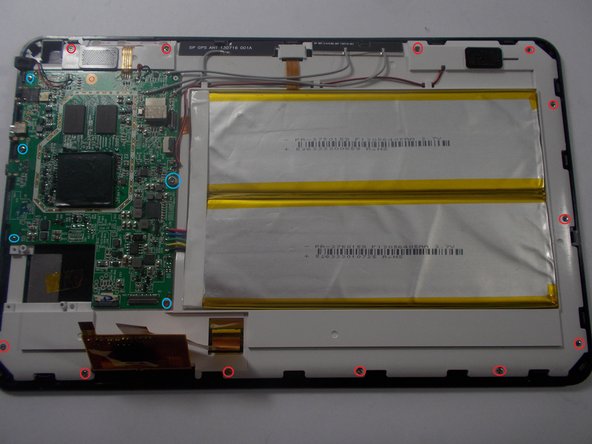
The rear panel is secured to the front case by 26 clips attached to the rear panel. These clips lock onto small tabs machined into the front case.
-
To help in visualization, the 9 clips boxed in orange are located on the same side as the volume buttons.
-
To free the tabs, they must be pushed toward the center of the device. When using the plastic opening tool to free the rear panel, be sure to work the tool at the location of these clips.
-
Remove back cover by inserting a plastic opening tool along the edge of the device to release the clips.
-
-
-
Opening the Flex 10.1 can be challenging. Don't get discouraged if it takes multiple attempts before the Flex 10.1 is opened.
-
Insert the plastic opening tool into the seam between the front case and the rear panel of the Flex 10.1.
-
Gently enlarge the existing gap by pressing and wiggling the plastic opening tool into the gap near each of the clips attached to the rear case, pushing the clips toward the center of the device until the clips have been freed.
-
Repeat the same procedure to free all clips around the Flex 10.1.
-
-
-
After ensuring all clips are free, separate the two halves of the Flex 10.1.
-
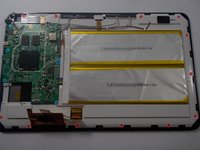
The rear panel is now free from the Flex 10.1.
-
-
-
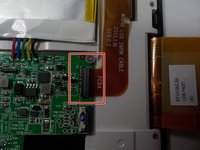
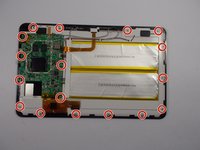
With the rear panel removed, the back side of the Flex 10.1 should look like this.
-
-
-
-
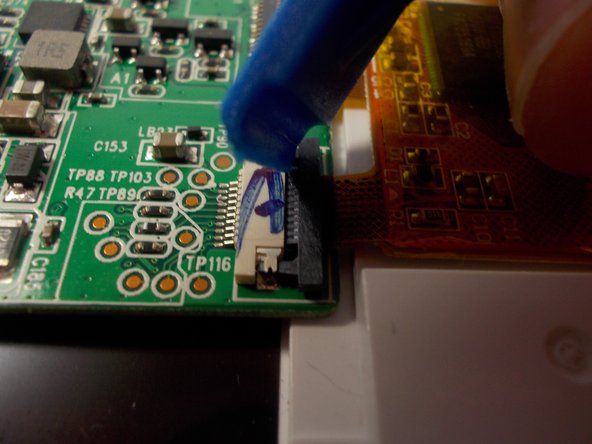
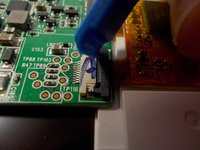
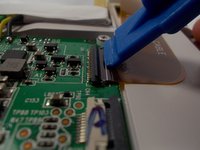
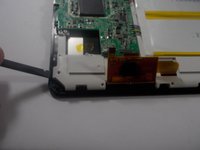
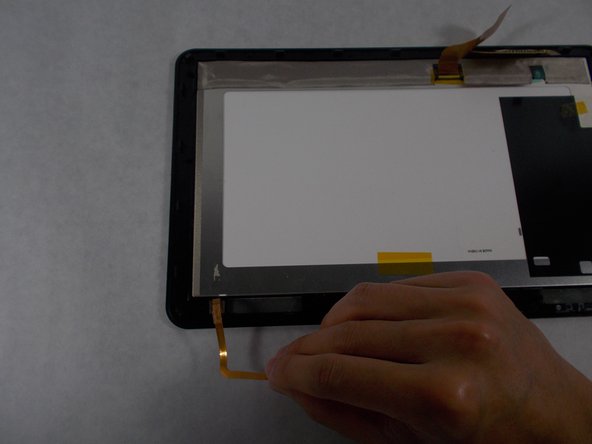
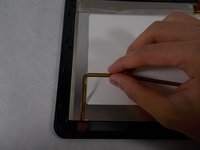
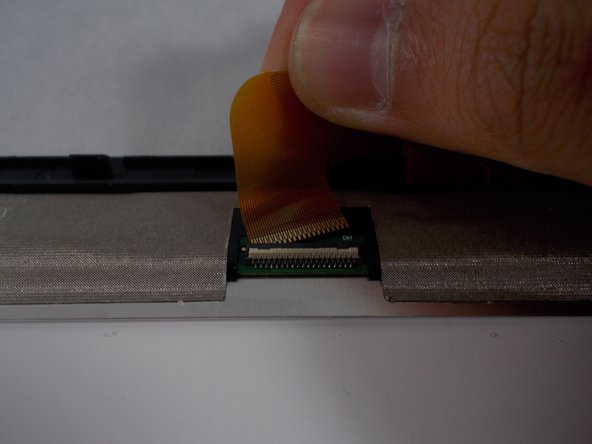
Remove the ribbon cable by lifting up on the connection with a plastic opening tool and pulling out the ribbon cable.
-
-
-
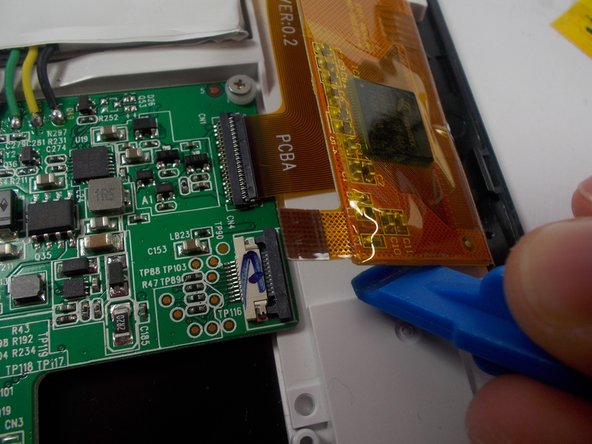
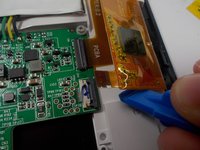
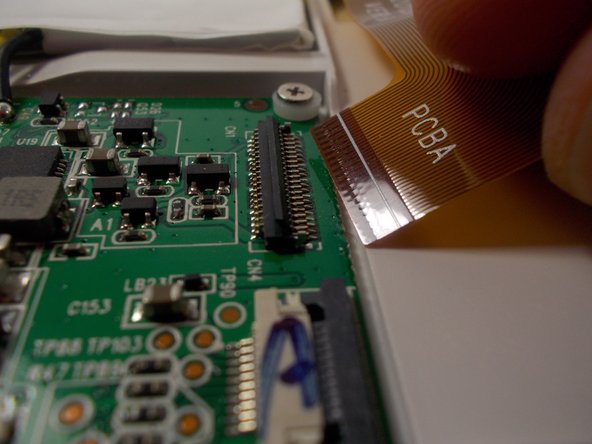
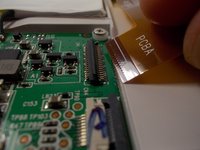
Remove the ribbon cable by lifting up on the connection with a plastic opening tool and pulling out the ribbon cable.
-
-
-
Separate the whole assembly from the screen, being careful and ensuring you removed everything necessary.
-
-
-
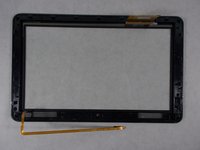
With the screws and white plastic cover removed, the screen and glass panel is exposed.
-
-
-
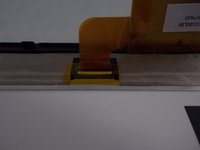
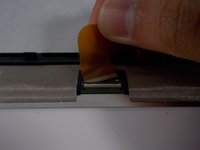
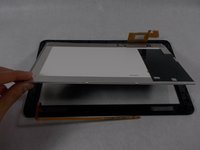
Remove the tape covering the connection.
-
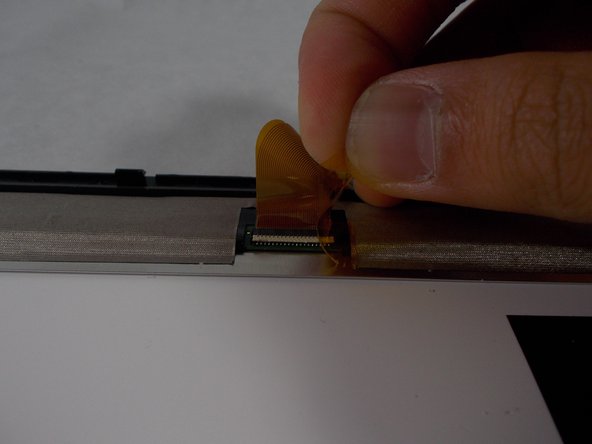
Disconnect the ribbon cable from the screen by lifting up on the connection and pulling out the ribbon cable.
-
-
-
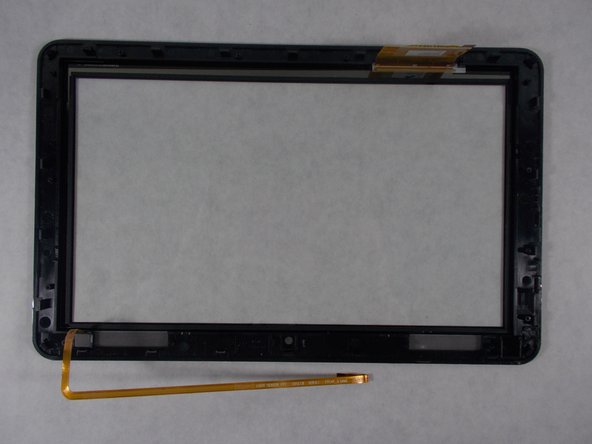
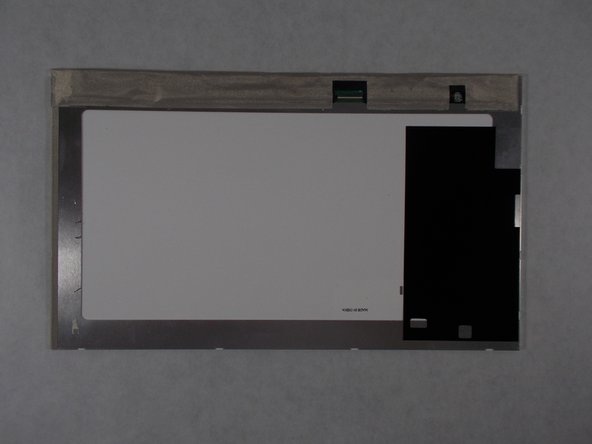
The screen is now free. Lift the screen out of the glass panel. The screen can now be replaced.
-


To reassemble your device, follow these instructions in reverse order.
İptal et: Bu kılavuzu tamamlamadım.
4 farklı kişi bu kılavuzu tamamladı.
Ekip

UMass Dartmouth, Team 2-1, Isaacson Spring 2016 UMass Dartmouth, Team 2-1, Isaacson Spring 2016 üyesi
UMASSD-ISAACSON-S16S2G1
3 Üyeler
11 adet Kılavuz yazıldı
2Kılavuz Yorumları
What % is there that you'll damage the board in the process of trying to fix the screen?
If it cost $100 to take you a repair shop i'd probably try myself seeing that i only payed 100 for it, and if it don't work I'm still in same boat with a broke sceen on my Insignia Flex