Ana içeriğe geç

JVC GR-D72U Microphone Replacement

Neye ihtiyacın var

  1. JVC GR-D72U Microphone Replacement, Battery: adım 1, 2 resimden 1. JVC GR-D72U Microphone Replacement, Battery: adım 1, 2 resimden 2.
    • Locate button on bottom of camera.

    • Slide button to the right.

  2. JVC GR-D72U Microphone Replacement: adım 2, 1 resimden 1.
    • Pull the battery towards the bottom of the camcorder while lifting battery .

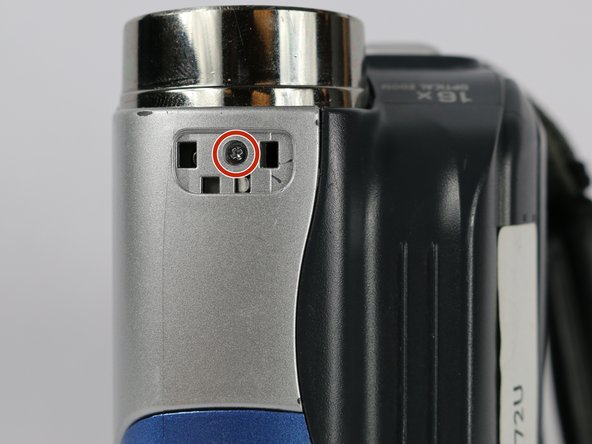
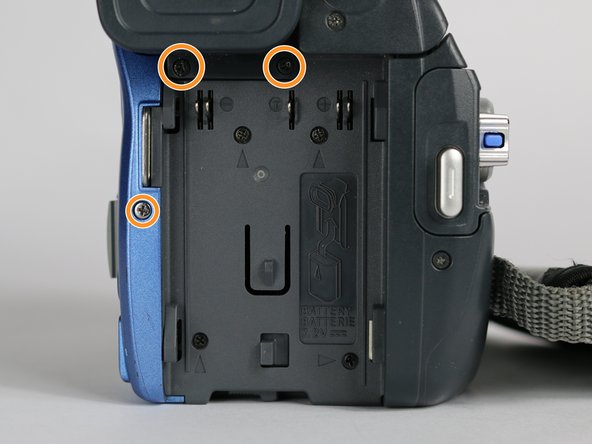
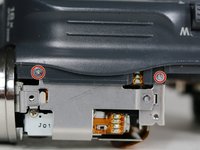
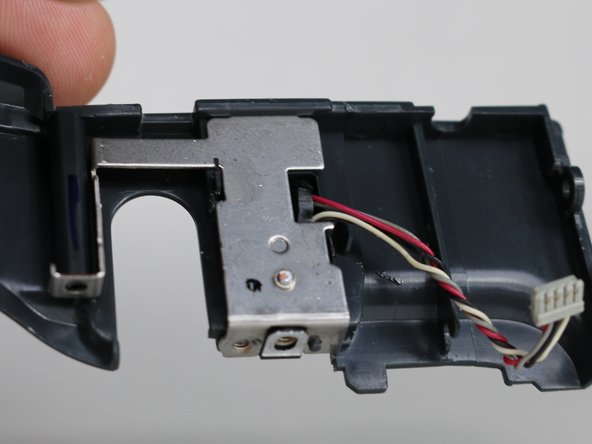
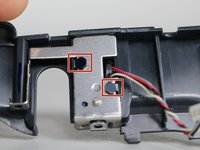
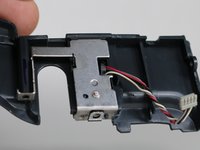
  3. JVC GR-D72U Microphone Replacement, Lateral Function Port Panel: adım 3, 3 resimden 1. JVC GR-D72U Microphone Replacement, Lateral Function Port Panel: adım 3, 3 resimden 2. JVC GR-D72U Microphone Replacement, Lateral Function Port Panel: adım 3, 3 resimden 3.
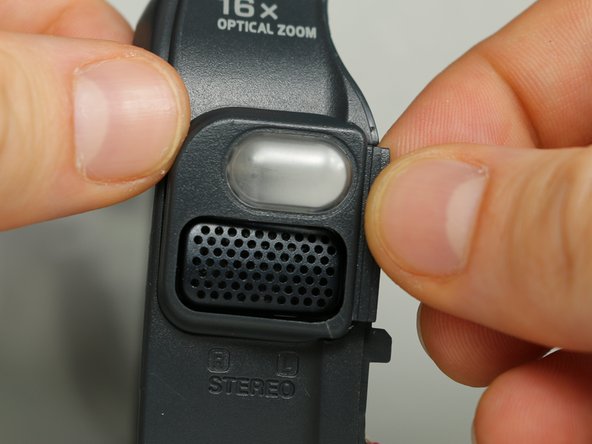
    • Remove silver plate that says “Auto Light” on the top of the camera using a metal spudger.

    • Remove the 3.1 mm screw.

    • Remove the three 5.3 mm screws from the back of the camera.

  4. JVC GR-D72U Microphone Replacement: adım 4, 1 resimden 1.
    • From the bottom of the camera remove the following four screws:

    • 5.3 mm

    • 3.1 mm

    • 5.1 mm

    • 3.5 mm

  5. JVC GR-D72U Microphone Replacement: adım 5, 1 resimden 1.
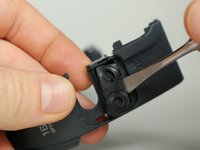
    • Use the small plastic opening tool to remove the blue side cover piece.

  6. JVC GR-D72U Microphone Replacement: adım 6, 1 resimden 1.
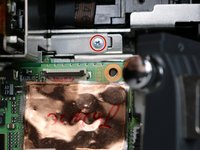
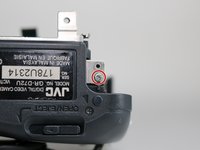
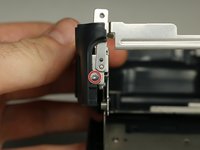
    • Remove the 3.1 mm screw on top of the camera, closest to the LCD monitor.

    • Remove the 5.4 mm screw next to the snapshot button.

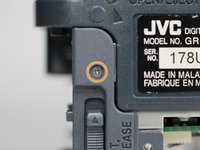
  7. JVC GR-D72U Microphone Replacement: adım 7, 1 resimden 1.
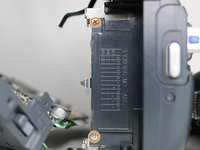
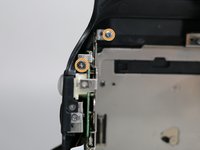
    • Remove the 3.1 mm screw next to the USB and DV inputs.

  8. JVC GR-D72U Microphone Replacement: adım 8, 1 resimden 1.
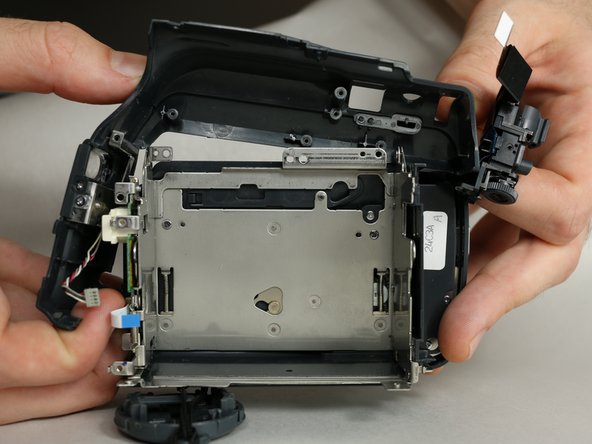
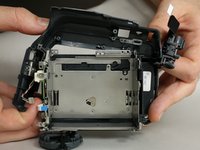
    • Gently pull apart both halves of the camera to reveal the inner components.

  9. JVC GR-D72U Microphone Replacement: adım 9, 3 resimden 1. JVC GR-D72U Microphone Replacement: adım 9, 3 resimden 2. JVC GR-D72U Microphone Replacement: adım 9, 3 resimden 3.
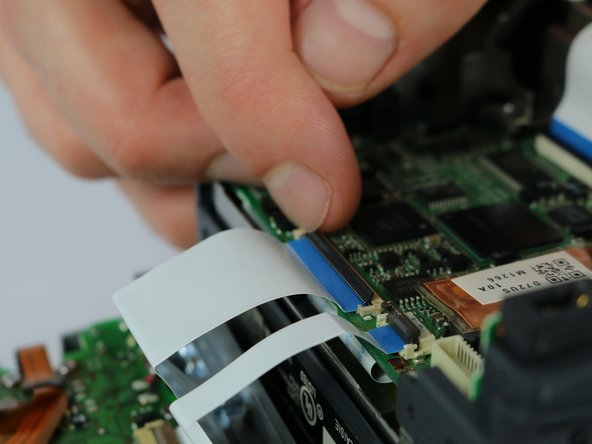
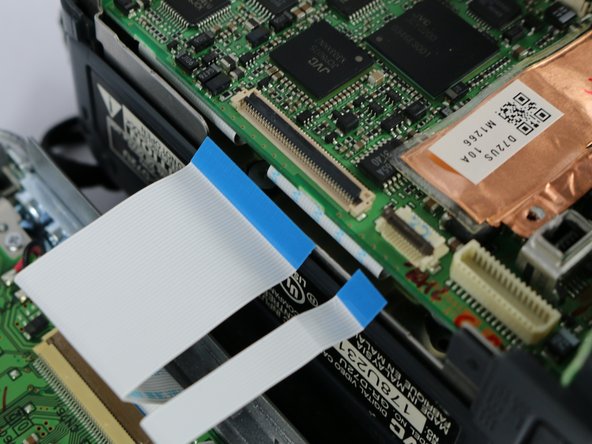
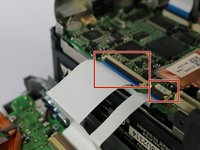
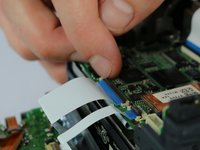
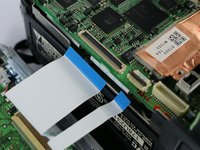
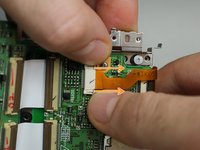
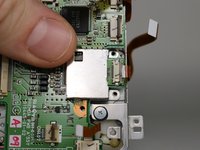
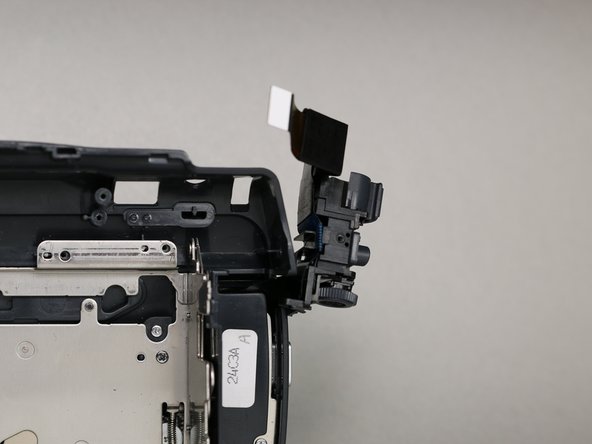
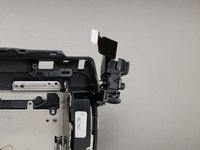
    • Flip the cable locks to the up-position and pull both cables connecting the lateral function port panel to the rest of the camera.

    • Insert the cables from the new port panel into their inputs and flip the locks to the down position.

    • It is easier to use tweezers when inserting the cable but not required.

  10. JVC GR-D72U Microphone Replacement, Cassette Holder: adım 10, 1 resimden 1.
    • From the inside of the camera remove these six screws.

    • 3.3 mm

    • 3.6 mm

    • 3.1 mm

    • 4.3 mm

    • 4.3 mm

    • 3.7 mm

  11. JVC GR-D72U Microphone Replacement: adım 11, 1 resimden 1.
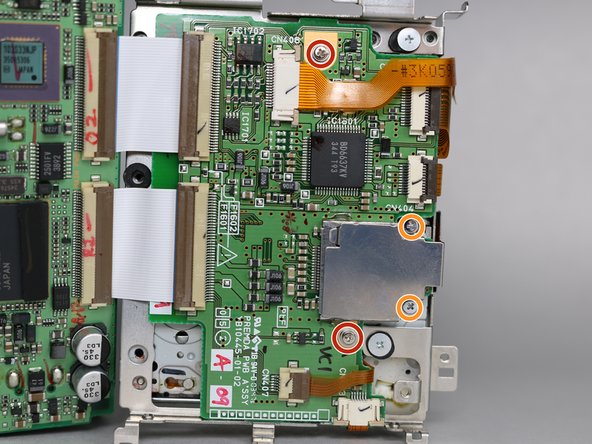
    • Unplug the three cables from the circuit board.

  12. JVC GR-D72U Microphone Replacement: adım 12, 3 resimden 1. JVC GR-D72U Microphone Replacement: adım 12, 3 resimden 2. JVC GR-D72U Microphone Replacement: adım 12, 3 resimden 3.
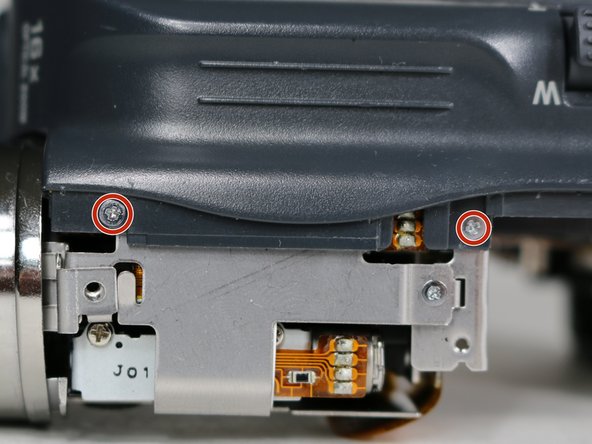
    • From the top of the camera remove the two 3.1 mm screws securing the lens to the camera frame.

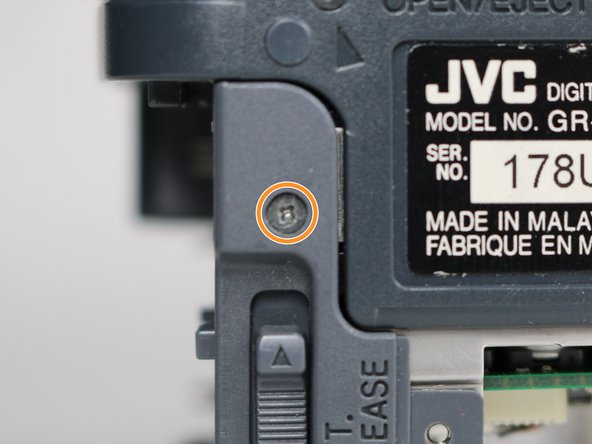
    • From the bottom of the camera remove the 3.2 mm screw next to the battery release switch.

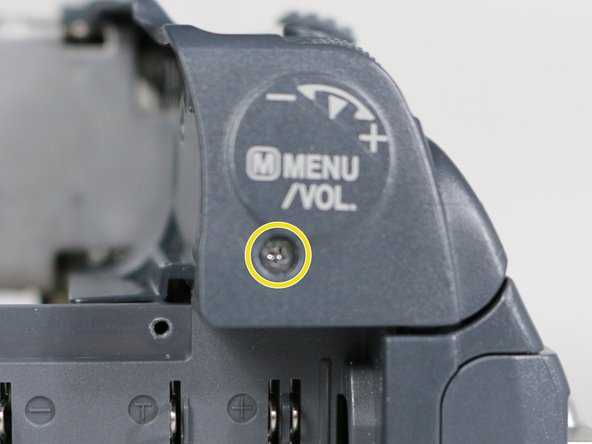
    • Remove the 9.1 mm screw next to the menu and volume control label.

  13. JVC GR-D72U Microphone Replacement: adım 13, 2 resimden 1. JVC GR-D72U Microphone Replacement: adım 13, 2 resimden 2.
    • Remove the lens cap housing.

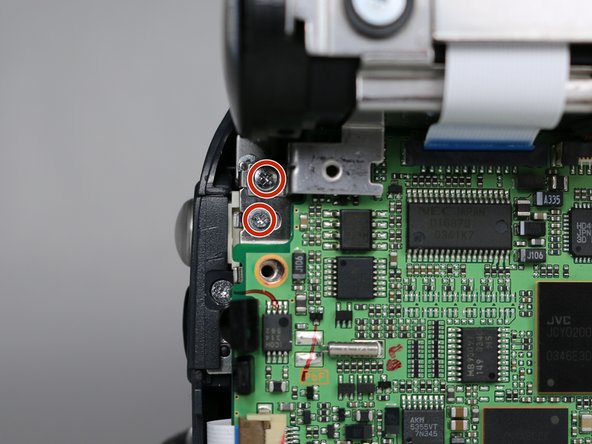
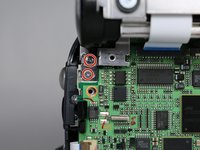
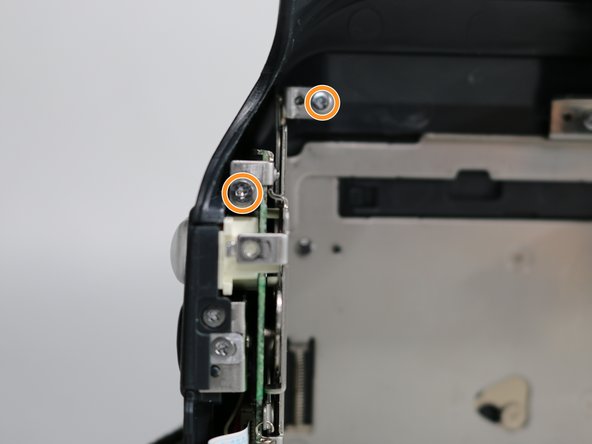
    • Remove the two 3.1 mm screws from the inside of the camera.

  14. JVC GR-D72U Microphone Replacement: adım 14, 3 resimden 1. JVC GR-D72U Microphone Replacement: adım 14, 3 resimden 2. JVC GR-D72U Microphone Replacement: adım 14, 3 resimden 3.
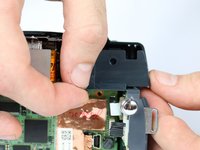
    • Remove the plastic cover piece next to the silver light button.

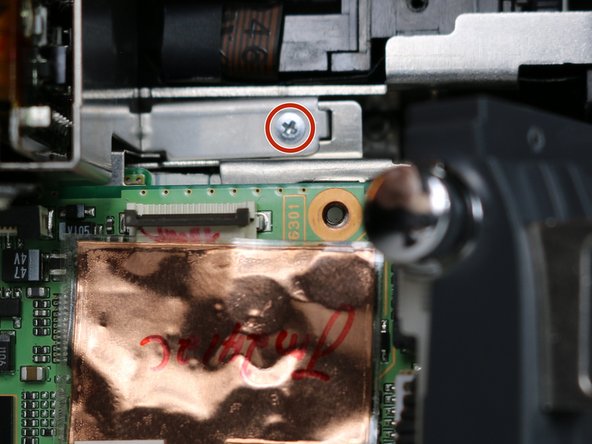
    • Remove the 3.1 mm screw securing the lens to the circuit board.

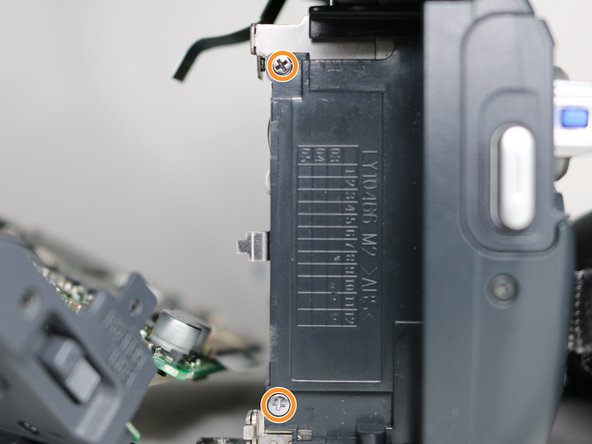
    • Remove the two 3.3 mm screws from underneath the battery port.

  15. JVC GR-D72U Microphone Replacement: adım 15, 2 resimden 1. JVC GR-D72U Microphone Replacement: adım 15, 2 resimden 2.
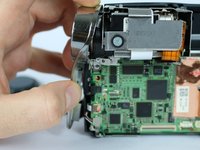
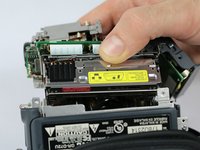
    • Take the cassette holder and circuit board by lifting it out of the camera frame.

    • Remove the two 3.6 mm screws.

    • Remove the two 1.8 mm screws then the plate.

    • If you are following this guide to replace the LED light or microphone you do not need to follow this step or the next step.

  16. JVC GR-D72U Microphone Replacement: adım 16, 3 resimden 1. JVC GR-D72U Microphone Replacement: adım 16, 3 resimden 2. JVC GR-D72U Microphone Replacement: adım 16, 3 resimden 3.
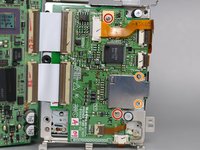
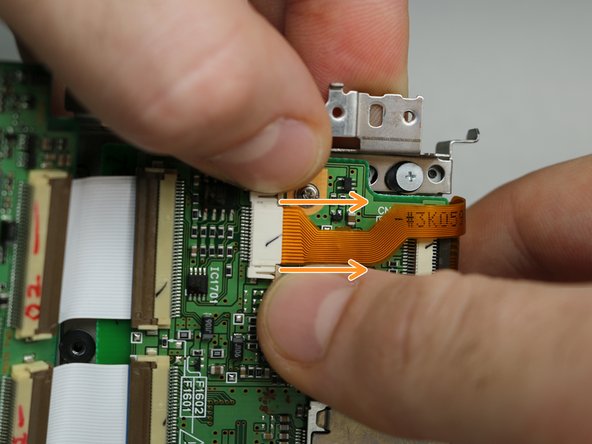
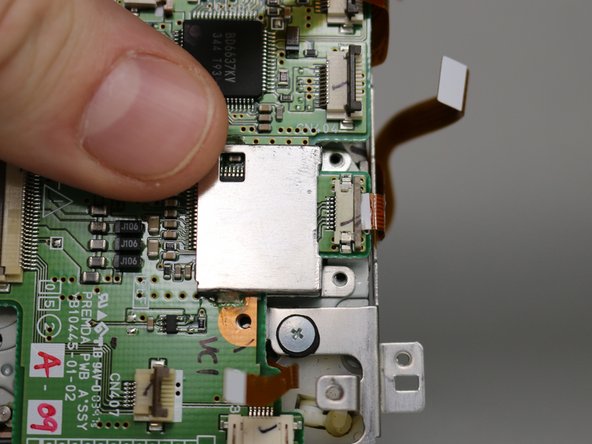
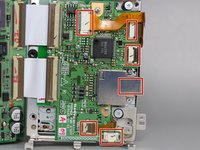
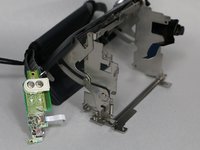
    • Remove the six cables (one is underneath the metal plate) connecting the cassette holder to the circuit board.

    • To unplug two of the cables you must first pull the lock tabs out (towards the cable) then remove the cable.

  17. JVC GR-D72U Microphone Replacement, LED Light: adım 17, 1 resimden 1.
    • Remove the three screws securing the microphone housing and camera operation buttons to the frame with the following sizes:

    • 4.3 mm

    • 3.1 mm

    • 4.2 mm

  18. JVC GR-D72U Microphone Replacement: adım 18, 2 resimden 1. JVC GR-D72U Microphone Replacement: adım 18, 2 resimden 2.
    • Remove the 4.3 mm screw on the bottom of the camera frame.

    • Remove the two 4.3 mm screws above the LED securing the microphone housing to the frame.

  19. JVC GR-D72U Microphone Replacement: adım 19, 3 resimden 1. JVC GR-D72U Microphone Replacement: adım 19, 3 resimden 2. JVC GR-D72U Microphone Replacement: adım 19, 3 resimden 3.
    • Open the cassette holder to reveal a 2.4 mm screw on the bottom of the camera and remove it.

    • Make sure the camera operation buttons are positioned completely outside of the camera frame.

    • Gently lift the microphone housing from the front-bottom side of the camera and remove it from the frame.

  20. JVC GR-D72U Microphone Replacement: adım 20, 2 resimden 1. JVC GR-D72U Microphone Replacement: adım 20, 2 resimden 2.
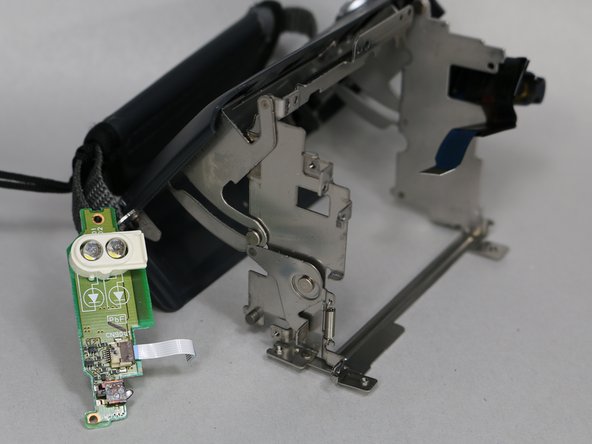
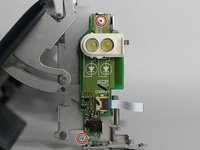
    • Remove the two 2.3 mm screws holding down the LED chip and remove the chip.

    • Ignore this step if you are following this guide for the microphone.

  21. JVC GR-D72U Microphone Replacement, Microphone: adım 21, 2 resimden 1. JVC GR-D72U Microphone Replacement, Microphone: adım 21, 2 resimden 2.
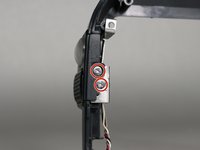
    • Remove the two 1.6 mm screws securing the microphone casing.

    • Pull off the microphone casing.

  22. JVC GR-D72U Microphone Replacement: adım 22, 2 resimden 1. JVC GR-D72U Microphone Replacement: adım 22, 2 resimden 2.
    • Pry up the two tabs and push them to remove the microphone cover.

  23. JVC GR-D72U Microphone Replacement: adım 23, 2 resimden 1. JVC GR-D72U Microphone Replacement: adım 23, 2 resimden 2.
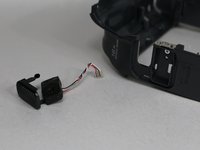
    • Use a metal spudger to lift the microphone out of its housing.

Sonuç

To reassemble your device, follow these instructions in reverse order.

Bir başkası bu kılavuzu tamamladı.

Jonah Powers

Üyelik tarihi: 09/28/17

437 İtibar

4 adet Kılavuz yazıldı

Ekip

USF Tampa, Team S2-G2, Nance Fall 2017 USF Tampa, Team S2-G2, Nance Fall 2017 üyesi

USFT-NANCE-F17S2G2

4 Üyeler

5 adet Kılavuz yazıldı

0 Yorum

Yorum Ekle

İstatistikleri Görüntüle:

Son 24 Saat: 0

Son 7 gün: 3

Son 30 gün: 4

Her zaman: 144