Bu kılavuzda güncel değişiklikler var. En son onaylanmamış sürüme geçin.
Giriş
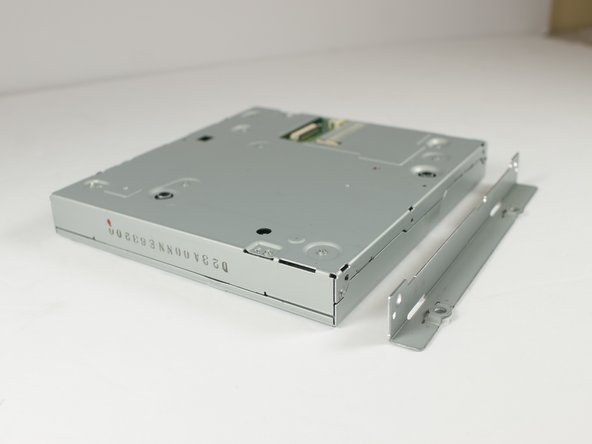
The disc drive of this device can be removed and replaced with moderate ease. A spare disc drive, or DVD mechanism can be found here.
Neye ihtiyacın var
-
-
Remove the four 1/8-inch black machine screws using a Phillips #00 screwdriver.
-
-
-
-
Remove seven 1/64 x 3/16" screws from the top panel using the Phillips #0 screwdriver.
-
Remove the top panel.
-
-
-
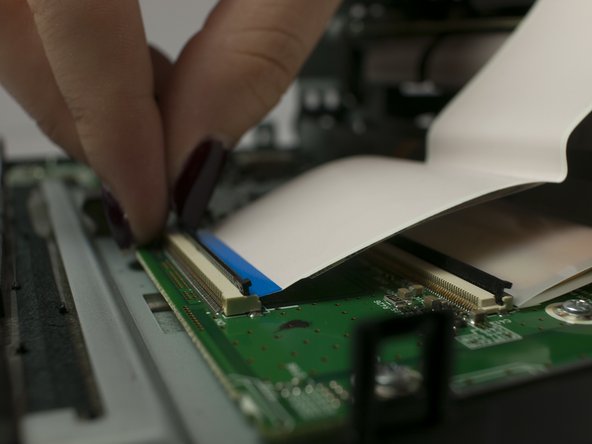
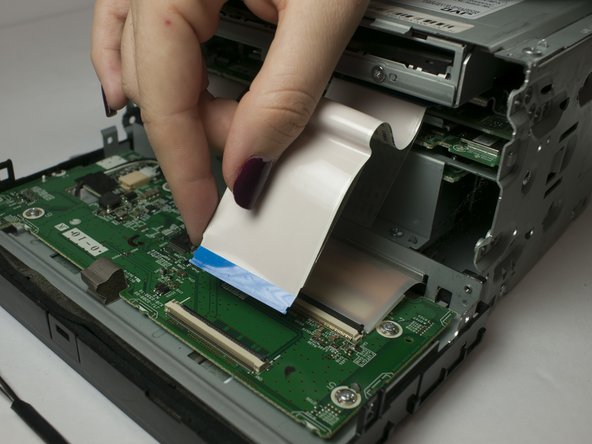
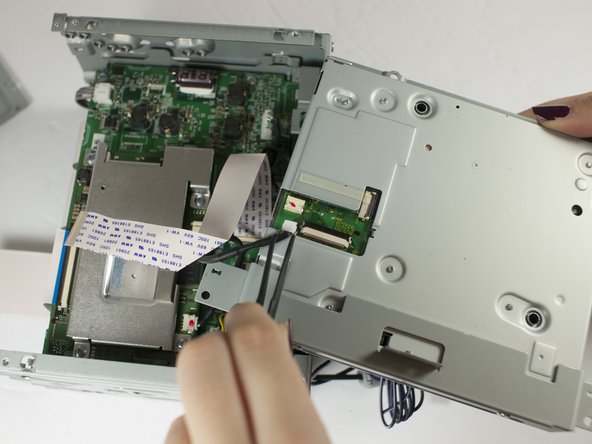
After removing all screws and top panel, lift up disc drive from steel enclosure.
-


To reassemble your device, follow these instructions in reverse order.
To reassemble your device, follow these instructions in reverse order.
Ekip

Linn Benton Community College, Team S1-G6, Johnson Fall 2018 Linn Benton Community College, Team S1-G6, Johnson Fall 2018 üyesi
LBCC-JOHNSON-F18S1G6
3 Üyeler
8 adet Kılavuz yazıldı