Ana içeriğe geç

Jazz UltraTab C1059-HL Screen Replacement

Neye ihtiyacın var

  1. Jazz UltraTab C1059-HL Screen Replacement, Screen: adım 1, 1 resimden 1.
    • First step is to remove screws from top and bottom of device.

  2. Jazz UltraTab C1059-HL Screen Replacement: adım 2, 1 resimden 1.
    • Remove the back panel of the device.

    • Be careful not to brake/bend the plastic cover of your device.

  3. Jazz UltraTab C1059-HL Screen Replacement: adım 3, 1 resimden 1.
    • Upon removing the back panel, place the device screen down on the table.

  4. Jazz UltraTab C1059-HL Screen Replacement: adım 4, 1 resimden 1.
    • Remove all data strips attached to the motherboard.

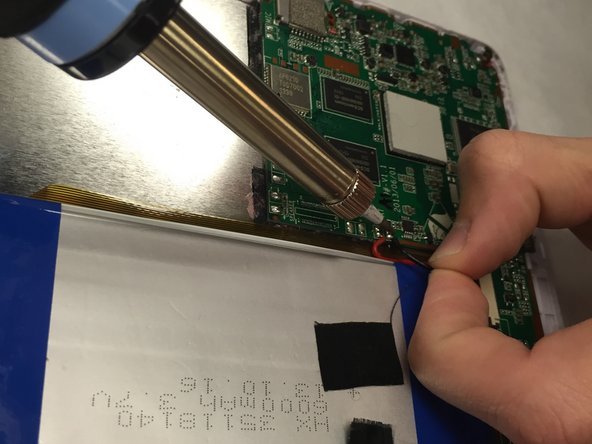
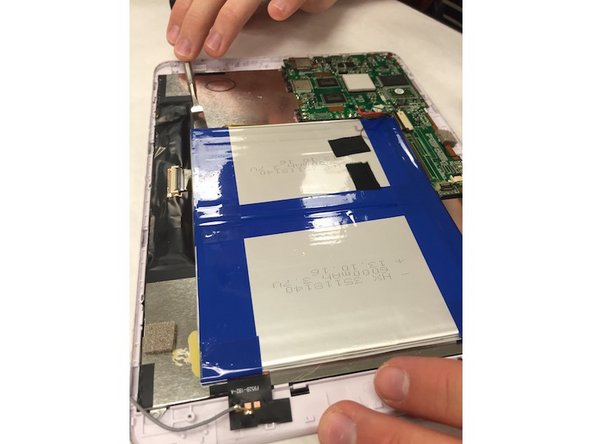
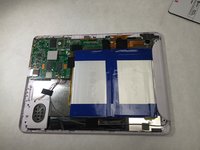
  5. Jazz UltraTab C1059-HL Screen Replacement: adım 5, 3 resimden 1. Jazz UltraTab C1059-HL Screen Replacement: adım 5, 3 resimden 2. Jazz UltraTab C1059-HL Screen Replacement: adım 5, 3 resimden 3.
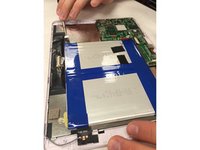
    • Remove the tape around the battery.

    • One of these pieces of tape holds down the battery connection to the mainboard.

    • Use the soldering iron to disconnect these wires.

    • You will need to use a tool to pry off the battery. It will have a good amount of adhesive holding it down.

    • Be cautious not to bend the battery when prying.

  6. Jazz UltraTab C1059-HL Screen Replacement: adım 6, 1 resimden 1.
    • Once the battery is removed, make sure to remove any and all data strips that are attached.

    • Then begin to unscrew the mother board.

  7. Jazz UltraTab C1059-HL Screen Replacement: adım 7, 1 resimden 1.
    • Remove the motherboard chip off of the device.

  8. Jazz UltraTab C1059-HL Screen Replacement: adım 8, 1 resimden 1.
    • Your board should look like this after taking all of the components off the screen panel.

  9. Jazz UltraTab C1059-HL Screen Replacement: adım 9, 2 resimden 1. Jazz UltraTab C1059-HL Screen Replacement: adım 9, 2 resimden 2.
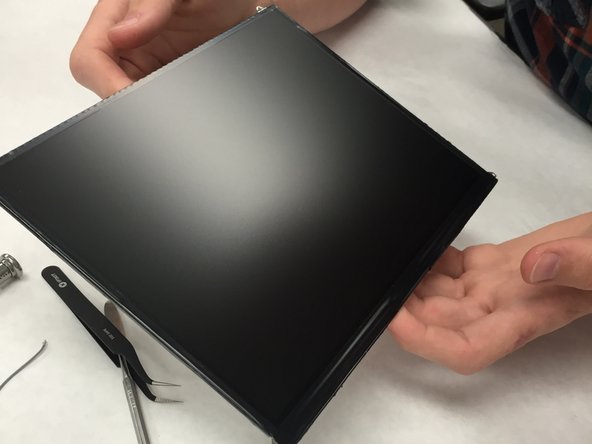
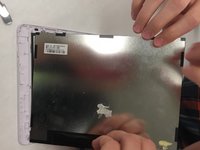
    • Remove the Display Module from the screen cover.

  10. Jazz UltraTab C1059-HL Screen Replacement: adım 10, 1 resimden 1.
    • Now, you can replace your broken or damaged screen!

Sonuç

To reassemble your device, follow these instructions in reverse order.

Bir başkası bu kılavuzu tamamladı.

Amanda Justiniano

Üyelik tarihi: 09/19/15

231 İtibar

2 adet Kılavuz yazıldı

Ekip

IUPUI, Team 1-3, Wilson Fall 2015 IUPUI, Team 1-3, Wilson Fall 2015 üyesi

IUPUI-WILSON-F15S1G3

4 Üyeler

6 adet Kılavuz yazıldı

0 Yorum

Yorum Ekle

İstatistikleri Görüntüle:

Son 24 Saat: 0

Son 7 gün: 0

Son 30 gün: 0

Her zaman: 442