Giriş
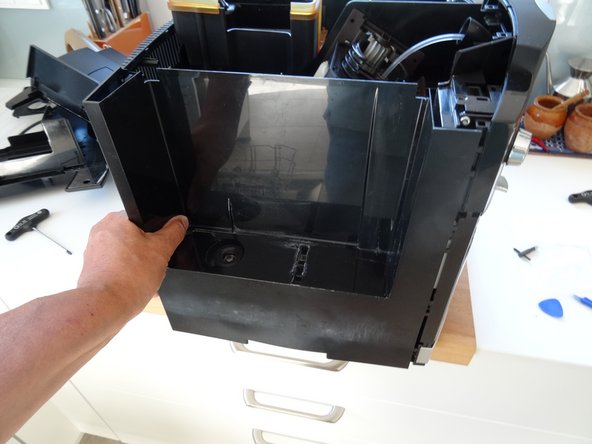
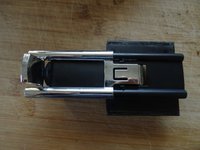
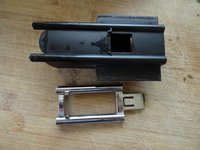
Sometimes the coffee does not come out of the dispenser, but runs out next to it. The dispenser nozzles may be clogged with coffee grease. It often helps to clean it with pipe cleaners, but sometimes you have to remove the coffee dispenser completely for cleaning or replacement. This is shown here.
Neye ihtiyacın var
-
-
The instructions are suitable for nearly every model of Jura and similar ones e.g. AEG and Krups.
-
Remove the water reservoir.
-
-
Bu adımda kullanılan alet:iFixit Precision 4 mm Screwdriver Bit$2.99
-
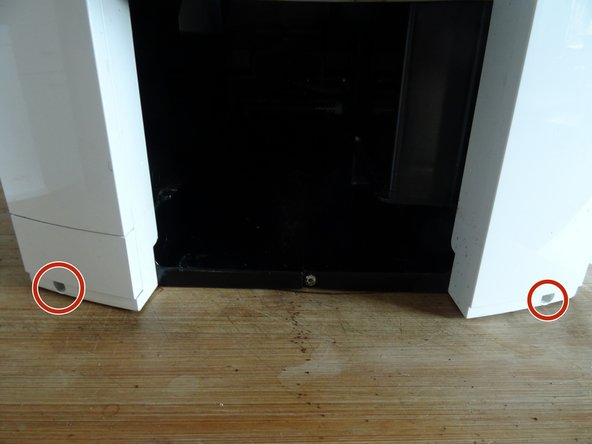
Using an oval head bit you can screw them out. If you haven´t got one you can carefully use pliers. It is a good idea to later change the screws for normal ones.
-
Beneath both top side covers are two Torx T15 screws. Remove those. Now lift off the whole top cover. Sometimes it jams and you have to use a bit of force.
-
The side covers must be pushed backwards by about 1 cm. Sometimes this is a little bit difficult to move. If necessary, wedge a plastic opening tool into the gap between the side covers and the front panel. The rear cover can be easily removed.
-
-
-
-
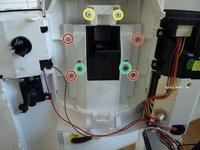
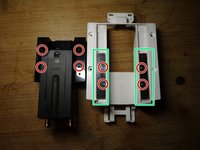
Remove the four T10 Torx screws that hold the coffee spout to the housing.
-
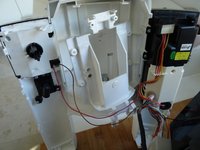
In case this has not yet been done, remove the inlet funnel. It is connect by two T10 Torx screws. (This picture shows it already removed)
-
These are the magnet that hold two metal sliding plates in place. Do not lose those.
-
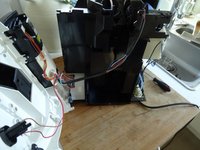
With a little bit of force remove the holder from the coffee spout.
-
-
-
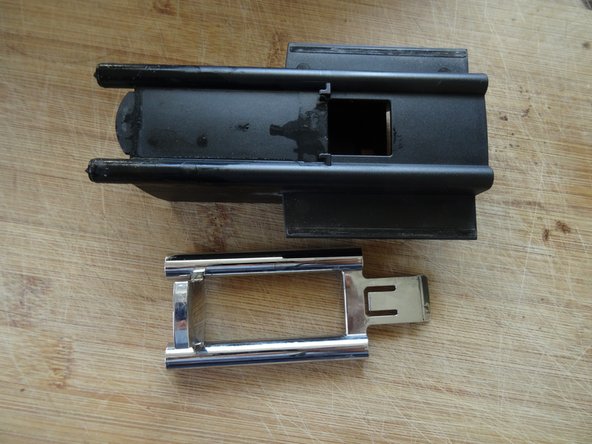
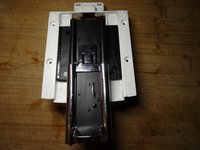
The coffee spout can be moved up and down, but must also remain in any position. As a brake, two sliding plates are held in place by magnets on the back of the bracket. Be careful not to lose these magnets.
-
There are four pins on the back of the coffee spout. Insert these into the corresponding holes in the sliding plates. It is a bit tricky to install and screw the holder and the coffee spout at the same time.
-
Check whether the spout can be moved against slight resistance and whether it remains in any position.
-
Follow the steps in reverse order to reassemble your coffee machine
Follow the steps in reverse order to reassemble your coffee machine
İptal et: Bu kılavuzu tamamlamadım.
8 farklı kişi bu kılavuzu tamamladı.
Bu çevirmenlere özel teşekkürler:
100%
Bu çevirmenler dünyayı onarmamıza yardım ediyor! Katkıda bulunmak ister misiniz?
Çeviriye Başlayın ›
7Kılavuz Yorumları
Danke,
war sehr hilfreich und hat zum Erfolg geführt!
*******Auf der Rückseite des Kaffeeauslaufs befinden sich vier Stifte. Setze diese in die entsprechenden Löcher in den Gleitblechen ein. Es ist etwas knifflig, den Halter und den Kaffeeauslauf gleichzeitig einzubauen und zu verschrauben.*******
Wenn man die Magnete entfernt hat braucht man nicht alles gleichzeitig zu machen. Zuerst Auslauf, dann denn Halter und dann die zwei Magnete.
So klappt es auch einfacher
Gute Anleitung, das lösen der Arretierung der silbernen Blende könnte etwas detaillierter beschrieben werden.
Vielen lieben Dank, Deine Tipps waren sehr hilfreich und haben zum Erfolg geführt. Ich konnte auch eine Innenreinigung mit dem Staubsauger und Pinsel durchführen.


