Ana içeriğe geç

Jura Z7 brewing unit replacement

Neye ihtiyacın var

  1. Jura Z7 brewing unit replacement, Brewing unit: adım 1, 2 resimden 1. Jura Z7 brewing unit replacement, Brewing unit: adım 1, 2 resimden 2.
    Bu adımda kullanılan alet:
    iFixit Precision 4 mm Screwdriver Bit
    $2.99
    Satın Al
    • Position the machine with the water tank side facing you.

    • The panel covering the brew group is fixed at the top edge with two oval head screws.

    • These screws have an oval head and look like rivets. They require a special tool or bit for unscrewing. Here is a DIY guide . In a pinch you can also use needle nosed pliers. Jura wants to keep us out of our own machines!

    • Remove the two oval head screws and lift the panel out.

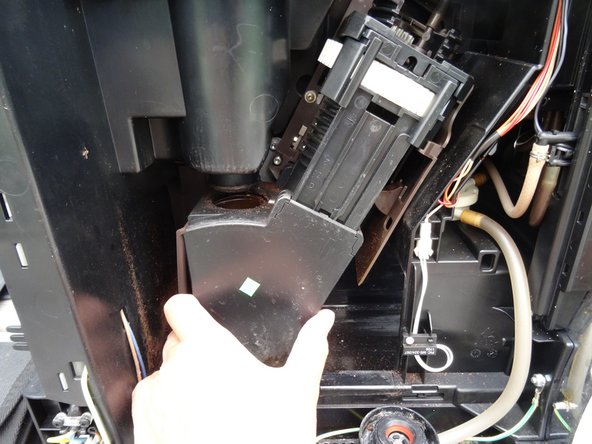
    • There it is: the brewing unit.

  2. Jura Z7 brewing unit replacement: adım 2, 1 resimden 1.
    • The photo is from a Jura J5, but the brewing unit is basically the same and you can easily see how the brewing unit is attached:

    • Two Torx T20 screws with fine thread

    • One Torx T15 screw

    • The hot water inlet is plugged in.

    • The hose with the coffee spout is plugged on top.

  3. Jura Z7 brewing unit replacement: adım 3, 3 resimden 1. Jura Z7 brewing unit replacement: adım 3, 3 resimden 2. Jura Z7 brewing unit replacement: adım 3, 3 resimden 3.
    • Unscrew the two Torx T15 machine screws.

    • Unscrew the Torx T15 screw at the bottom of the hot water inlet.

    • Pull the brewing unit out to you. The hose to the coffee spout is still attached at the top.

    • Pull off the hose to the coffee spout.

  4. Jura Z7 brewing unit replacement: adım 4, 3 resimden 1. Jura Z7 brewing unit replacement: adım 4, 3 resimden 2. Jura Z7 brewing unit replacement: adım 4, 3 resimden 3.
    • Start now with the replacement or revision of the brewing unit.

    • If you want to disassemble the brewing unit for cleaning and installing new seals, follow this or this guides.

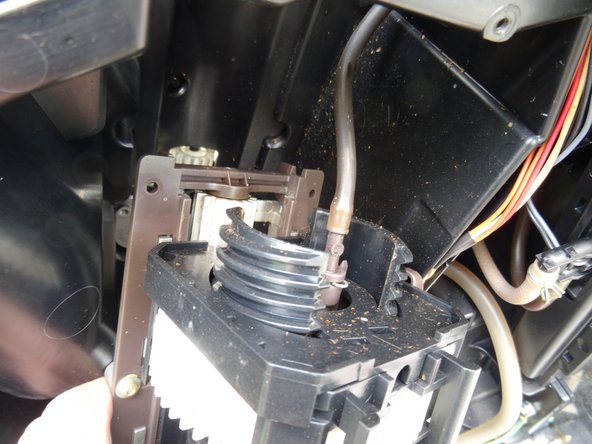
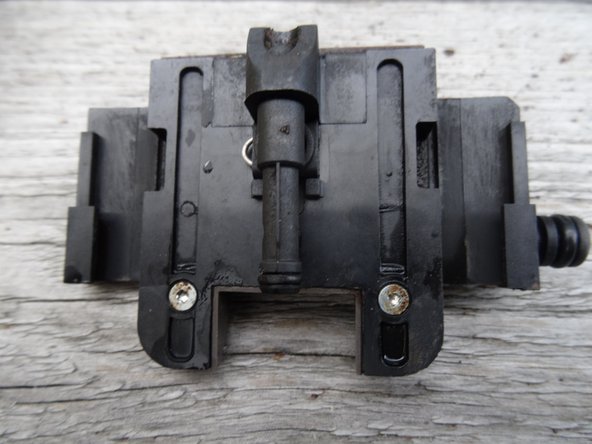
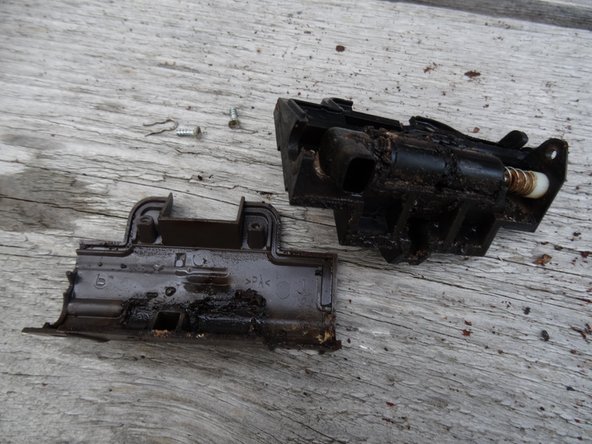
    • There is one small difference with this brewing group: the drainage valve is fitted with a cover, but this is easy to remove. Unscrew the two Torx T8 screws.

    • Use these instructions to overhaul the drainage valve.

Sonuç

Work through the steps in reverse order to reassemble your device.

Bu çevirmenlere özel teşekkürler:

de en

100%

Bu çevirmenler dünyayı onarmamıza yardım ediyor! Katkıda bulunmak ister misiniz?
Çeviriye Başlayın ›

VauWeh

Üyelik tarihi: 10/19/15

202.975 İtibar

246 adet Kılavuz yazıldı

Ekip

Repair is War on Entropy Repair is War on Entropy üyesi

Community

25 Üyeler

1.115 adet Kılavuz yazıldı

0 Yorum

Yorum Ekle

İstatistikleri Görüntüle:

Son 24 Saat: 0

Son 7 gün: 13

Son 30 gün: 43

Her zaman: 1,793