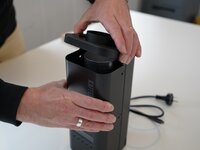
Ana içeriğe geç

Kaffelogic Nano 7/LINK (D-P Serial) LCD Board Replacement

Neye ihtiyacın var

  1. Kaffelogic Nano 7/LINK (D-P Serial) LCD Board Replacement, Removing Front Panel Screws: adım 1, 2 resimden 1. Kaffelogic Nano 7/LINK (D-P Serial) LCD Board Replacement, Removing Front Panel Screws: adım 1, 2 resimden 2.
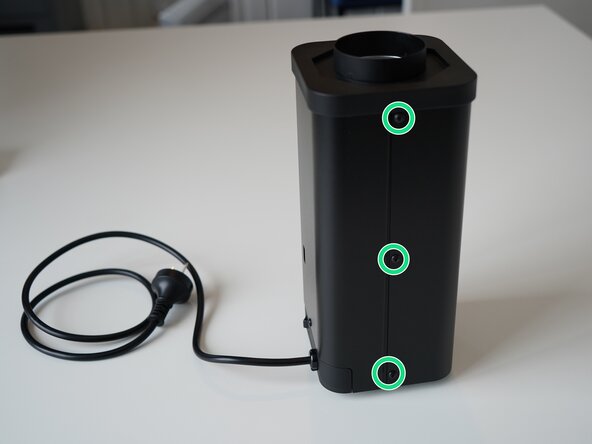
    • Remove the 6x 2.5mm Hex screws on the left and right side of the roaster.

    • Take care not to damage the buttons while maneuvering the front panel, with all six screws removed it may fall away.

  2. Kaffelogic Nano 7/LINK (D-P Serial) LCD Board Replacement, Lift the closure: adım 2, 2 resimden 1. Kaffelogic Nano 7/LINK (D-P Serial) LCD Board Replacement, Lift the closure: adım 2, 2 resimden 2.
    • Hold the front panel steady while removing the plastic top/closure.

  3. Kaffelogic Nano 7/LINK (D-P Serial) LCD Board Replacement, Removing the front panel: adım 3, 1 resimden 1.
    • Pull away the front panel carefully.

  4. Kaffelogic Nano 7/LINK (D-P Serial) LCD Board Replacement, Removing the rear panel: adım 4, 3 resimden 1. Kaffelogic Nano 7/LINK (D-P Serial) LCD Board Replacement, Removing the rear panel: adım 4, 3 resimden 2. Kaffelogic Nano 7/LINK (D-P Serial) LCD Board Replacement, Removing the rear panel: adım 4, 3 resimden 3.
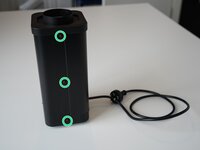
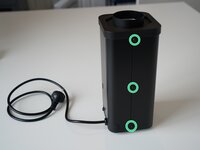
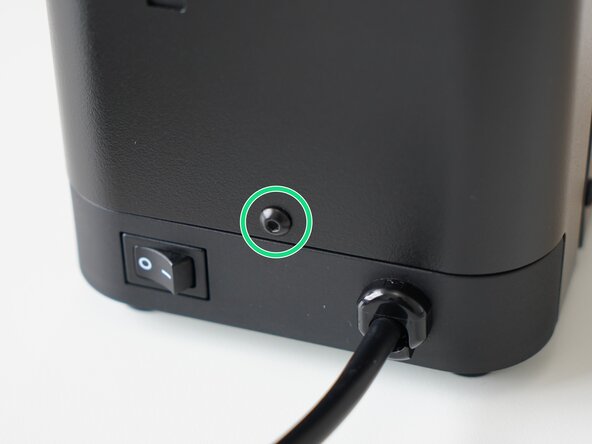
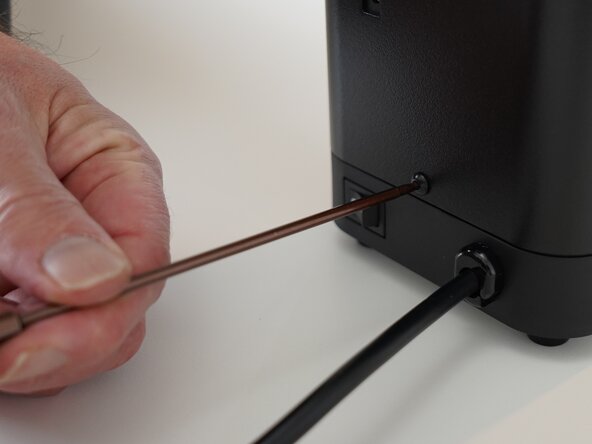
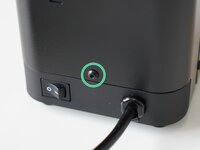
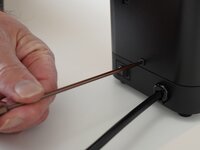
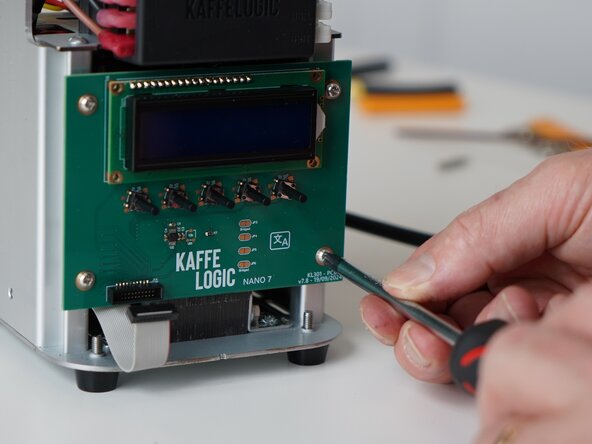
    • Remove the last 2.5mm Hex screw securing the rear panel.

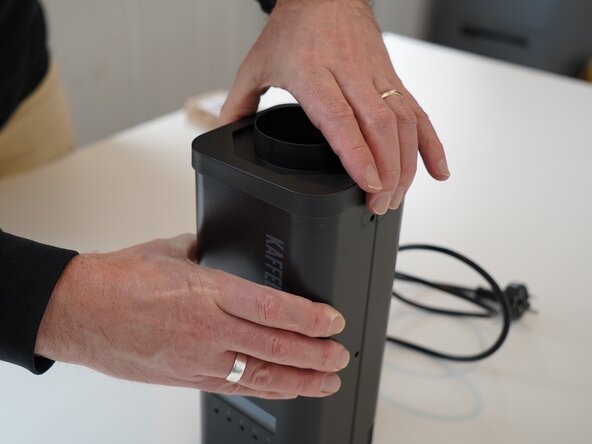
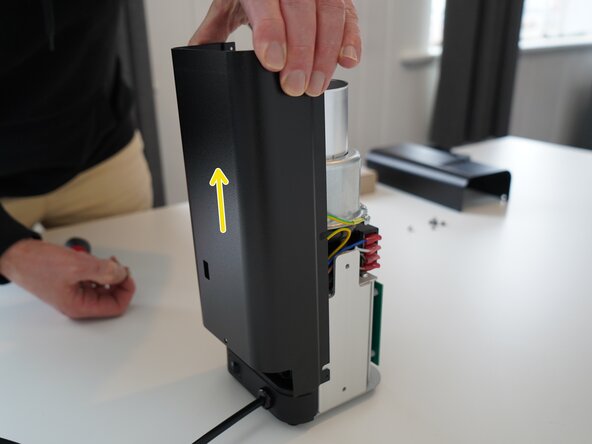
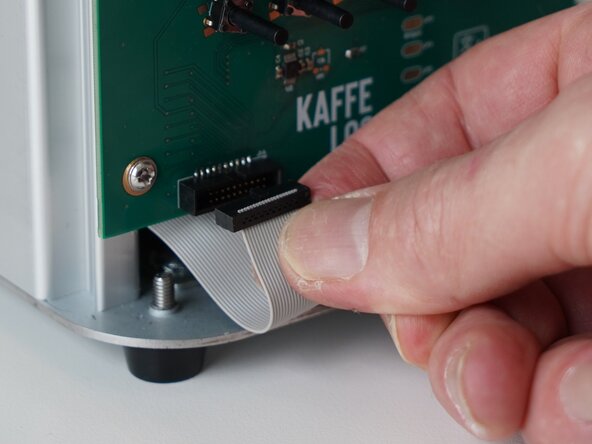
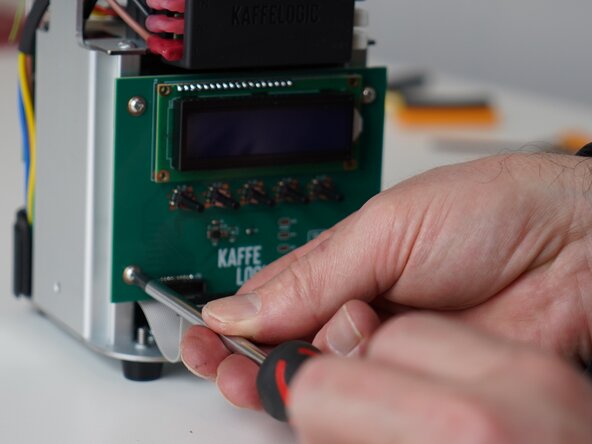
    • Pull up on the rear panel to remove it from the roaster.

  5. Kaffelogic Nano 7/LINK (D-P Serial) LCD Board Replacement, Access granted: adım 5, 2 resimden 1. Kaffelogic Nano 7/LINK (D-P Serial) LCD Board Replacement, Access granted: adım 5, 2 resimden 2.
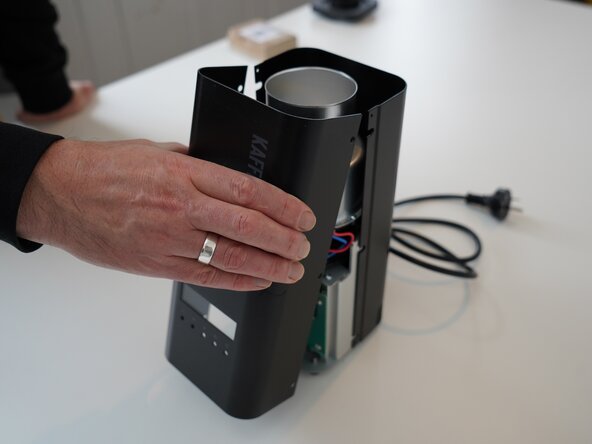
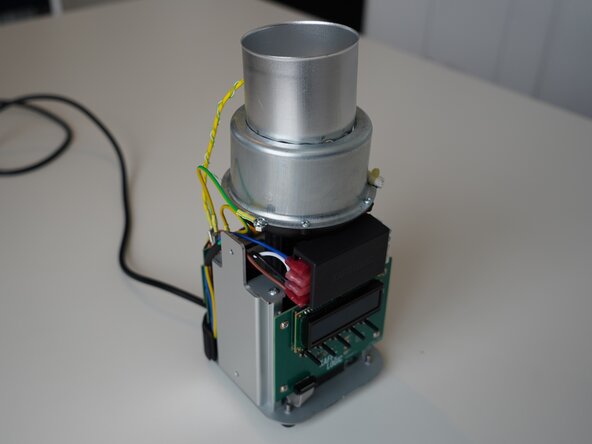
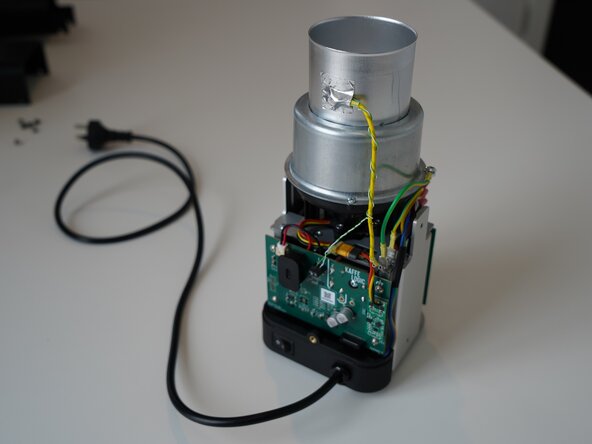
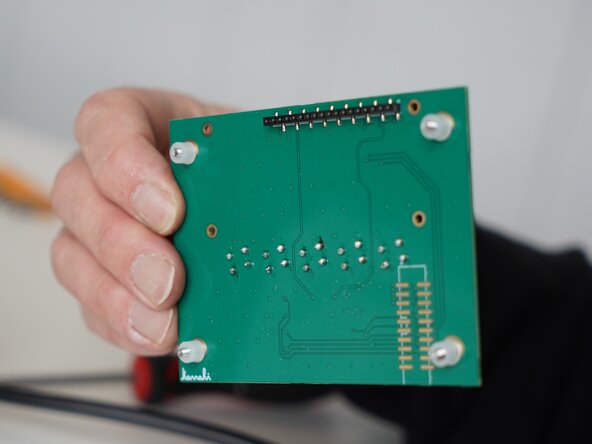
    • Set the panels aside somewhere safe and bask in the beauty of your naked roaster.

  6. Kaffelogic Nano 7/LINK (D-P Serial) LCD Board Replacement, Remove ribbon cable: adım 6, 3 resimden 1. Kaffelogic Nano 7/LINK (D-P Serial) LCD Board Replacement, Remove ribbon cable: adım 6, 3 resimden 2. Kaffelogic Nano 7/LINK (D-P Serial) LCD Board Replacement, Remove ribbon cable: adım 6, 3 resimden 3.
    • Gently remove the ribbon cable from the PCB.

  7. Kaffelogic Nano 7/LINK (D-P Serial) LCD Board Replacement, Remove PCB screws: adım 7, 3 resimden 1. Kaffelogic Nano 7/LINK (D-P Serial) LCD Board Replacement, Remove PCB screws: adım 7, 3 resimden 2. Kaffelogic Nano 7/LINK (D-P Serial) LCD Board Replacement, Remove PCB screws: adım 7, 3 resimden 3.
    • Unscrew the 4x PH2 PCB screws.

    • These screws are captive to the PCB.

  8. Kaffelogic Nano 7/LINK (D-P Serial) LCD Board Replacement, Remove PCB: adım 8, 3 resimden 1. Kaffelogic Nano 7/LINK (D-P Serial) LCD Board Replacement, Remove PCB: adım 8, 3 resimden 2. Kaffelogic Nano 7/LINK (D-P Serial) LCD Board Replacement, Remove PCB: adım 8, 3 resimden 3.
    • Carefully remove the display PCB.

    • You may replace the ribbon cable while you have the panels off.

Sonuç

To reassemble your device, follow these instructions in reverse order.

Kaffelogic

Üyelik tarihi: 07/23/25

2.098 İtibar

18 adet Kılavuz yazıldı

Ekip

Kaffelogic Staff Kaffelogic Staff üyesi

Community

3 Üyeler

18 adet Kılavuz yazıldı

0Kılavuz Yorumları

Yorum Ekle

İstatistikleri Görüntüle:

Son 24 Saat: 0

Son 7 gün: 3

Son 30 gün: 9

Her zaman: 50