Bu sürüm, hatalı düzenlemeler içerebilir. En son doğrulanmış bellek kopyası dönün.
Neye ihtiyacın var
-
Bu adım çevrilmemiş. Çevrilmesine yardım edin
-
Unscrew the four 3.5mm side screws with a Phillips #1 screwdriver.
-
-
Bu adım çevrilmemiş. Çevrilmesine yardım edin
-
Use a spudger to unhook the plastic clips on the sides and top of the front panel. There are two clips on each side and one clip on the top.
-
-
-
Bu adım çevrilmemiş. Çevrilmesine yardım edin
-
Pull the top of the front panel out and down to remove front panel.
-
-
Bu adım çevrilmemiş. Çevrilmesine yardım edin
-
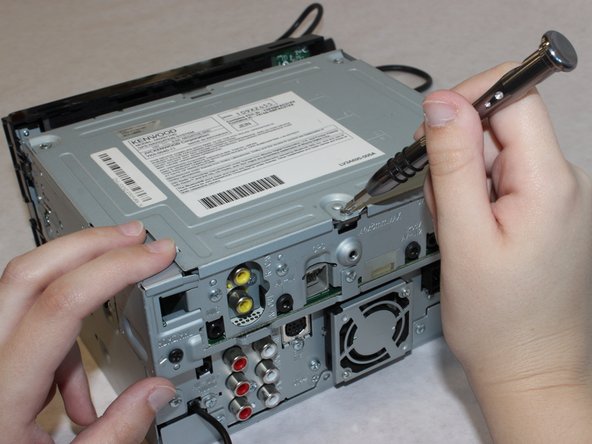
Unscrew the three 5mm screws from the top of the device using a Phillips #1 screwdriver.
-
Lift up to remove the top casing.
-
-
Bu adım çevrilmemiş. Çevrilmesine yardım edin
-
Flip up the black clasp with a spudger to disconnect the large white ribbon cable connecting the CD drive to the board underneath.
-


İptal et: Bu kılavuzu tamamlamadım.
Bir başkası bu kılavuzu tamamladı.
Ekip

Washington State, Team S1-G1, Hope Fall 2018 Washington State, Team S1-G1, Hope Fall 2018 üyesi
WSU-HOPE-F18S1G1
4 Üyeler
6 adet Kılavuz yazıldı