Giriş
This is a lengthy replacement that requires being able to comfortably work around wires, but not necessarily to replace them. This guide is for someone with moderate experience in repairs.
Neye ihtiyacın var
-
-
Lift the cold water reserve lid up to reveal its hinge.
-
Using either the metal spudger or the opening tool, gently pry the plastic out of the metal axle.
-
-
-
Remove two 9 mm Phillips #1 screws.
-
The screws are located on the top of where the K-Cup would be.
-
-
-
Remove two 14 mm Phillips #2 screws.
-
Remove two 12 mm Phillips #2 screws.
-
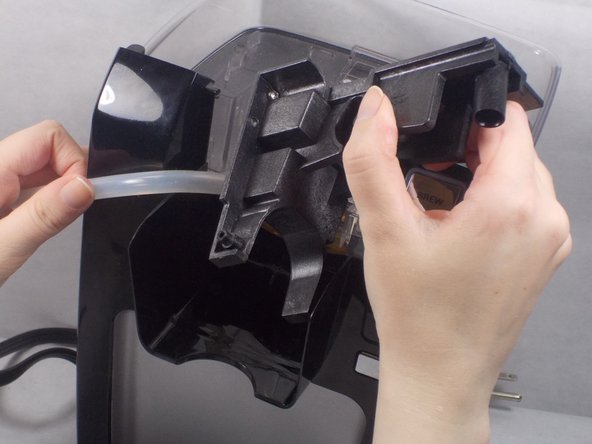
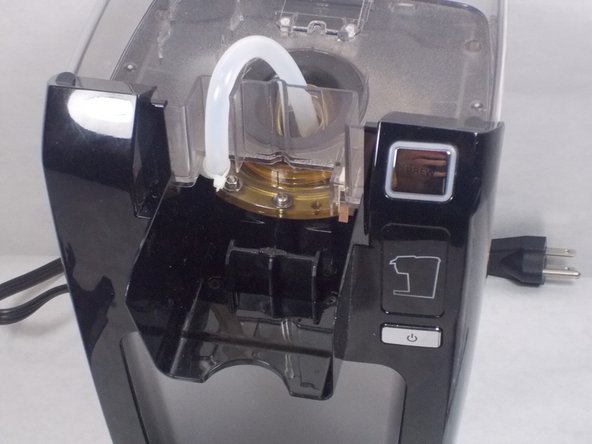
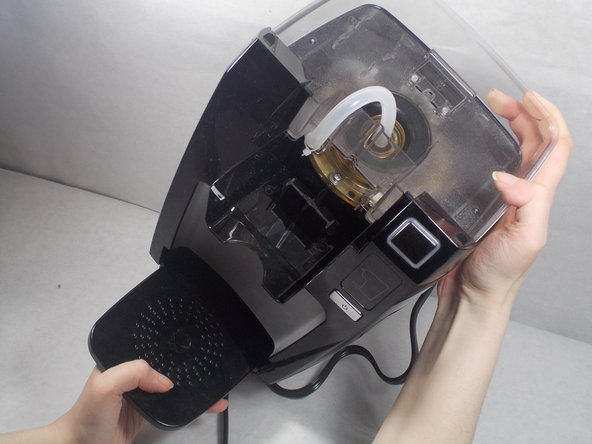
Lift the arm off the assembly. This will reveal the tank hole as shown.
-
-
-
-
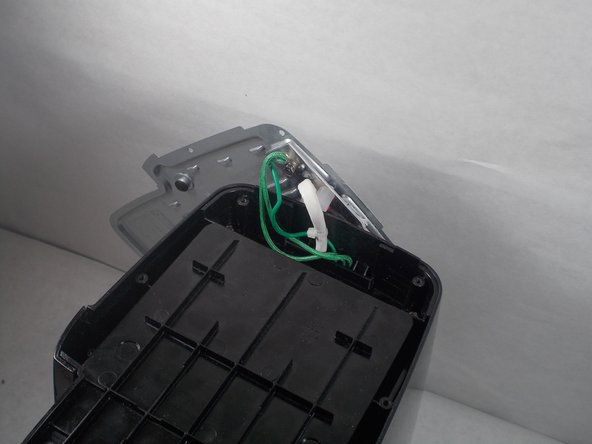
Pull the head assembly forward to reveal the two plastic axle points that keep the head assembly attached to the base.
-
-
-
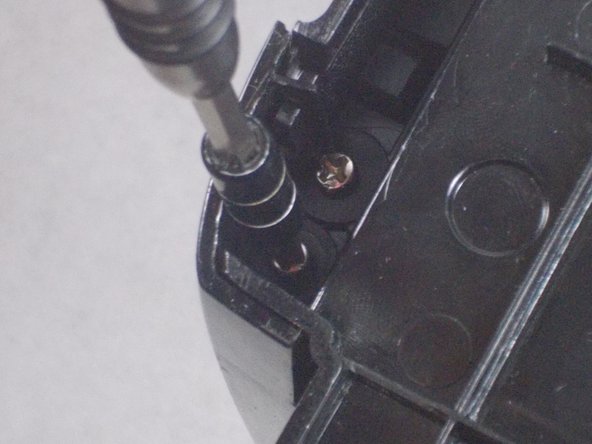
Remove two 14 mm Phillips #2 screws.
-
Remove two 12 mm Phillips #2 screws.
-


To reassemble your device, follow these instructions in reverse order.
To reassemble your device, follow these instructions in reverse order.
Ekip

UMass Dartmouth, Team S5-G7, Gulbrandsen Fall 2018 UMass Dartmouth, Team S5-G7, Gulbrandsen Fall 2018 üyesi
UMASSD-GULBRANDSEN-F18S5G7
3 Üyeler
5 adet Kılavuz yazıldı