Giriş
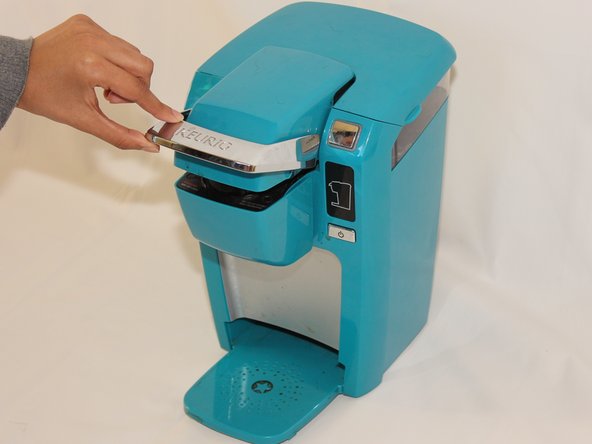
This guide will help you replace your Keurig Mini's handle. For this guide you will need a #1 Philips screw driver and some plastic opening tools.
Neye ihtiyacın var
-
-
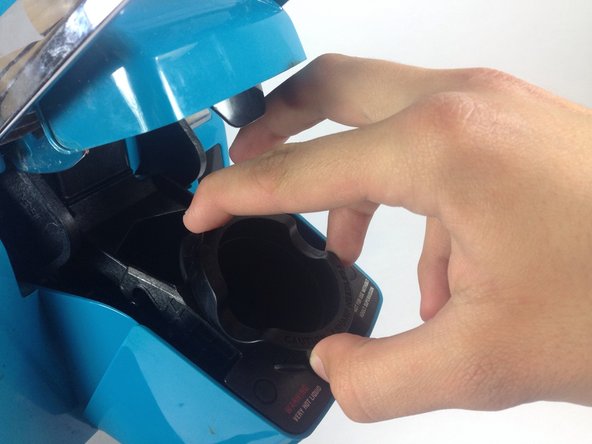
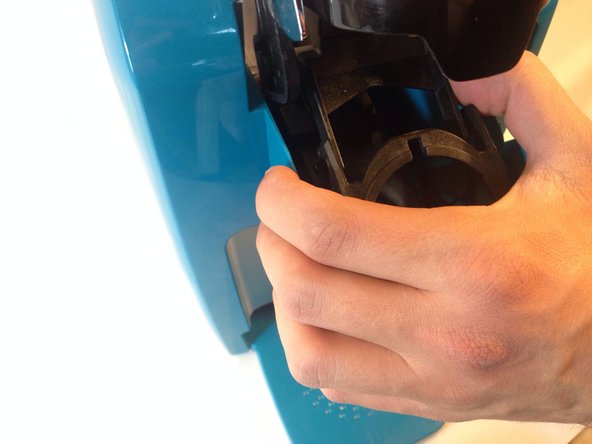
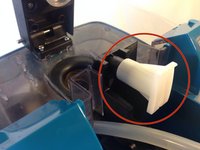
Firmly place a finger on each one of the three tabs that hold the K-cup holder into place, pushing in lightly. The tabs are difficult to see, but they are there and will make the removal easier. The top tab is located in the same location as the white triangle and the bottom two are located under the plastic bumps highlighted in the picture.
-
-
-
Open the top lid of the Keurig.
-
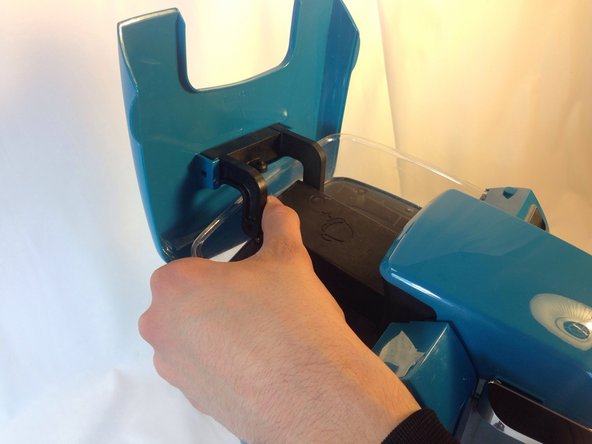
Pull directly outwards on one of the arms that holds the top lid in place. It will take some force to get the arm off the peg. Once one side is off, repeat the process on the second arm.
-
-
-
-
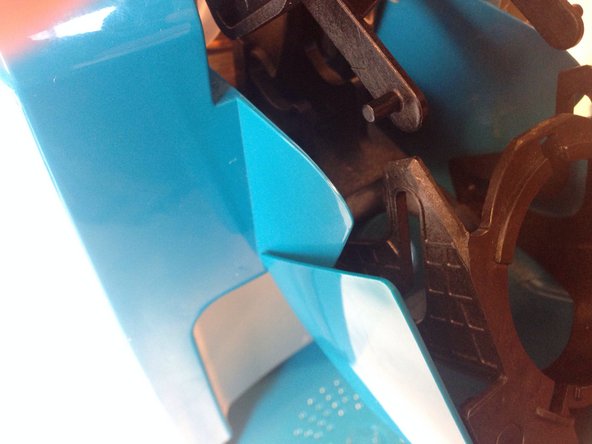
Push in on one of the arms attached to the K-cup holder plastic housing to remove it from its rails. The arms are identical for both sides so once one side is free repeat the process for the second side.
-
Once the arms are removed, the configuration should look like the picture. The K-cup holder housing should be separated from the arms.
-
To reassemble your device, follow these instructions in reverse order.
Note: A pair of pliers will assist in getting the snap rings back onto the bars.
İptal et: Bu kılavuzu tamamlamadım.
Bir başkası bu kılavuzu tamamladı.
1Rehber Yorum
I took apart my mini Keurig earlier this week and let many parts soak in vinegar besides really scrubbing area that coffee basket sits & getting oodles of caked coffee bits out. Have put it back together except one item I can’t make go back in, so doesn’t appear to be ready to use. There’s a rod with 2 plastic cylinders on it. Can’t get it to clip into the metal ‘j’ clip that appears to keep rod axle sliding in track.
Suggestions? Instructions?
