Ana içeriğe geç
Kindle 1st Generation SD Card Reader Replacement

Kindle 1st Generation SD Card Reader Replacement

Samantha Manning

Samantha Manning ve 4 diğer katkıda bulunanlar

En son January 28, 2014 tarihinde güncellendi

5 - 10 dakika
Orta

This guide will go through the process of replacing the SD Card Reader in the First Generation Amazon Kindle.

Neye ihtiyacın var

Aletler

  • iFixit Opening Tool
    iFixit Opening Tool
  • Phillips #00 Screwdriver
    Phillips #00 Screwdriver
  • Spudger
    Spudger

Daha fazlasını göster…

  1. Kindle 1st Generation SD Card Reader Replacement, Battery: adım 1, 1 resimden 1.
    • Slide the grey plastic cover laterally off the back of the device.

  2. Kindle 1st Generation SD Card Reader Replacement: adım 2, 2 resimden 1. Kindle 1st Generation SD Card Reader Replacement: adım 2, 2 resimden 2.
    • Use a plastic opening tool to lift the battery on the side closest to the edge of the device.

    • Unplug the battery from the device by pinching the white connector and pulling.

    • Do not yank the battery or try to disconnect the battery by pulling the wires.

  3. Kindle 1st Generation SD Card Reader Replacement, SD Card Reader: adım 3, 1 resimden 1.
    • Unscrew eight (8) Phillips #00 screws (3 mm).

  4. Kindle 1st Generation SD Card Reader Replacement: adım 4, 2 resimden 1. Kindle 1st Generation SD Card Reader Replacement: adım 4, 2 resimden 2.
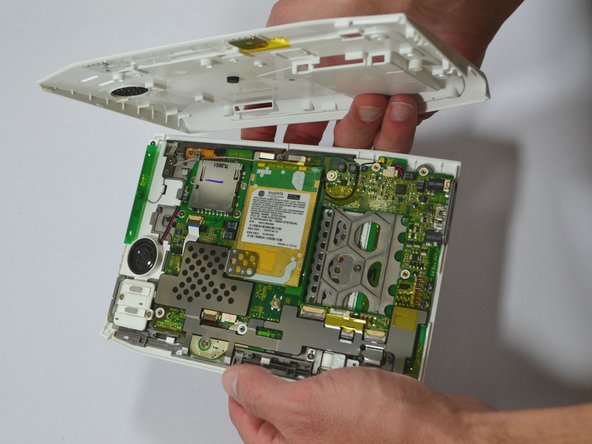
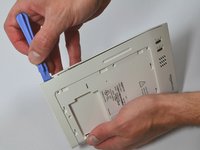
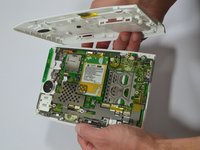
    • Start at one side of the device. Use a plastic opening tool to separate the casing of the device. Slowly work your way around the entire device.

    • Avoid prying between the buttons and the device. This could cause damage to the buttons.

  5. Kindle 1st Generation SD Card Reader Replacement: adım 5, 2 resimden 1. Kindle 1st Generation SD Card Reader Replacement: adım 5, 2 resimden 2.
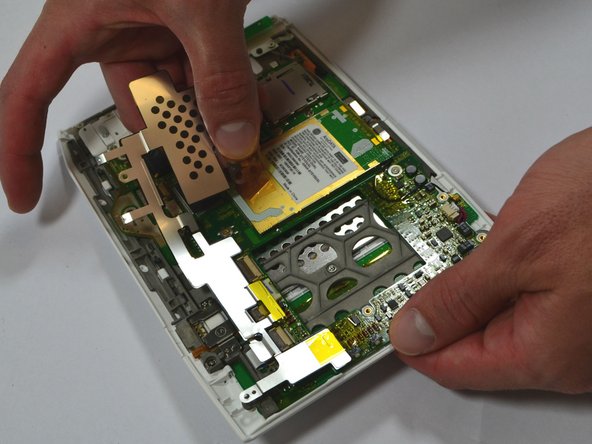
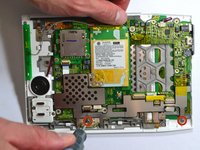
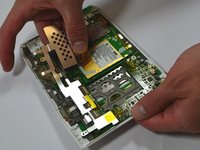
    • Unscrew the two (2) Phillips #00 screws (3 mm) which fasten the metal casing shield.

    • Slowly remove the metal casing shield by lifting it and carefully peeling up the tape.

  6. Kindle 1st Generation SD Card Reader Replacement: adım 6, 1 resimden 1.
    • Remove the four (4) Phillips #00 screws (3 mm) which fasten the SD Card Reader.

  7. Kindle 1st Generation SD Card Reader Replacement: adım 7, 2 resimden 1. Kindle 1st Generation SD Card Reader Replacement: adım 7, 2 resimden 2.
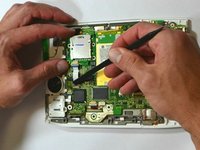
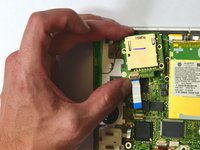
    • Lift the flap attaching the blue and white ribbon cable to the motherboard by lifting it vertically with a spudger.

    • The flap is connected via a hinge. Once you lift the flap, it will stay up and the cable will be lose. Remember to snap it back down during reassembly.

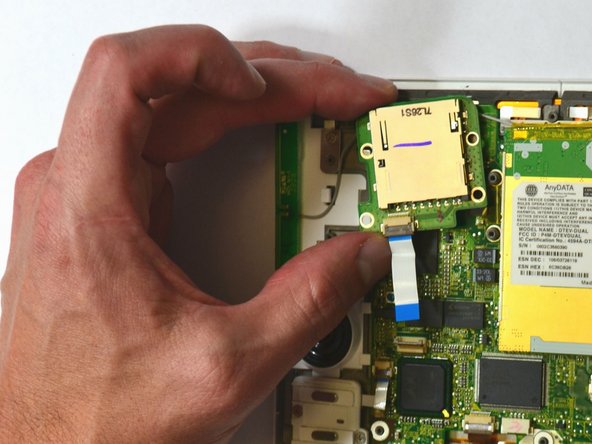
    • Carefully lift the SD Card Reader vertically from the motherboard.

Sonuç

To reassemble your device, follow these instructions in reverse order.

2 farklı kişi bu kılavuzu tamamladı.

0Kılavuz Yorumları

Yorum Ekle

İstatistikleri Görüntüle:

Son 24 Saat: 0

Son 7 gün: 1

Son 30 gün: 4

Her zaman: 1,830