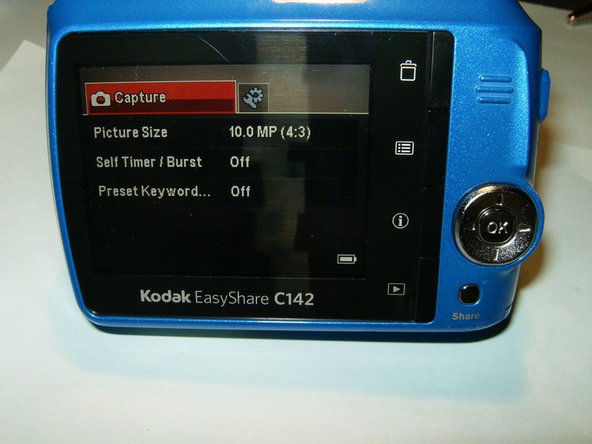
Bu sürüm, hatalı düzenlemeler içerebilir. En son doğrulanmış bellek kopyası dönün.
Neye ihtiyacın var
-
Bu adım çevrilmemiş. Çevrilmesine yardım edin
-
Remove the batteries and memory card from the camera.
-
Remove a total of four screws on either side of the camera.
-
-
-
Bu adım çevrilmemiş. Çevrilmesine yardım edin
-
Remove the two (2) screws from the bottom of the camera.
-
Split the case from the battery compartment carefully until the rear case is separated from the rest of the camera, as shown in the third image.
-
-
Bu adım çevrilmemiş. Çevrilmesine yardım edin
-
Carefully slide the LCD out of its holder until the connector is visible. Open the clip on the connector by pulling it with your fingernail to the right of the screen.
-
Remove the damaged LCD and insert the replacement.
-
After clipping the connector again, reassemble the camera using the six (6) previously removed screws.
-


Ekip
