Ana içeriğe geç
Onarım Topluluğuna Katılın - Hesap Oluşturun

Kodak EasyShare C713 Capacitor Replacement

Neye ihtiyacın var

    1. Kodak EasyShare C713 Capacitor Replacement, Batteries: adım 1, 1 resimden 1.
      • Use your finger tip to slide battery cover door away from the center of the camera.

      • The battery door should spring open.

      • If this does not happen, gently open the door lifting from the outer bottom side of the camera.

      FixBot'a Sor

      Yorum Ekle

    2. Kodak EasyShare C713 Capacitor Replacement: adım 2, 1 resimden 1.
      • Remove the old batteries.

      FixBot'a Sor

      Yorum Ekle

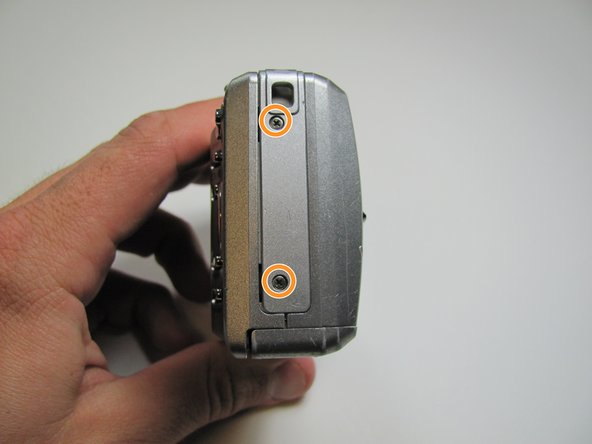
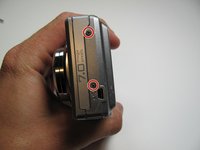
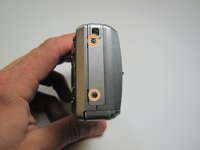
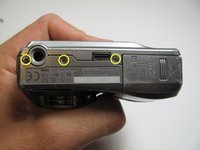
    1. Kodak EasyShare C713 Capacitor Replacement, Outer Case: adım 3, 3 resimden 1. Kodak EasyShare C713 Capacitor Replacement, Outer Case: adım 3, 3 resimden 2. Kodak EasyShare C713 Capacitor Replacement, Outer Case: adım 3, 3 resimden 3.
      • Remove the seven screws from the outer case with a Phillips #00.

      • All screws are 4.45mm.

      • There are 2 screws on the port side.

      • There are 2 screws on starboard side.

      • There are 3 screws on the bottom.

      FixBot'a Sor

      Yorum Ekle

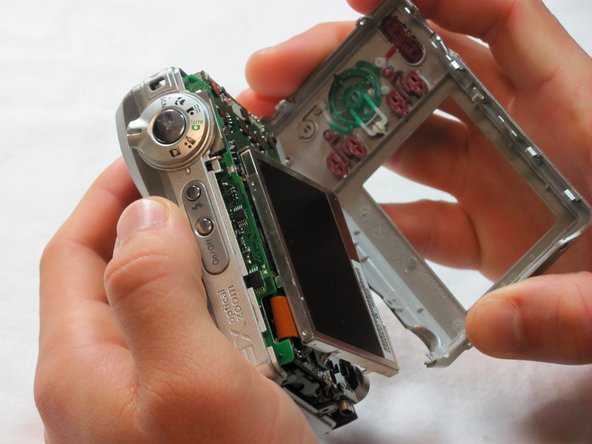
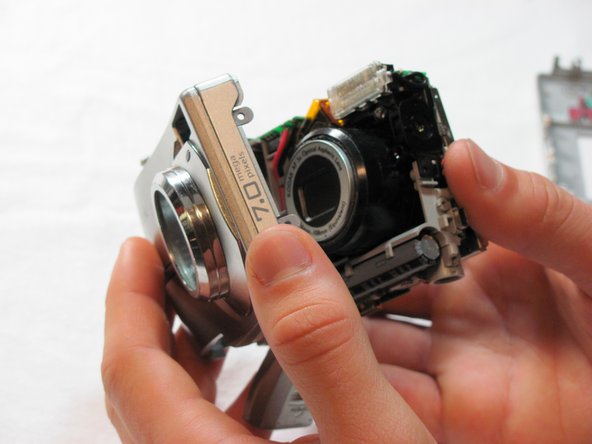
    2. Kodak EasyShare C713 Capacitor Replacement: adım 4, 3 resimden 1. Kodak EasyShare C713 Capacitor Replacement: adım 4, 3 resimden 2. Kodak EasyShare C713 Capacitor Replacement: adım 4, 3 resimden 3.
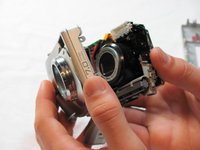
      • Make sure the battery cap is "up".

      • Pull the outer case off with your hands.

      FixBot'a Sor

      Yorum Ekle

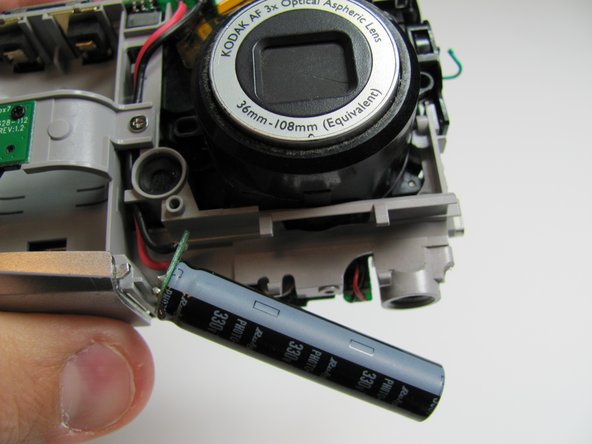
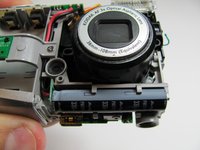
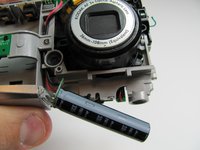
    1. Kodak EasyShare C713 Capacitor Replacement, Capacitor: adım 5, 2 resimden 1. Kodak EasyShare C713 Capacitor Replacement, Capacitor: adım 5, 2 resimden 2.
      • To avoid an electric shock, do not to touch capacitor.

      • The capacitor is located underneath the lens.

      • It is held in place by 4 plastic snaps; it can be easily removed by pulling outward with your fingers.

      FixBot'a Sor

      Yorum Ekle

    2. Kodak EasyShare C713 Capacitor Replacement: adım 6, 1 resimden 1.
      • Desolder points connecting capacitor to circuit board.

      FixBot'a Sor

      Yorum Ekle

Sonuç

To reassemble your device, follow these instructions in reverse order.

İptal et: Bu kılavuzu tamamlamadım.

2 farklı kişi bu kılavuzu tamamladı.

Ekip

Cal Poly, Team 26-19, Regan Spring 2010 Cal Poly, Team 26-19, Regan Spring 2010 üyesi

CPSU-REGAN-S10S26G19

4 Üyeler

28 adet Kılavuz yazıldı

0Kılavuz Yorumları

Yorum Ekle

İstatistikleri Görüntüle:

Son 24 Saat: 0

Son 7 gün: 10

Son 30 gün: 40

Her zaman: 4,870