Ana içeriğe geç
Onarım Topluluğuna Katılın - Hesap Oluşturun

Kodak EasyShare C913 Capacitor Replacement

Neye ihtiyacın var

    1. Kodak EasyShare C913 Capacitor Replacement, Batteries: adım 1, 3 resimden 1. Kodak EasyShare C913 Capacitor Replacement, Batteries: adım 1, 3 resimden 2. Kodak EasyShare C913 Capacitor Replacement, Batteries: adım 1, 3 resimden 3.
      • Position the camera with the bottom facing up.

      • Slide the battery cover in the direction of the arrow with your finger gently.

      • Remove the batteries

      FixBot'a Sor

      Yorum Ekle

    1. Kodak EasyShare C913 Capacitor Replacement, Back Case: adım 2, 3 resimden 1. Kodak EasyShare C913 Capacitor Replacement, Back Case: adım 2, 3 resimden 2. Kodak EasyShare C913 Capacitor Replacement, Back Case: adım 2, 3 resimden 3.
      • Remove the seven 4.5mm screws with a Phillips #00 screwdriver.

      • 2 screws on the left, 2 screws on the right, 3 screws on the bottom

      FixBot'a Sor

      Yorum Ekle

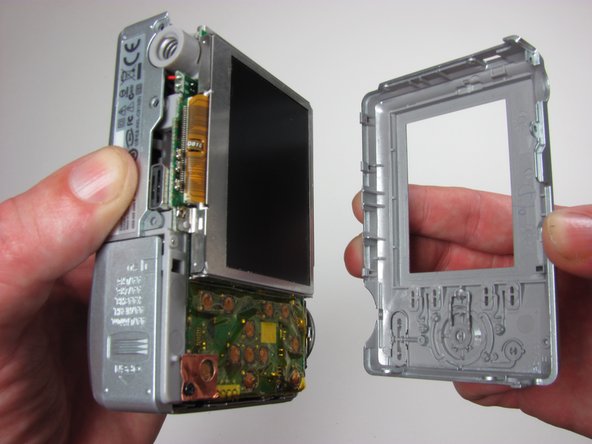
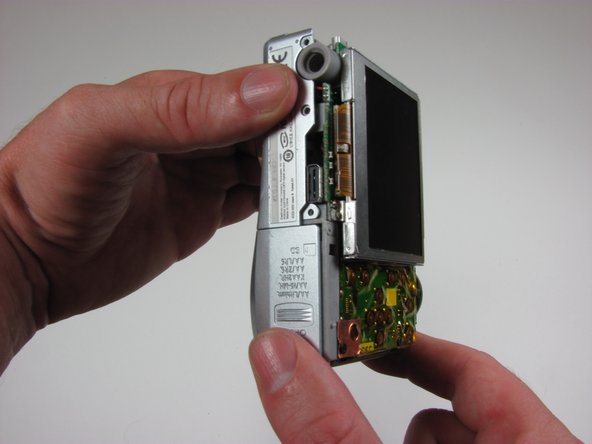
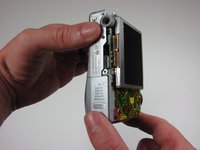
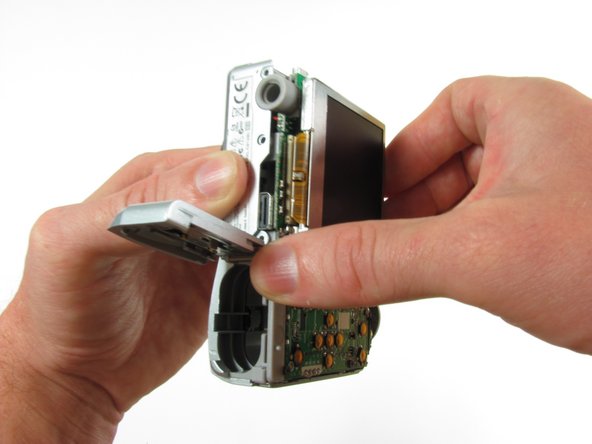
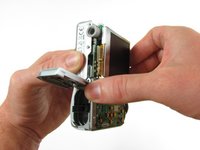
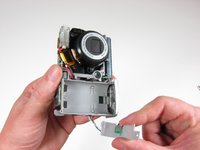
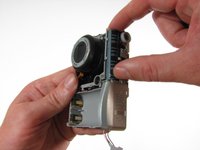
    2. Kodak EasyShare C913 Capacitor Replacement: adım 3, 3 resimden 1. Kodak EasyShare C913 Capacitor Replacement: adım 3, 3 resimden 2. Kodak EasyShare C913 Capacitor Replacement: adım 3, 3 resimden 3.
      • Firmly grasp the back of the camera and pull the casing away.

      FixBot'a Sor

      Yorum Ekle

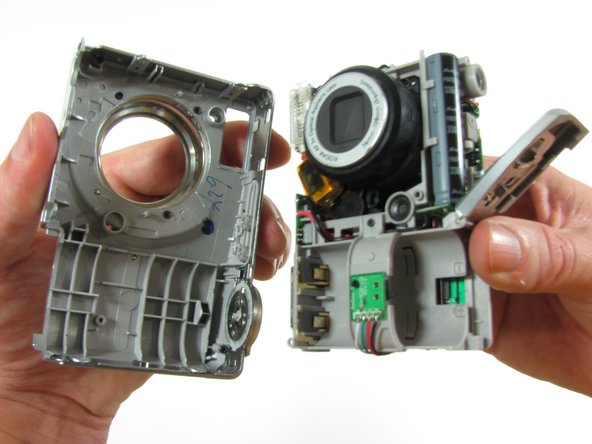
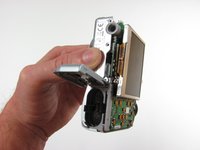
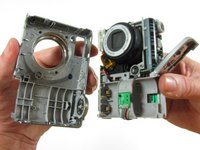
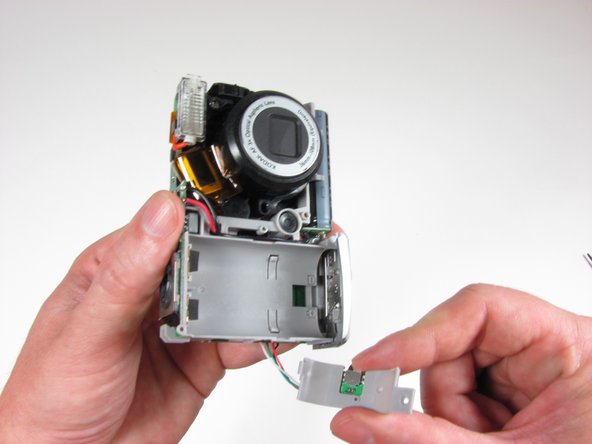
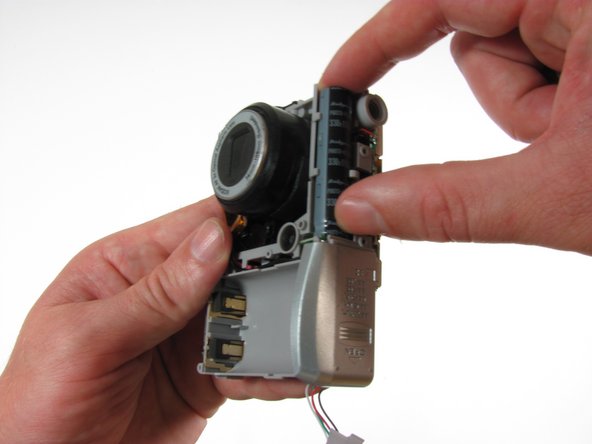
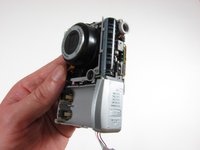
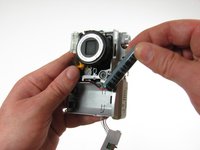
    1. Kodak EasyShare C913 Capacitor Replacement, Front Case: adım 4, 3 resimden 1. Kodak EasyShare C913 Capacitor Replacement, Front Case: adım 4, 3 resimden 2. Kodak EasyShare C913 Capacitor Replacement, Front Case: adım 4, 3 resimden 3.
      • Keep the battery door open

      • Firmly grasp the front casing and pull it away from the camera.

      FixBot'a Sor

      Yorum Ekle

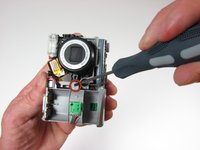
    1. Kodak EasyShare C913 Capacitor Replacement, Capacitor: adım 5, 2 resimden 1. Kodak EasyShare C913 Capacitor Replacement, Capacitor: adım 5, 2 resimden 2.
      • Orient the camera with the lens facing you.

      • Use a Phillips #00 screwdriver to remove the one 2.2mm screw on the plastic bridge.

      • Lift the plastic bridge off and place it to the side.

      FixBot'a Sor

      Yorum Ekle

    2. Kodak EasyShare C913 Capacitor Replacement: adım 6, 1 resimden 1.
      • Do not touch the capacitor contact points for any reason. This will result in a severe shock.

      FixBot'a Sor

      Yorum Ekle

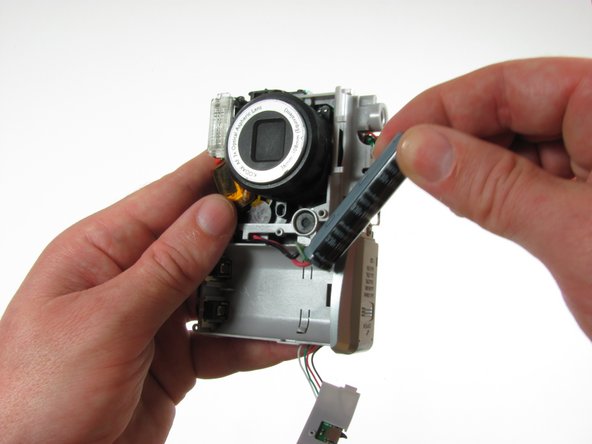
    3. Kodak EasyShare C913 Capacitor Replacement: adım 7, 3 resimden 1. Kodak EasyShare C913 Capacitor Replacement: adım 7, 3 resimden 2. Kodak EasyShare C913 Capacitor Replacement: adım 7, 3 resimden 3.
      • Grasp the capacitor, carefully remove it from its holder, and place it off to the side.

      FixBot'a Sor

      Yorum Ekle

    4. Kodak EasyShare C913 Capacitor Replacement: adım 8, 1 resimden 1.
      • De-solder the connections at the base of the capacitor

      FixBot'a Sor

      Yorum Ekle

Sonuç

To reassemble your device, follow these instructions in reverse order.

İptal et: Bu kılavuzu tamamlamadım.

Alan Galarza

Üyelik tarihi: 10/03/10

84 İtibar

3 adet Kılavuz yazıldı

Ekip

Cal Poly, Team 7-51, Amido Fall 2010 Cal Poly, Team 7-51, Amido Fall 2010 üyesi

CPSU-AMIDO-F10S7G51

4 Üyeler

14 adet Kılavuz yazıldı

0Kılavuz Yorumları

Yorum Ekle

İstatistikleri Görüntüle:

Son 24 Saat: 0

Son 7 gün: 5

Son 30 gün: 43

Her zaman: 4,697