Neye ihtiyacın var
-
-
Each key has it's own contact point, so test them one-by-one.
-
Maybe there's just a few stinkers, or maybe a half a beverage worth of keys need cleaning.
-
* It's easier to make note of the problem one(s) with the device powered on before opening it.
-
-
-
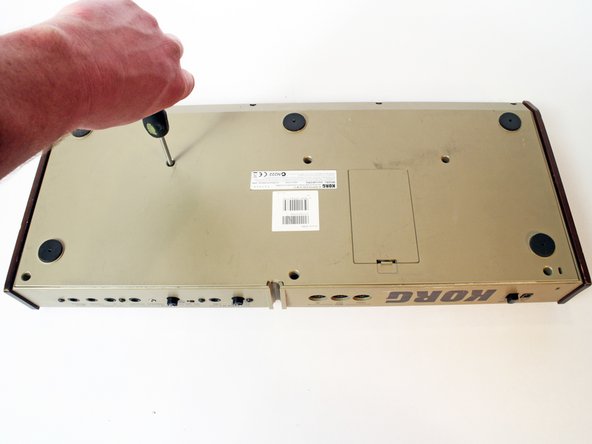
Unscrew 11 Phillips screws.
-
Lift cover up to expose battery compartment.
-
-
-
-
Grip connector and lift.
-
Set back cover off to the side.
-
-
-
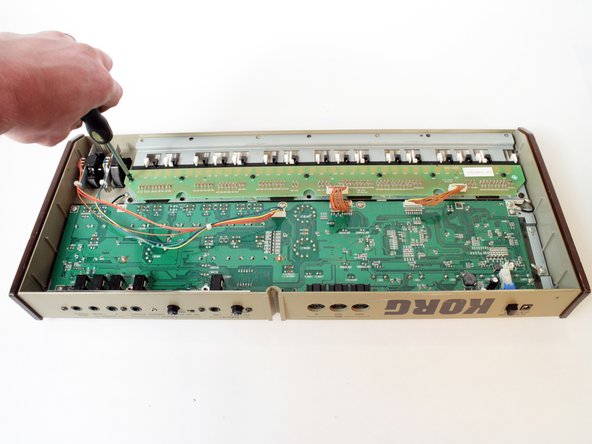
Unscrew 7 Phillips screws.
-
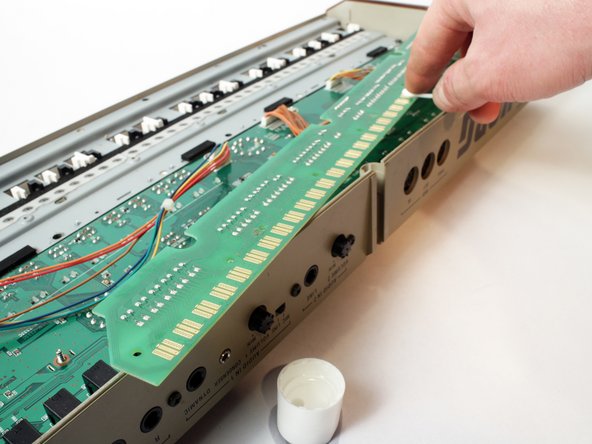
Lift contact board up.
-
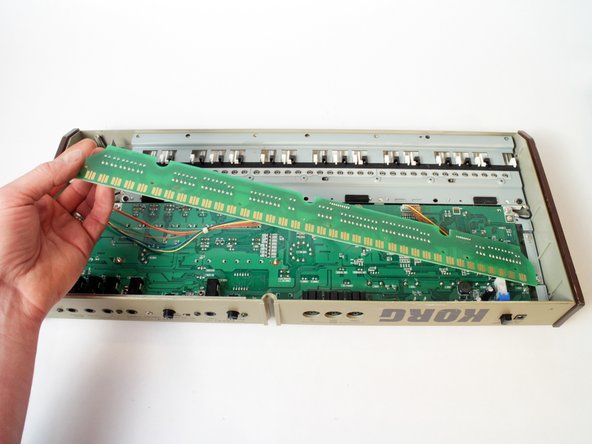
Rotate board forward.
-
*You do not have to disconnect the contact board. Save time (plus it's easier to verify your work) by leaving it attached.
-
-
-
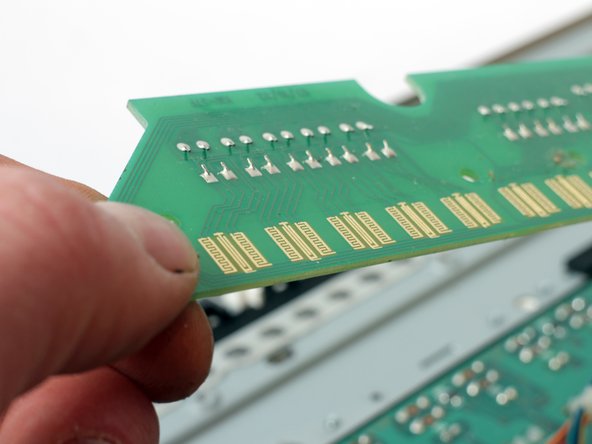
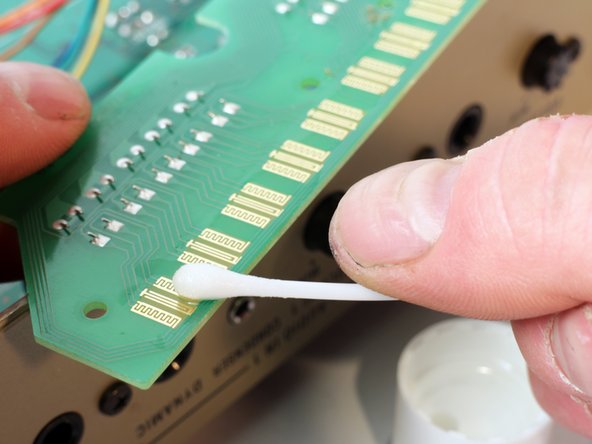
These contacts look clean, but give em' a scrub regardless.
-
Locate the problem keys (from step 1) and make certain they are clear of debris.
-
Dab a Q-tip in the alcohol and give each contact a cleaning.
-
Repeat the process with the dry side of the Q-tip to remove any build up.
-
-
-
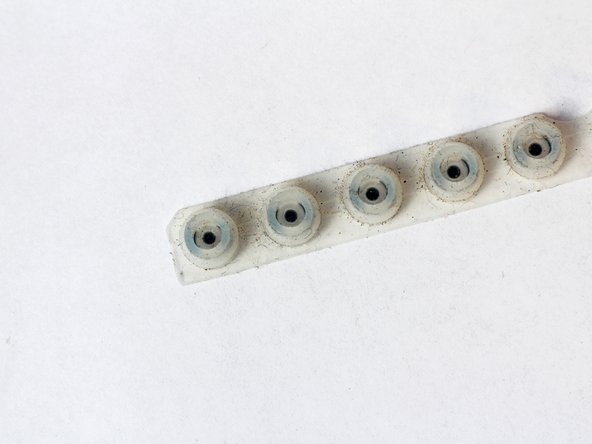
Lift and remove each contact strip.
-
Clean the underside of these three strips. Keyboards accumulate all sorts of gunk, so each strip must be removed to access the nasty.
-
* If the contact strips are in bad shape, they may need replacing.
-
-
-
Dab another Q-tip and clean each contact point.
-
Repeat with the dry side of the Q-tip to remove any build up.
-


To reassemble your device, follow these instructions in reverse order.
Always test your repaired device in the environment for which it's intended.
The Korg MicroKORG was introduced in 2002 and you can STILL buy it today. Nowadays, an electronic musical instrument can become obsolete because of an updated model. Often times an electronic instrument can disappear entirely at the whim of a musical Artist - you just stop hearing that certain sound on the pop charts. This little beauty has endured, and can be heard on countless hits, as well as film and video game tracks.
Now that the key contacts are clean, and the MicroKORG is restored to working order, fire it up and play along with the Metroid Prime soundtrack!
İptal et: Bu kılavuzu tamamlamadım.
6 farklı kişi bu kılavuzu tamamladı.
5 Yorum
Thanks for this! I've been borrowing a friend's micro for some time now and from the first time I started using it some of the keys weren't working. I figured it was a setting but when I asked him he assured me that it was fine when he gave it to me. It started getting progressively worse and I just stopped using it as it was no longer playable without an external midi controller. I thought I was in for some parts replacement and repair costs but I gave this a go and the results were immediate. Cheers internet stranger!
Just wondering. I tried the fix outlined above, and the one key that wasn’t playing is now fixed, but the key right next to it is not playing. Any idea what this would mean? Thanks.
Could be that the contact strip is not seated properly?....
I’ve cleaned my contacts and the 5 keys or so are still not working. Any idea what the problem is ? Everything looked clean but I cleaned the strips and contacts regardless. If you can point me in the right direction from here please do. Thank you!
Hello. This is a great tutorial. Will bookmark this so I can clean it on my own next time. Thank you!
Btw, I live in SE Asia, and it's been quite a challenge to look for contact strip replacements locally (mine are all worn out, unfortunately). Do you have idea as to the measurements of these contact strips (12 and 13 ones)? I found these "generic" contact strips online as well, but I'm not sure if they're the same size as the Microkorg's. I can't seem to find any info about it anywhere. Or maybe I haven't looked hard enough. :/ Would appreciate a reply. Thank you again!