Giriş
This guide shows how to gain access to and remove the back camera from the motherboard.
Neye ihtiyacın var
-
-
To remove the back panel of the device, start by attempting to fit the plastic opening tool in the crease between the screen and the back panel of the tablet.
-
Try opening picks if the case is not flexing enough, or if it is already cracked to prevent further damage.
-
You can use your hands to push against the corners of the device to attempt to make the gap larger for your plastic opening tool to fit in.
-
If you are replacing your screen because it is damaged, it may be useful to pick away at some of the glass to expose the clips in the edges of the plastic.
-
Insert the corners of your plastic opening tool into the slots that are on the very outside edge of your device to start disconnecting the panel.
-
-
-
-
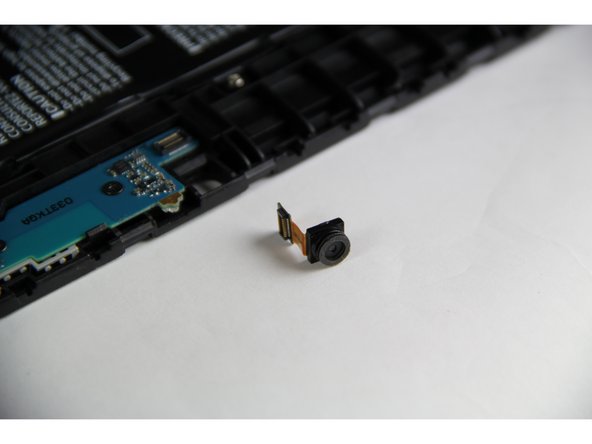
Locate the back camera at the far end of the motherboard, towards the lower center of the device.
-
Separate the connection to the motherboard with the spudger by gently prying them apart.
-


To reassemble your device, follow these instructions in reverse order.
To reassemble your device, follow these instructions in reverse order.
İptal et: Bu kılavuzu tamamlamadım.
2 farklı kişi bu kılavuzu tamamladı.
Ekip

USF Tampa, Team 15-1, Blackwell Fall 2015 USF Tampa, Team 15-1, Blackwell Fall 2015 üyesi
USFT-BLACKWELL-F15S15G1
4 Üyeler
12 adet Kılavuz yazıldı