Giriş
This guide will cover how to replace the motherboard on the LG G Pad F 7.0
Neye ihtiyacın var
-
-
Open up the SIM port, on the top right corner (screen face down).
-
Press the SIM card (white plastic) to pop it out
-
Remove SIM card and set aside
-
-
-
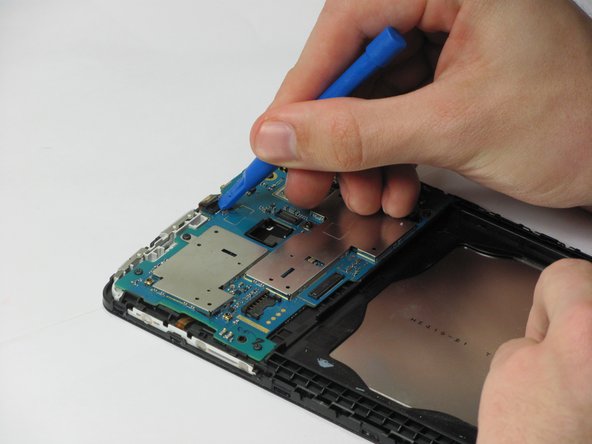
Use the plastic opening tool to pry the plastic backing off of the internal block. Start at the location with the SIM port to avoid damage to internal components.
-
Do this by finding the seam between the edge of the screen and the plastic backing, and prying between the two.
-
Work your way all the way around the edge of the screen, and remove the plastic backing when it is loose.
-
-
-
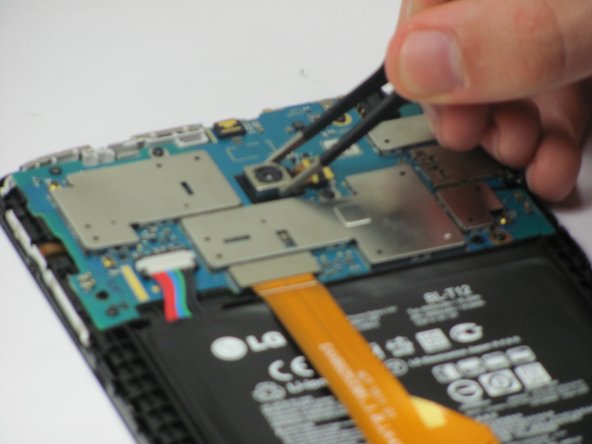
Use the plastic opening tool to pry up the ribbon cable connecting to the camera unit.
-
One the ribbon cable has been detached, use the tweezers to pull up the camera. It is attached with adhesive so pull up gently to remove it.
-
Once the old camera unit is removed, replace with new unit and reassemble in reverse order of guide.
-
-
-
-
Locate the large orange ribbon cable, pry off the side shown in the image.
-
-
-
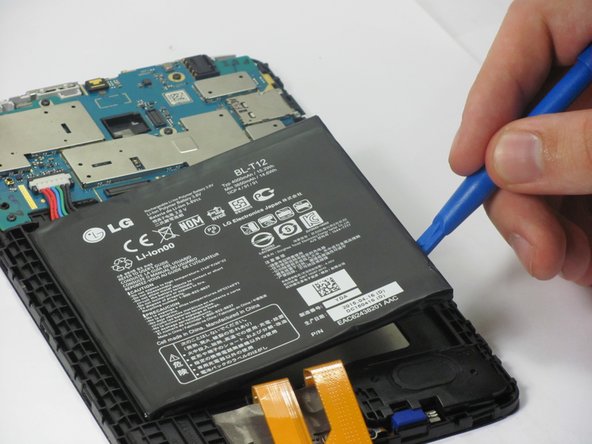
Use the plastic opening tool to pry the multicolor wire cables off, applying force up away from the tablet.
-
Use the plastic opening tool to pry up the battery. There is adhesive underneath the battery, so use a small amount of force. Work your way around the edge of the battery to pry it off.
-


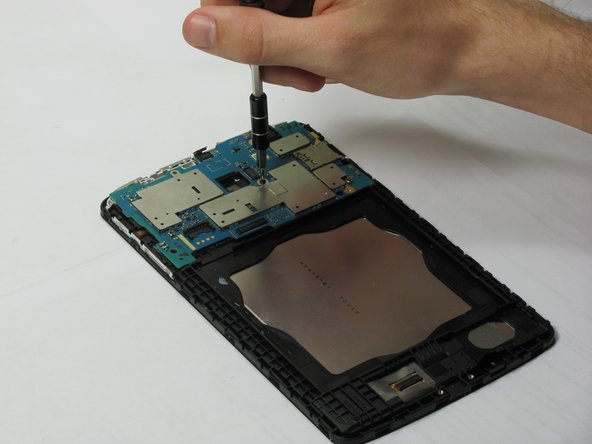

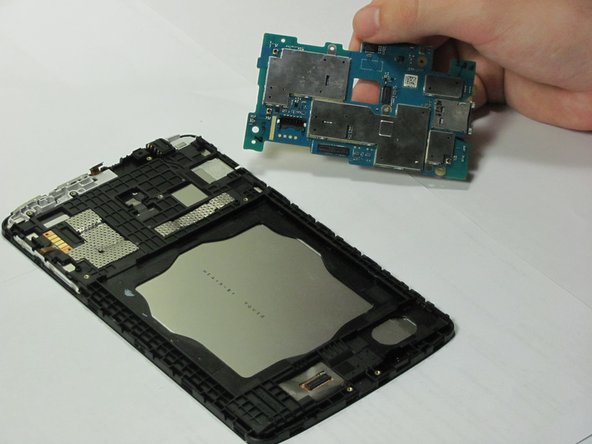
To reassemble your device, follow these instructions in reverse order.
To reassemble your device, follow these instructions in reverse order.
İptal et: Bu kılavuzu tamamlamadım.
2 farklı kişi bu kılavuzu tamamladı.
Ekip

Cal Poly, Team 8-5, Banghart Winter 2017 Cal Poly, Team 8-5, Banghart Winter 2017 üyesi
CPSU-BANGHART-W17S8G5
3 Üyeler
10 adet Kılavuz yazıldı